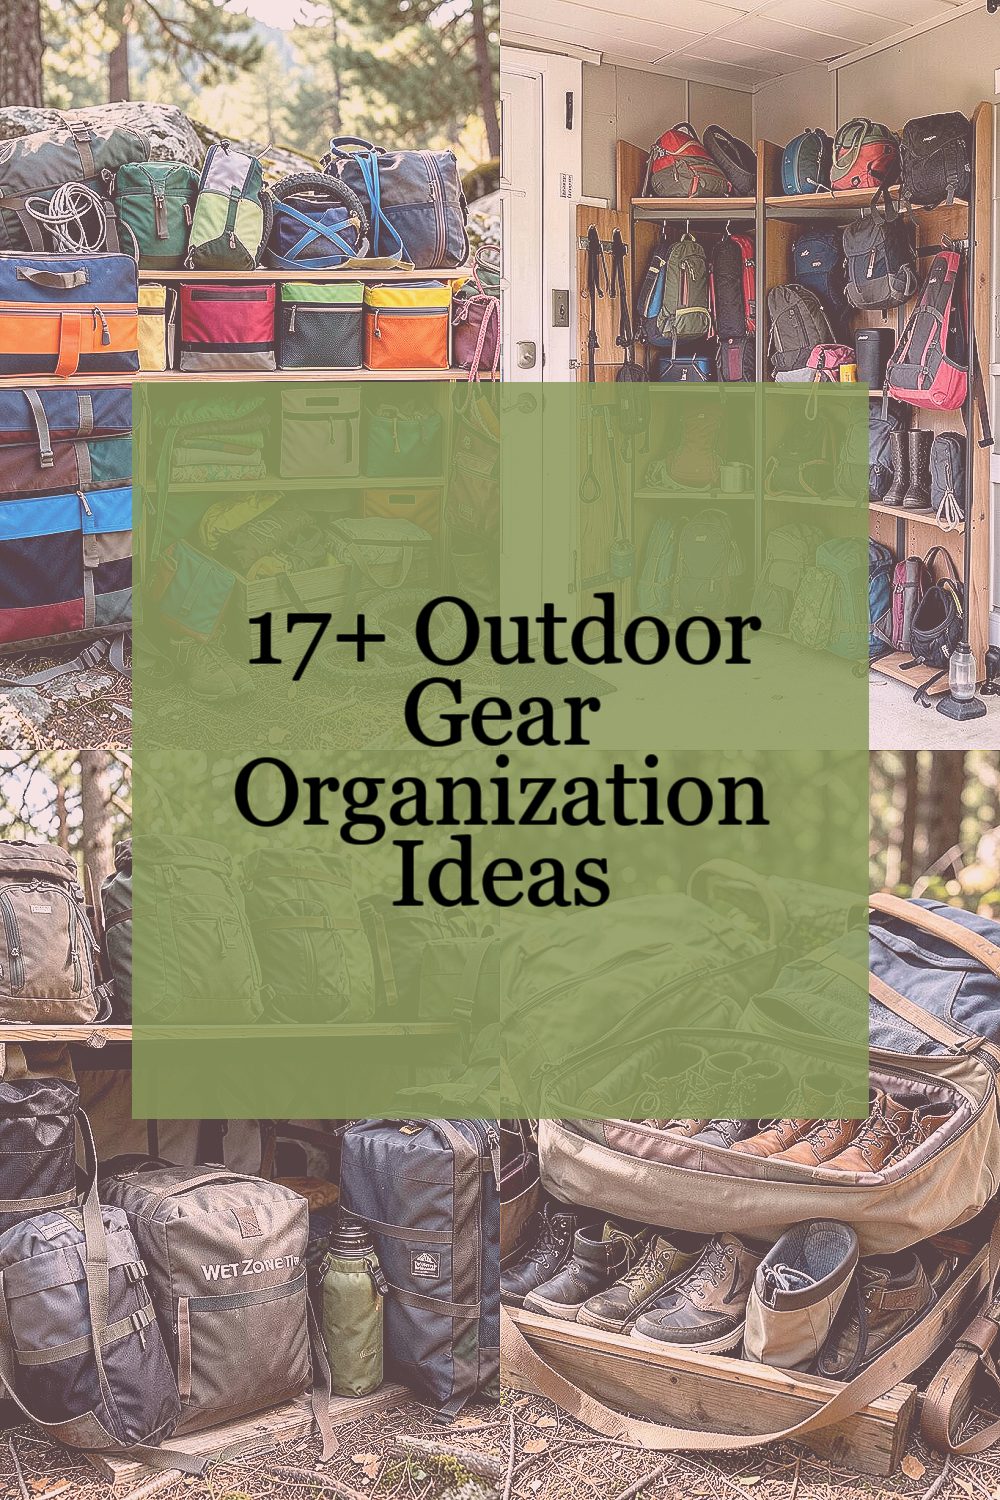
A packed car can feel like a puzzle with missing pieces. The right system turns chaos into a quick, calm routine.
1. Color-Coded Packing Cubes for Every Family Member
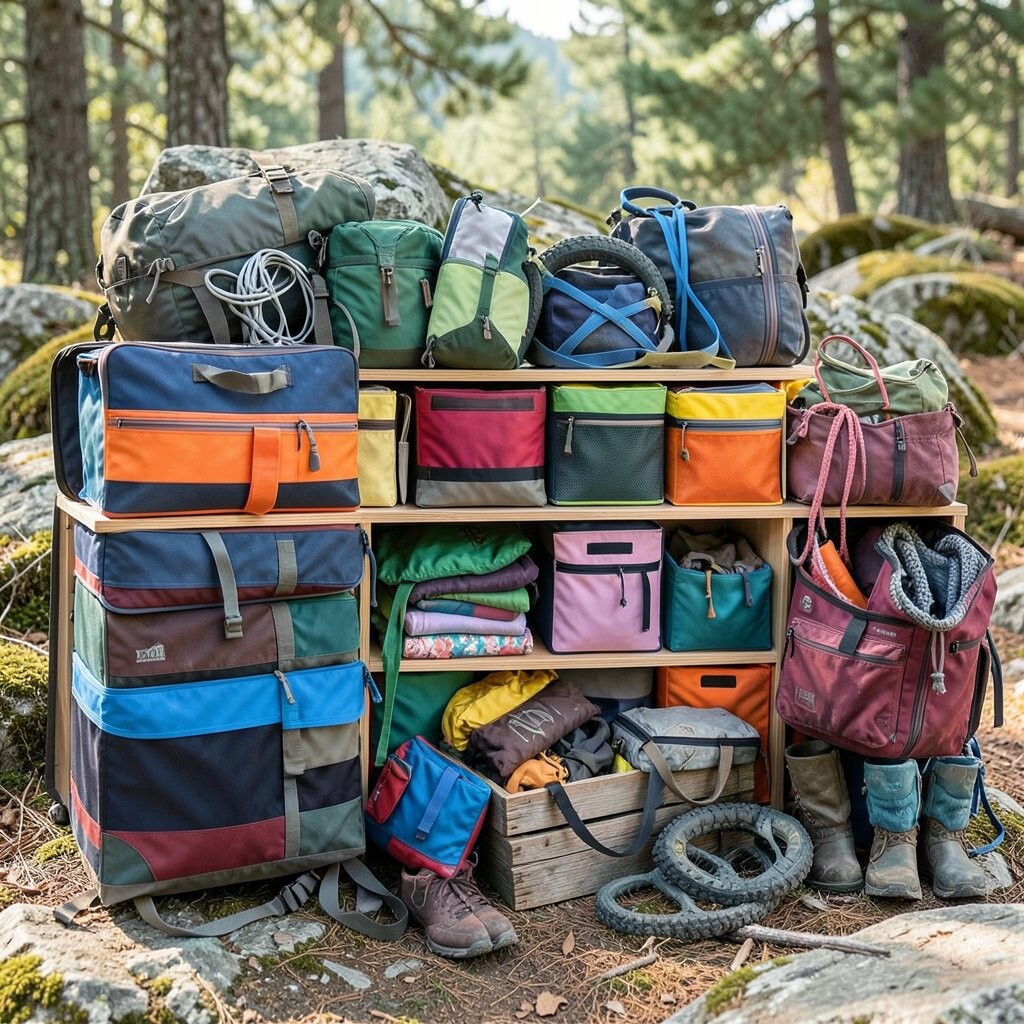
Pick a color for each person, like green for kids and blue for adults. Then assign a cube for “sleep,” “mess,” and “move” to keep things from mixing.
Use clear labeling on the zipper pulls so even younger kids can help. The visual order is fast at a glance, especially when you’re rushing between trailheads and snack stops. If you want it to last, choose durable fabric cubes and wash them before the season starts.
2. Hanging Closet-Style Organizer in the Garage or Entryway

Set up a portable “gear closet” where you already pass by daily. Hang a few pockets for helmets, sun hats, extra socks, and gloves.
This keeps the items from living on the floor where they vanish. When everyone grabs their color and pocket, mornings feel less like hunting and more like preparing. For a family trick, add small tags with each person’s name and role, like “camp cook” or “water buddy.”
Look for organizers with strong seams and water-resistant fabric, since outdoor gear can be damp. A medium price model is often enough for most families, especially if you don’t overload every pocket. A current trend is adding mesh panels so you can see what’s inside without opening each compartment.
3. Modular Dry Bags with “Wet Zone” Thinking

Designate one area for dirty or wet items and never mix it with clean gear. A set of dry bags makes this separation automatic.
When everyone knows there’s a “wet zone,” muddy shoes and soggy towels stay contained. Choose different sizes so small items like swimsuits don’t bully bigger ones like rain jackets. For practicality, use one bag for each “type,” such as towels, swim gear, and trash.
To personalize, use stickers or permanent marker that matches your cube colors. A budget-friendly option is to buy one larger bag and a couple smaller ones, then expand later. Many families now like lightweight roll-top bags because they fold into small spaces inside a trunk.
Before trips, do a quick check that zippers are clean, since grit can cause leaks. This small habit saves time at bedtime when you’re tired and want everything ready for tomorrow.
4. Shoe and Boot Bin System with Washable Liners

Create a dedicated spot for footwear with bins that line up like stepping stones. Place washable liners inside so mud wipes clean instead of sinking into fabric.
The benefit is simple: you prevent dirt from spreading across your home and gear bags. Use separate bins for “park shoes,” “trail shoes,” and “wet sandals” so nobody has to guess. If you want an easy upgrade, pick bins with handles that let adults carry them quickly to the hose.
5. First-Aid, Rescue, and “Must-Haves” Zipper Pouch
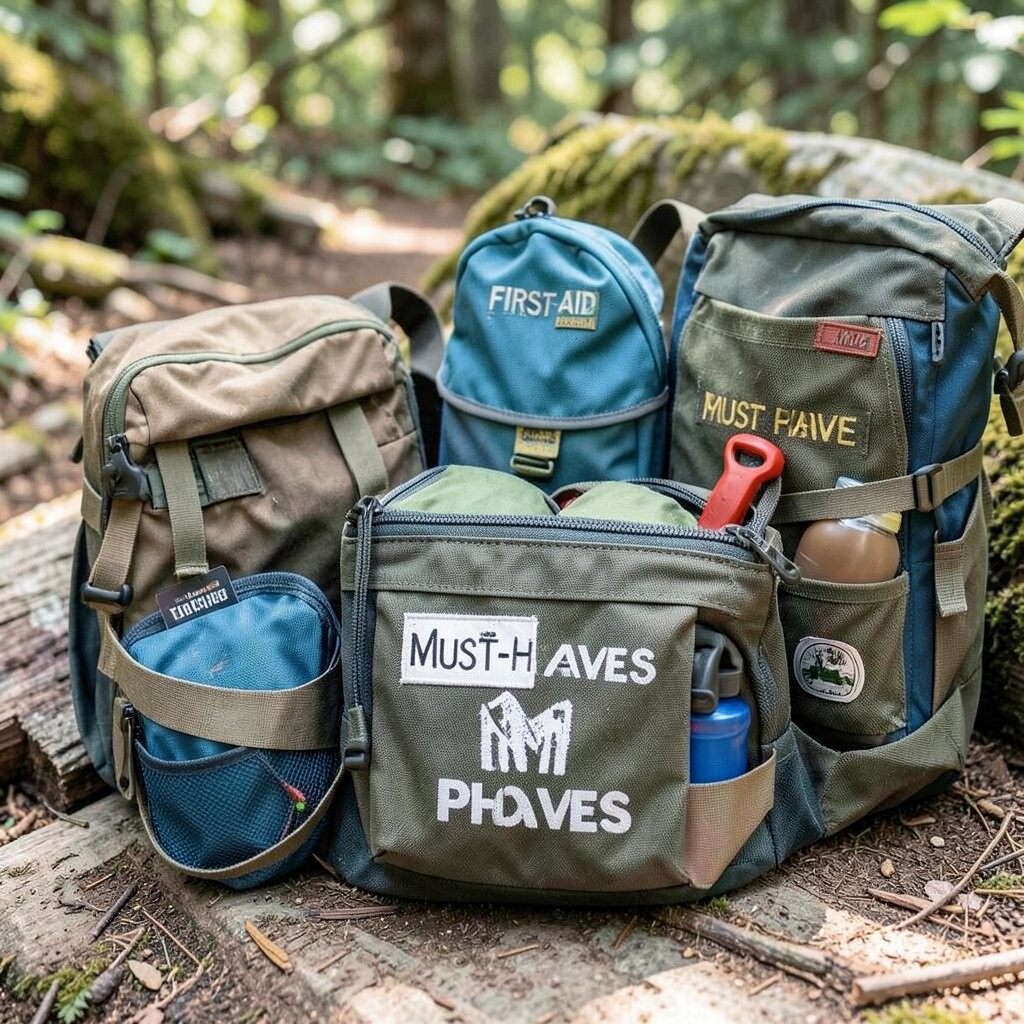
Keep a single pouch that holds everything you might need fast. Include bandages, blister care, tweezers, wipes, and any family-specific meds.
When it’s one location, you stop doing the “where is it?” dance. Use color labels inside the pouch so you can refill the right items after every trip. For personalization, add a small card with emergency contacts and allergies.
Think about cost by starting with the essentials you truly use. If your family spends lots of time on trails, consider a slightly larger pouch with room for a small flashlight and emergency blanket. A current trend is organizing medicine by day or by activity season, like “summer swim” vs “fall hikes.”
6. Color-Coded Packing Cubes for Every Family Member

Pick a color for each person, like green for kids and blue for adults. Then assign a cube for “sleep,” “mess,” and “move” to keep things from mixing.
Use clear labeling on the zipper pulls so even younger kids can help. The visual order is fast at a glance, especially when you’re rushing between trailheads and snack stops. If you want it to last, choose durable fabric cubes and wash them before the season starts.
7. Hanging Closet-Style Organizer in the Garage or Entryway

Set up a portable “gear closet” where you already pass by daily. Hang a few pockets for helmets, sun hats, extra socks, and gloves.
This keeps the items from living on the floor where they vanish. When everyone grabs their color and pocket, mornings feel less like hunting and more like preparing. For a family trick, add small tags with each person’s name and role, like “camp cook” or “water buddy.”
Look for organizers with strong seams and water-resistant fabric, since outdoor gear can be damp. A medium price model is often enough for most families, especially if you don’t overload every pocket. A current trend is adding mesh panels so you can see what’s inside without opening each compartment.
8. Modular Dry Bags with “Wet Zone” Thinking

Designate one area for dirty or wet items and never mix it with clean gear. A set of dry bags makes this separation automatic.
When everyone knows there’s a “wet zone,” muddy shoes and soggy towels stay contained. Choose different sizes so small items like swimsuits don’t bully bigger ones like rain jackets. For practicality, use one bag for each “type,” such as towels, swim gear, and trash.
To personalize, use stickers or permanent marker that matches your cube colors. A budget-friendly option is to buy one larger bag and a couple smaller ones, then expand later. Many families now like lightweight roll-top bags because they fold into small spaces inside a trunk.
Before trips, do a quick check that zippers are clean, since grit can cause leaks. This small habit saves time at bedtime when you’re tired and want everything ready for tomorrow.
9. Shoe and Boot Bin System with Washable Liners

Create a dedicated spot for footwear with bins that line up like stepping stones. Place washable liners inside so mud wipes clean instead of sinking into fabric.
The benefit is simple: you prevent dirt from spreading across your home and gear bags. Use separate bins for “park shoes,” “trail shoes,” and “wet sandals” so nobody has to guess. If you want an easy upgrade, pick bins with handles that let adults carry them quickly to the hose.
10. First-Aid, Rescue, and “Must-Haves” Zipper Pouch

Keep a single pouch that holds everything you might need fast. Include bandages, blister care, tweezers, wipes, and any family-specific meds.
When it’s one location, you stop doing the “where is it?” dance. Use color labels inside the pouch so you can refill the right items after every trip. For personalization, add a small card with emergency contacts and allergies.
Think about cost by starting with the essentials you truly use. If your family spends lots of time on trails, consider a slightly larger pouch with room for a small flashlight and emergency blanket. A current trend is organizing medicine by day or by activity season, like “summer swim” vs “fall hikes.”
11. Snack Box Trays Built for Quick Stops

Use stackable snack boxes so you can grab food without opening every bag. Build a small “trail pantry” with crackers, fruit snacks, and kid-approved treats.
Clear trays help you see what’s left, which means fewer forgotten items at the car. If you pack portions ahead of time, cleanup becomes easier because you’re not sorting mixed crumbs later. A practical tip is to keep one box for “before we hike” and another for “during the hike.”
To personalize, decorate lids with family stickers or color bands that match your gear cubes. Cost-wise, start with two or three boxes that fit your trunk shelves, then add more when your family grows a routine. Many families today prefer lighter plastic with strong lids, since it can handle bumps in the back seat.
12. Vehicle Seatback Organizers for “In-Trip” Items
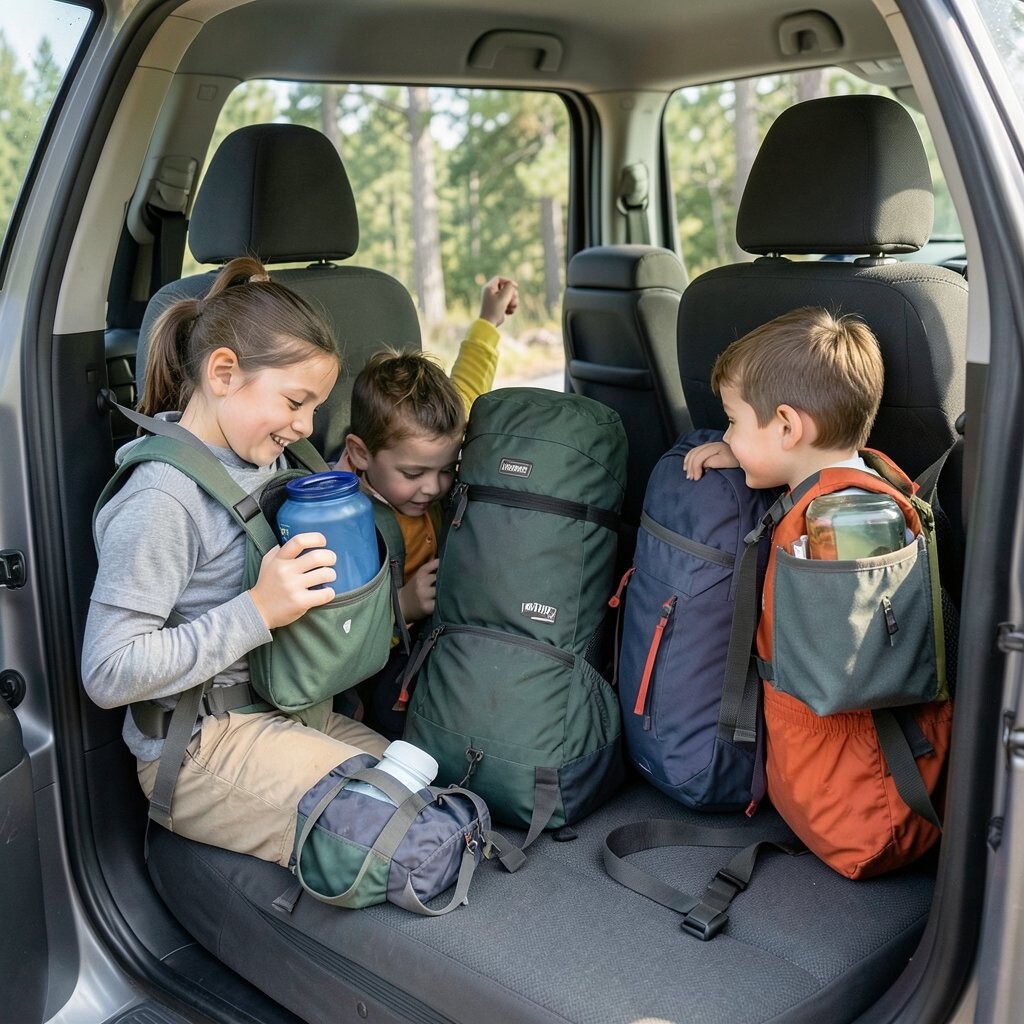
Assign seatback pockets for the items you want within arm’s reach. Think sunscreen, wipes, a small toy, and a thin rain poncho.
The big benefit is reduced back-and-forth during the drive. When kids can grab their own needs, adults can focus on navigating instead of re-packing. For practical setup, keep fragile items near the top pocket and keep spill-prone items in a bag liner.
Choose a model with wipeable fabric so you can clean it in minutes after a muddy day. If you’re budget-conscious, look for one organizer that covers both sides and fits your seat shape. A current trend is seatback organizers with insulated sections, which help keep drinks cooler for longer drives.
13. Transparent “Return to Base” Bags for Each Day

After each outing, put the day’s items back into a clear bag labeled by date. This turns the post-trip mess into a single step instead of five separate searches.
Because the bags are see-through, you can quickly spot what’s missing before the next adventure. Clear labeling also helps new family members learn the system fast. A helpful tip is to add a small checklist card so you can refill essentials without guessing.
For personalization, use different colors for different seasons, like bright yellow for summer and navy for fall. Cost is usually low, since many families use reusable produce bags or medium clear totes. You can also upgrade to thicker, re-sealable bags if you notice tears from rough gear.
This method works especially well when multiple people pack their own stuff. You’ll still get the flexibility of individual packing with the comfort of one “final stop” for everything.
14. Helmet, Life Jacket, and Helmet-Tool Hooks in One Spot

Hang helmets and life jackets where you can reach them without bending. Use hooks plus a small shelf for tools like patch kits or spare straps.
This setup prevents the “temporary pile” that grows into a knot. It also keeps straps untangled, which matters when you’re setting up for water or bike time. A practical tip is to group by activity, such as “bike,” “boat,” and “scooter,” so every trip starts with the right gear.
If you have a tight entry space, use wall-mounted hooks with removable labels. Even if you buy fewer hooks at first, you can expand later by adding one section per season. Some families are now using pegboards because they’re easy to rearrange as kids grow.
15. Collapsible Laundry Hamper for Damp Clothing

Bring a collapsible hamper so you can collect damp clothing without spreading smells. Keep it in a trunk-side pocket or behind a rear seat.
The benefit is that damp clothes don’t sit in backpacks or car seats all day. When the family returns home, you can dump the hamper contents straight into the laundry system. For practical tips, use a washable liner and keep it zipped when traveling to prevent odors.
Personalization is easy by adding a name patch or color ribbon so each kid knows “their hamper.” Cost considerations are friendly because many collapsible models are inexpensive and save space year-round. A trend right now is hampers with venting mesh panels that reduce trapped dampness during travel.
16. Waterproof Map, Phone, and Cash Pockets for Every Trip

Create a small waterproof pouch that holds maps, phone backups, and a little cash. Put it on the same hook every time so it never becomes “lost in the bag.”
This kind of organization helps the whole family stay calm when plans change due to weather or traffic. Choose a pouch with a lanyard or carabiner so it clips to a belt loop, pack strap, or stroller handle. A practical tip is to store a pen and small notepad inside for trail notes and parking reminders.
For personalization, add a family photo or a simple “Who to call” card inside. Cost is flexible, ranging from affordable waterproof phone pouches to heavier-duty cases. Many families now like slim pouches that don’t take space but still protect against splashes from rivers, sprinklers, and surprise rain.
This gear also works well for day hikes where everyone wants to take photos without worrying about equipment safety.
17. Compact Tool Kit for Bikes, Camp Repairs, and Quick Fixes

Keep a compact repair kit with tape, a small multi-tool, zip ties, and spare hardware. Organize it in a slim box so it fits beside other essentials.
The advantage is confidence, because small problems don’t derail the whole day. If a strap breaks or a bike accessory loosens, you handle it before everyone gets frustrated. For practical tips, label compartments by job, like “tape,” “fasteners,” and “batteries,” so you grab fast.
Personalization ideas include adding a kid-safe “helping hand” role where they hand over tools. Cost considerations depend on how often you bike or camp, but starting with the basics is usually enough. A current trend is using modular tool organizers that snap together, so you can keep one kit for bikes and one for camping.
Once you set it up, you’ll notice how often you actually use it for non-emergencies too, like tightening a backpack strap before a long climb.
18. Pack-Ready Labeling for Water Bottles and Refill Stations

Label water bottles, refill pouches, and hydration bladders so they never get mixed up. Use waterproof labels and add a simple mark for each person.
When bottles are clearly labeled, it becomes easier to refill correctly and avoid “who drank which?” confusion. This also helps keep flavors from mixing if someone uses flavored drops or electrolyte packets. For practical tips, store spare replacement caps and straws in a small pocketed bag near the bottles.
Personalize the system with bright colors, stickers, or small icons like a star for the oldest child and a lightning bolt for the next. Cost can be low if you already own extra caps, but waterproof labeling supplies are usually worth it. A trend many families follow is building a “refill station” on the kitchen counter so bottles always return to the same place between trips.
When everyone knows where to refill and where to return, hydration becomes automatic, not stressful.