Stone floors look timeless and feel solid under your feet. A few small care mistakes can dull the shine, scratch the surface, or shorten the stone’s lifespan.
1. Skipping Daily Dirt Removal
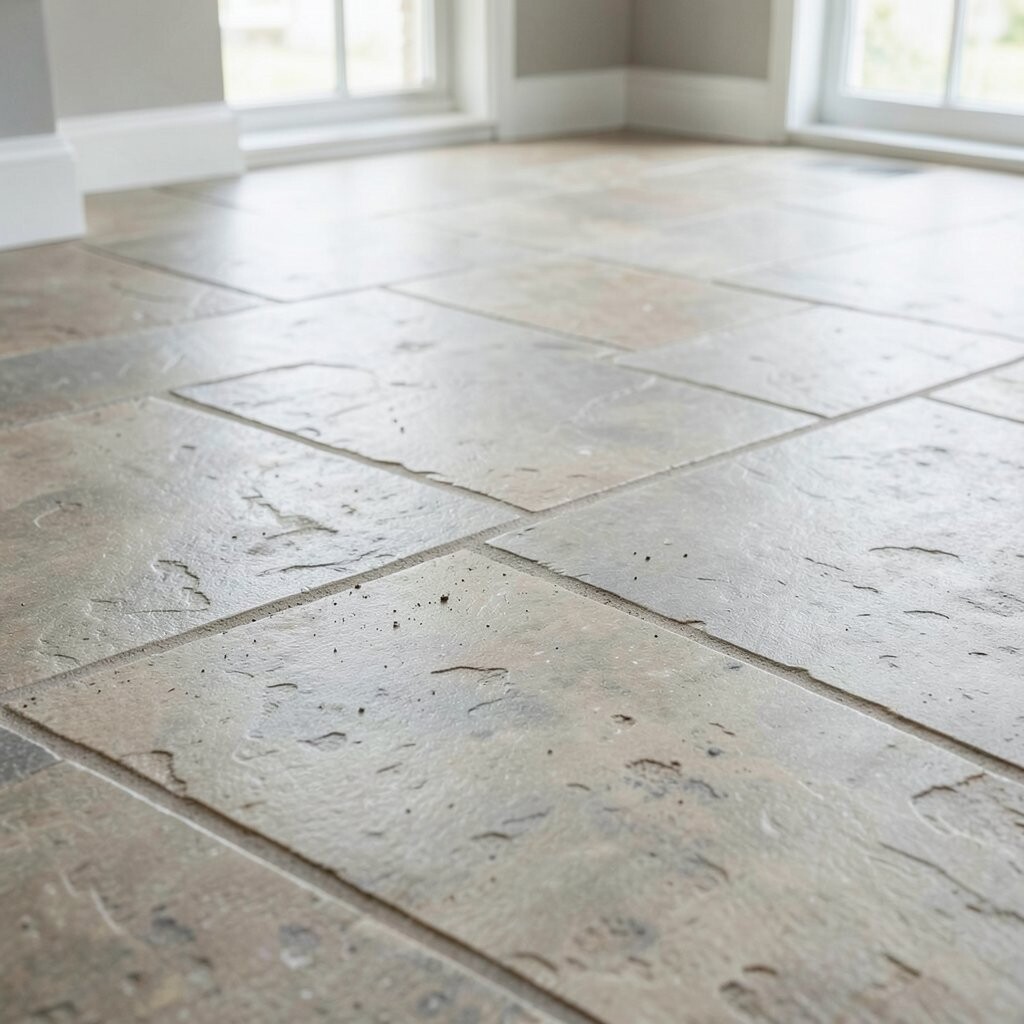
Not all grit is visible, and it can act like tiny sandpaper. When you wait too long to wipe up dust, it grinds into grout lines and pits.
Use a soft broom or a dry microfiber mop every day or two, especially in entryways. Place doormats at every door to catch sand and moisture early. Vacuum with a brush attachment on low power to avoid scraping, particularly on honed finishes.
2. Using the Wrong Cleaner From Day One
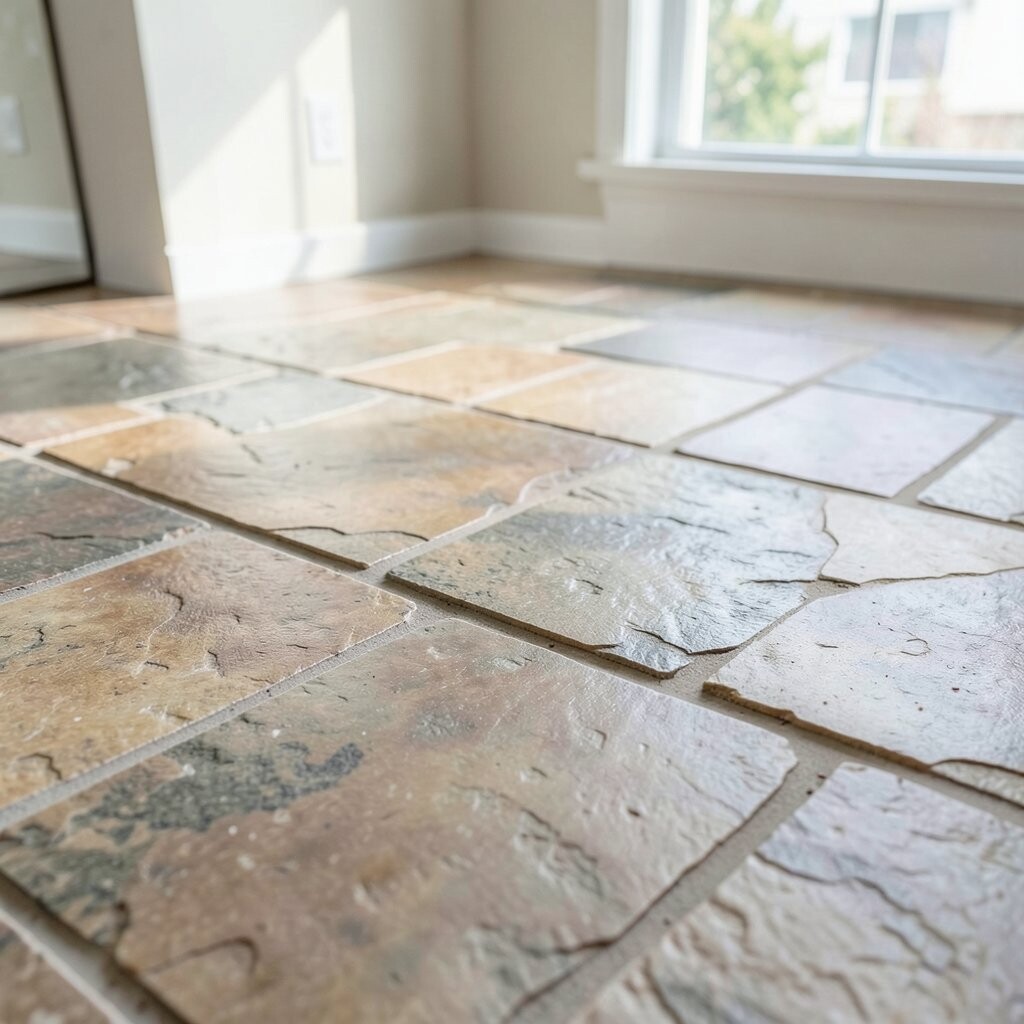
Stone is not all the same, and cleaners that are fine for tile can damage natural stone. Acidic products can etch limestone, marble, and some travertine.
Stick to pH-neutral cleaners made for natural stone, and test a small hidden area first. Avoid vinegar, lemon juice, toilet cleaners, and many “hard water” descalers unless the label explicitly says they are safe for your specific stone.
When you buy a cleaner, look for one that mentions stone sealing compatibility if you have sealers. If you’re unsure what you have, treat it gently and slow down before you scrub.
3. Letting Spills Sit and Soak In
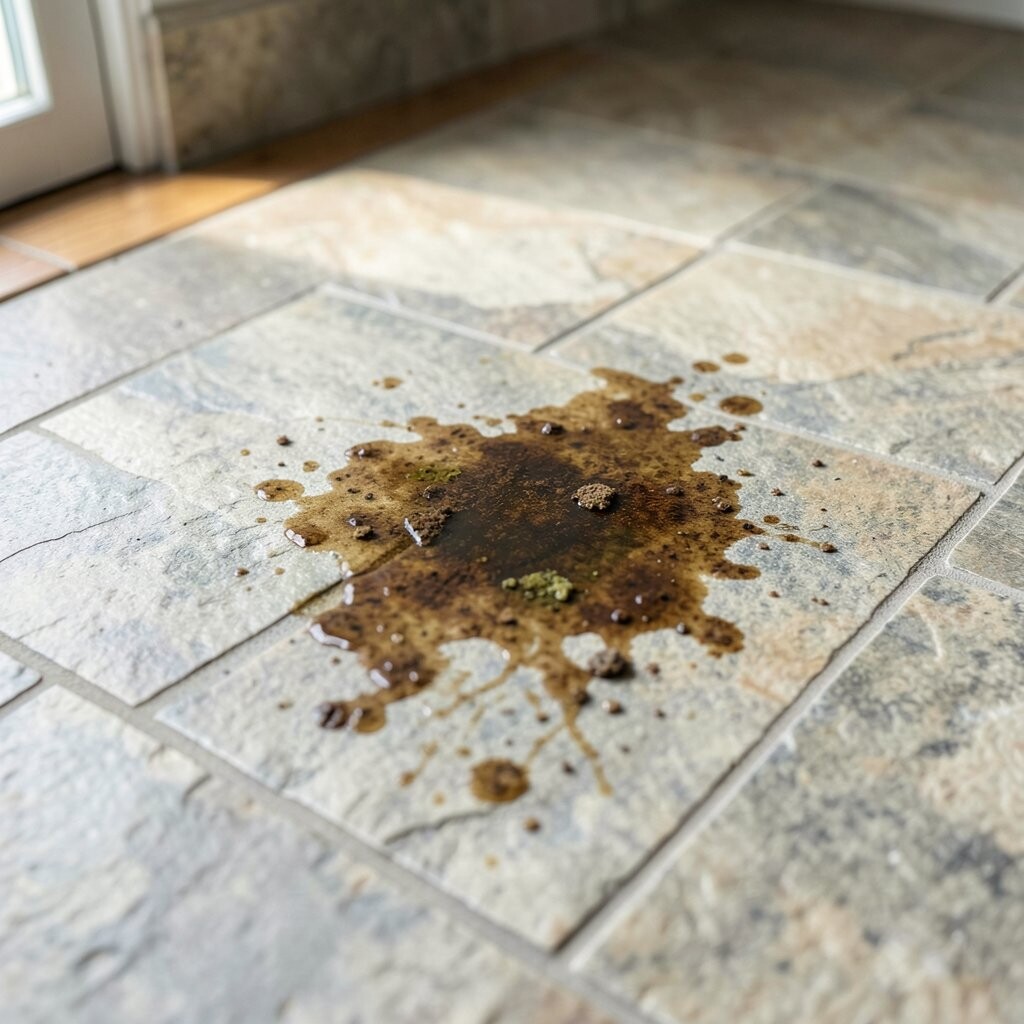
Stone can absorb liquids, and waiting makes stains deeper. Oils, wine, coffee, and dark sauces often become permanent if they’re left too long.
Blot spills immediately with a clean, absorbent cloth, working from the outside toward the center. For liquid stains, you may need a poultice, but only after you identify the stone and stain type.
Avoid wiping in circles because that spreads the stain. If you use water to help, use minimal moisture and dry the area right away. Keep a small “spill kit” handy so you can act fast without panic.
Also remember that grout can discolor too, so check the surrounding lines as you clean.
4. Over-Wetting the Floor
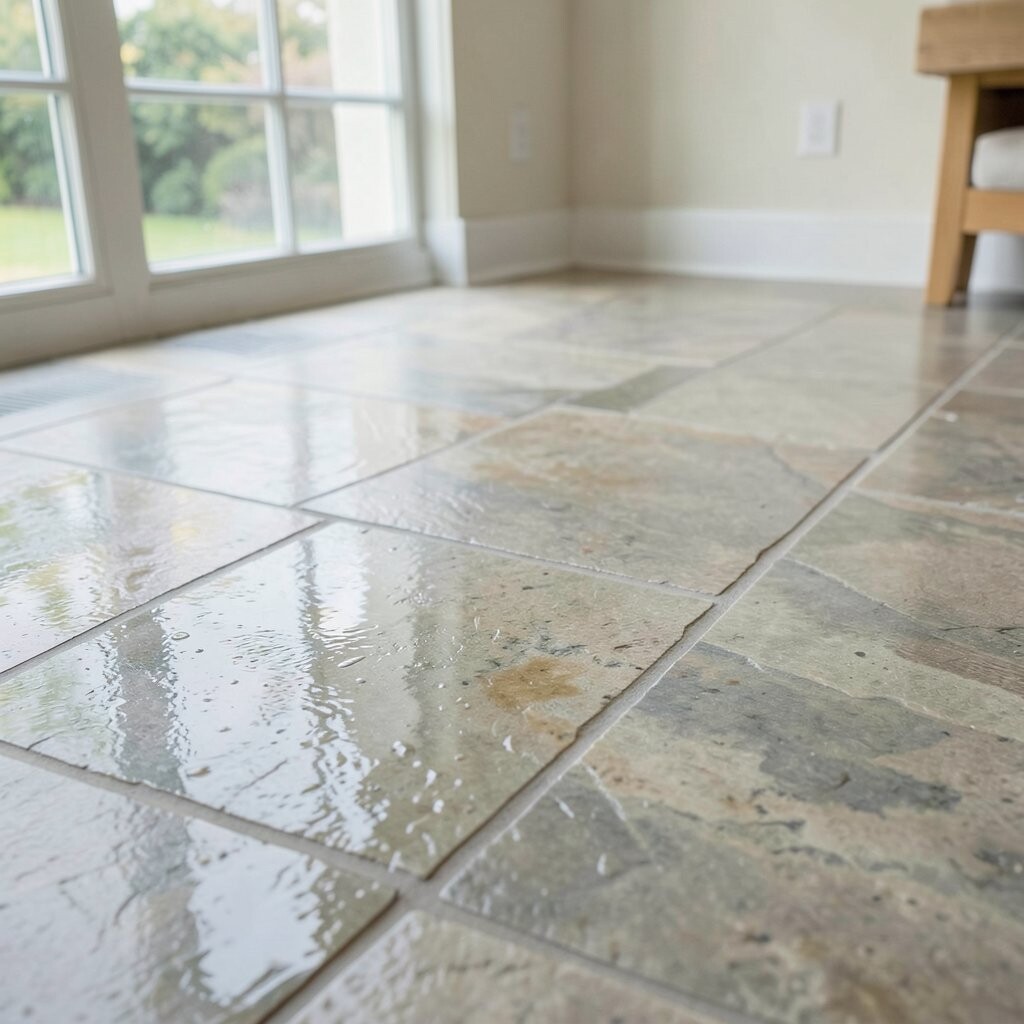
Some people think more water equals better cleaning. But excess moisture can creep into seams, edges, and grout, leaving dull marks.
Use damp cleaning methods rather than soaking. After mopping, dry the floor with a microfiber towel if it stays wet or streaky. Pay special attention near baseboards and low spots where water lingers.
5. Using a Steam Mop Without Checking Compatibility

Steam can be tempting because it feels powerful and “sanitizing.” Yet heat and moisture can loosen grout, harm sealers, and risk damage on certain stones.
Before using steam, verify the specific stone type and the condition of the sealer. Some stones and finishes handle steam badly, especially if they are unsealed or already compromised.
If steam isn’t approved, use a microfiber mop and a stone-safe cleaner instead. For stubborn grime, do gentle spot-cleaning rather than flooding the whole floor.
6. Not Knowing Your Stone Type
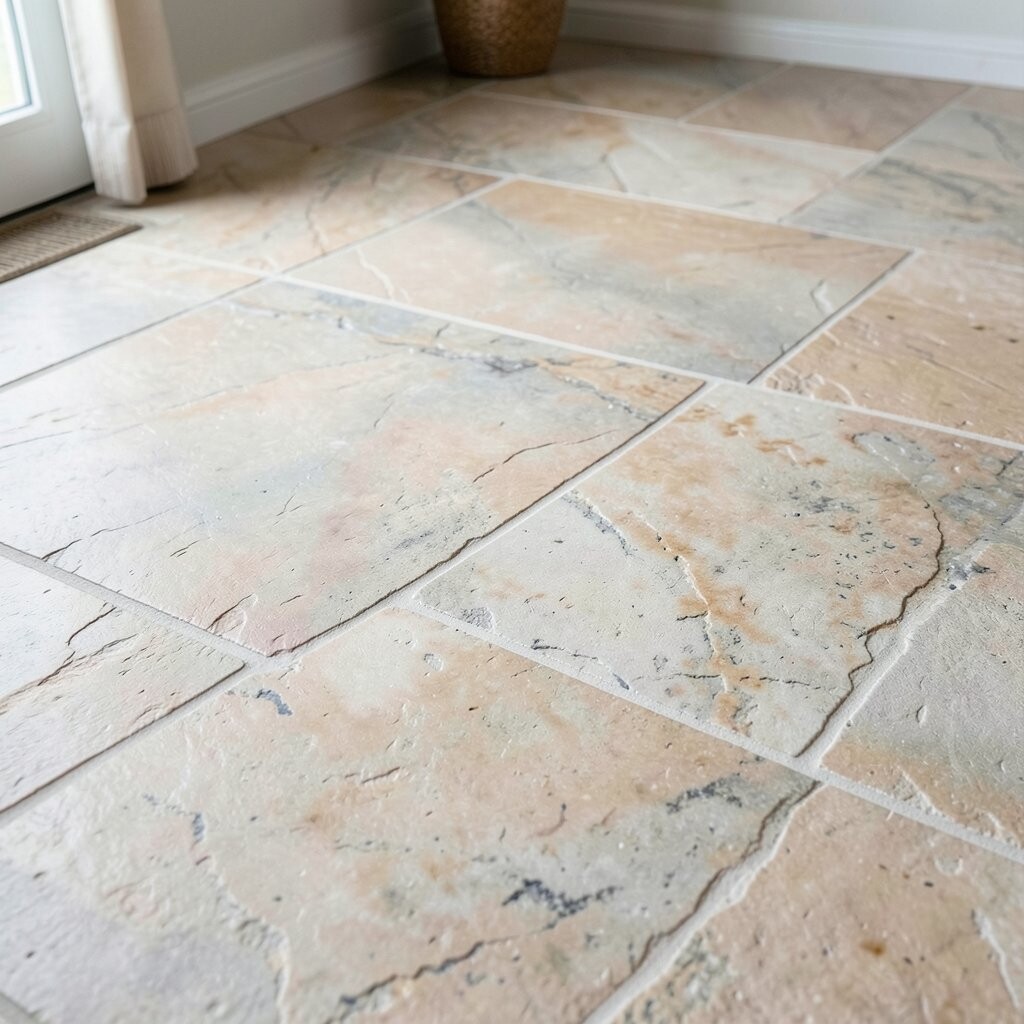
Marble, travertine, limestone, slate, granite, and engineered stone each behave differently. Treating them all the same is one of the fastest ways to get surprises.
Check your flooring paperwork or do a careful look for clues like color consistency, veining, and surface texture. If you can, ask a retailer or installer about the exact name and finish.
This matters for stain resistance, how sealers work, and what cleaners are safe. Knowing your stone also helps you choose the right polish level and maintenance rhythm.
7. Scrubbing With Abrasive Tools
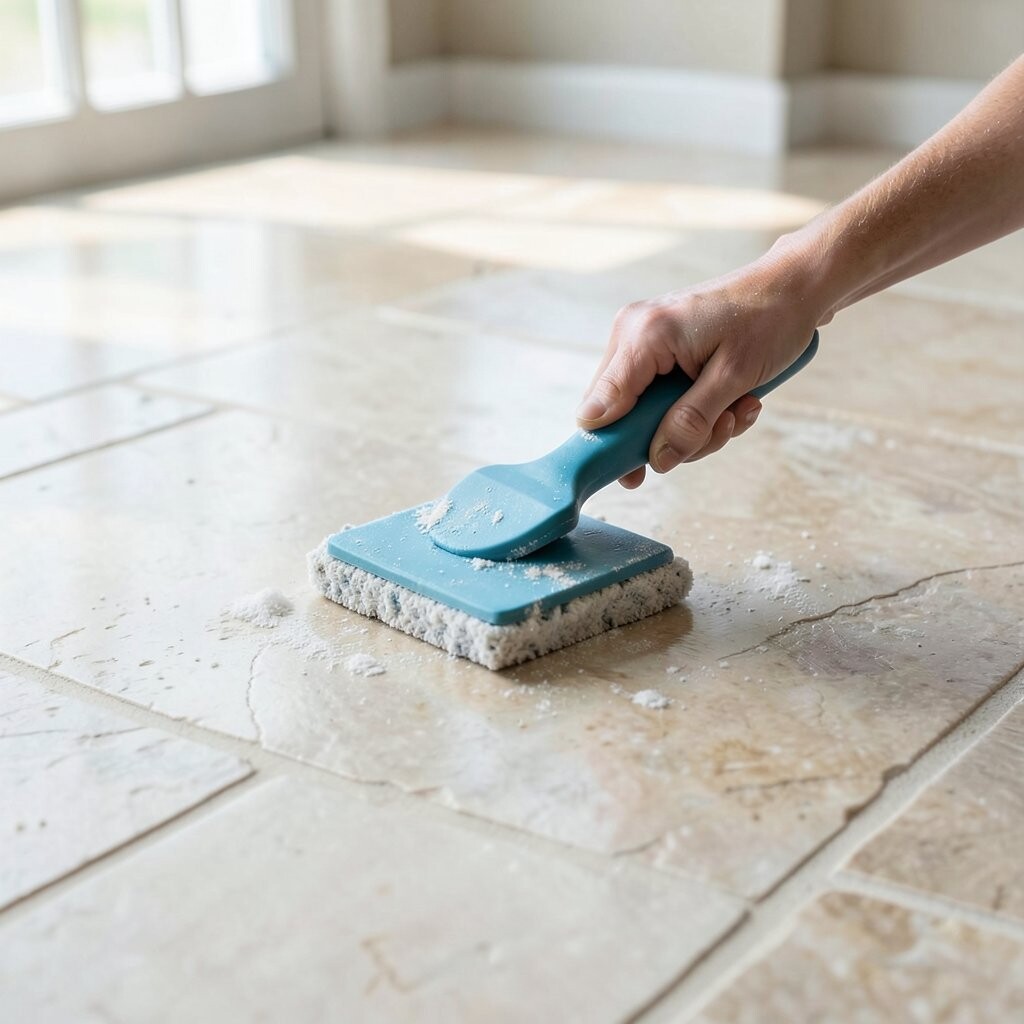
Hard pads and rough brushes can leave scratches that catch light and ruin that smooth, luxurious look. Even “heavy-duty” scrubbers can bite into soft stone surfaces.
Choose microfiber, soft nylon, or gentle non-scratch pads only. If you’re dealing with sticky spots, dampen first and let a stone-safe cleaner do the work.
For grout, use targeted tools and be cautious not to grind the surrounding stone. If you see scratches already, switch to gentler methods immediately.
8. Leaving Sand and Grit Trapped at Doorways

Sand particles travel indoors and collect at the same spots every day. They may hide under mats, then get dragged across the floor.
Use a large entry mat and shake it regularly so debris doesn’t build up. Add a second mat inside if your home gets heavy foot traffic.
Keep bare stone from acting like a pathway for grit by sweeping and vacuuming along the first few feet from doors. A little prevention here saves a lot of polishing later.
Also ask guests to wipe shoes when they enter, especially in rainy seasons.
9. Using the Wrong Tools for Drying
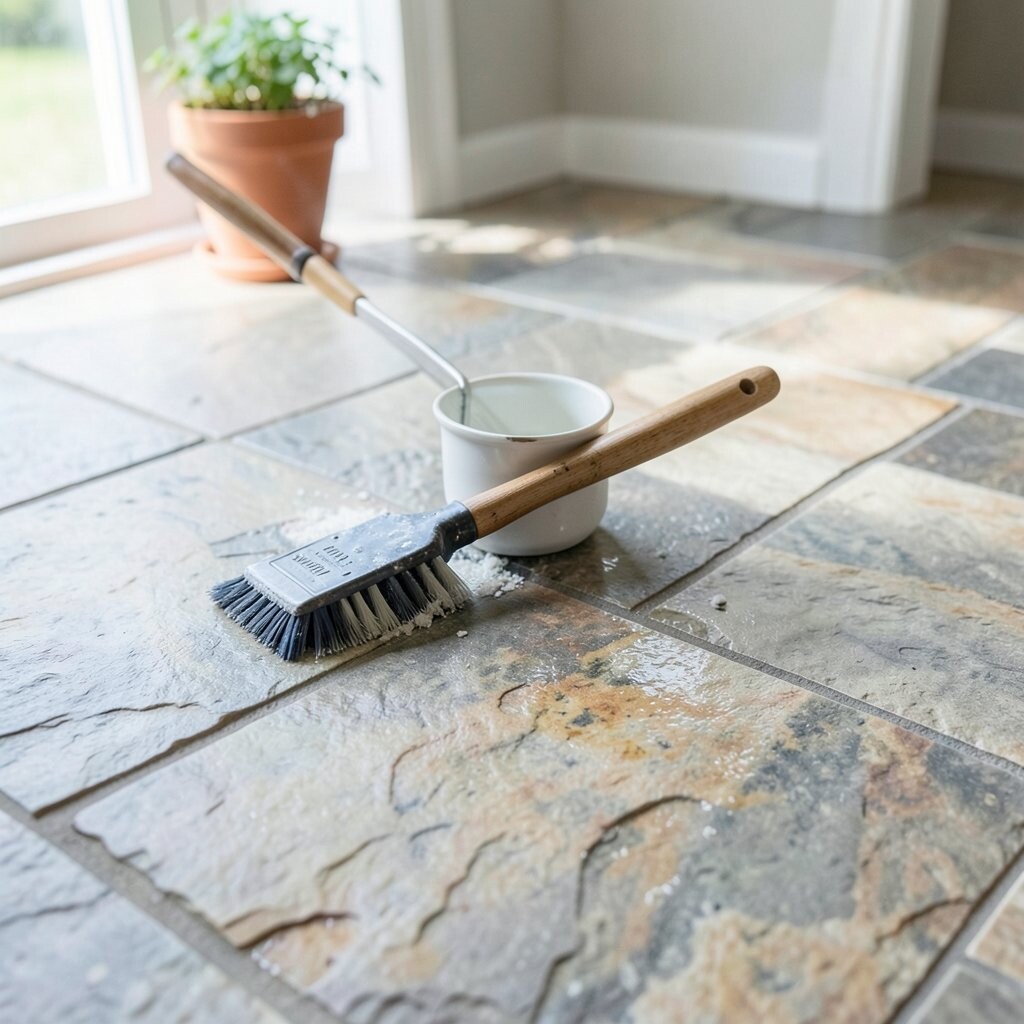
Letting cleaner dry on stone can leave hazy spots or streaks. Those marks can look like dull patches and can be hard to fix later.
Dry after mopping with a clean microfiber cloth or towel, especially on polished stone. For matte or honed finishes, focus on removing moisture without aggressive rubbing.
10. Neglecting Routine Inspection

Small issues start quietly, like hairline etching, tiny chips, or worn sealer patches. If you ignore them, they spread with everyday traffic.
Walk the floor periodically and look at it under different light angles. Notice where water runs after mopping and where people tend to stop and pivot.
If you spot a stain that’s fading too slowly or areas that look rough, address them sooner rather than later. Catching a problem early often costs less than restoring a whole section.
11. Applying Sealer Too Soon or Too Late

Sealing is meant to protect, but timing matters for best results. Sealing over trapped moisture or sealing that’s already failing can lead to uneven protection.
Follow the manufacturer’s instructions for the right curing time after installation. Test the floor before resealing using the simple water test recommended for your product and stone type.
When it’s time, use an appropriate sealer for your stone and finish, and apply it evenly. Skipping edges and grout lines can create weak spots that stain faster.
12. Choosing “One Product Fixes Everything”

It’s tempting to buy one cleaner and one wax or polish to handle every mess. But stone care usually needs more than a single step.
Use cleaner for routine care and a separate approach for stains, build-up, or dullness. For example, residue-removal products may be too strong for regular use on some stones.
If a floor becomes hazy, find out whether it’s from residue, etching, or loss of sealer rather than guessing. Getting the cause right is what makes the correct solution work.
13. Polishing the Wrong Finish
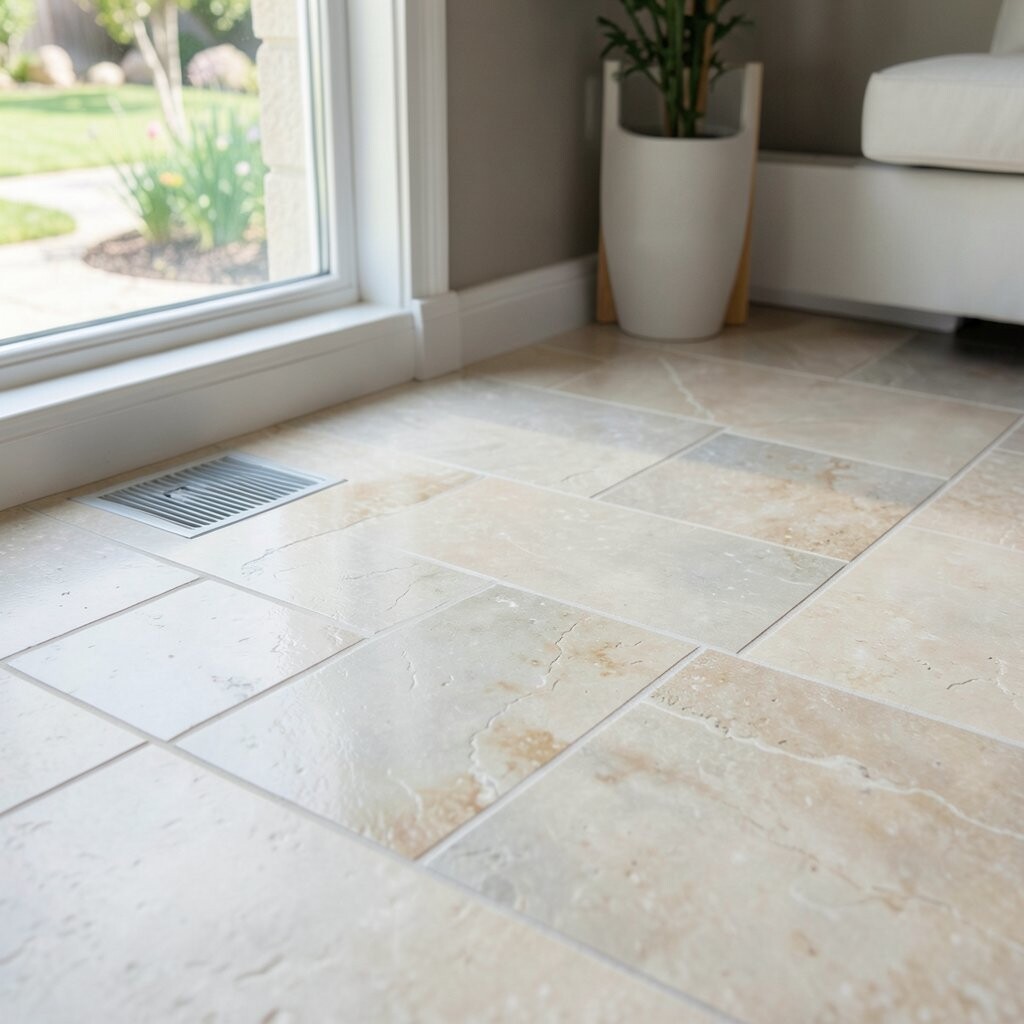
Stone finishes can be polished, honed, brushed, or tumbled, and each has a different look and maintenance needs. Using the wrong polishing method can change the texture permanently.
If your floor is honed, avoid products meant for mirror-level shine. If your stone is polished, don’t over-handle it with abrasive pads that dull the surface.
When you want more glow, consider professional services or products designed specifically for your finish. Test first because shine changes how light reflects and how scratches show.
14. Ignoring Weight, Furniture, and Foot Traffic
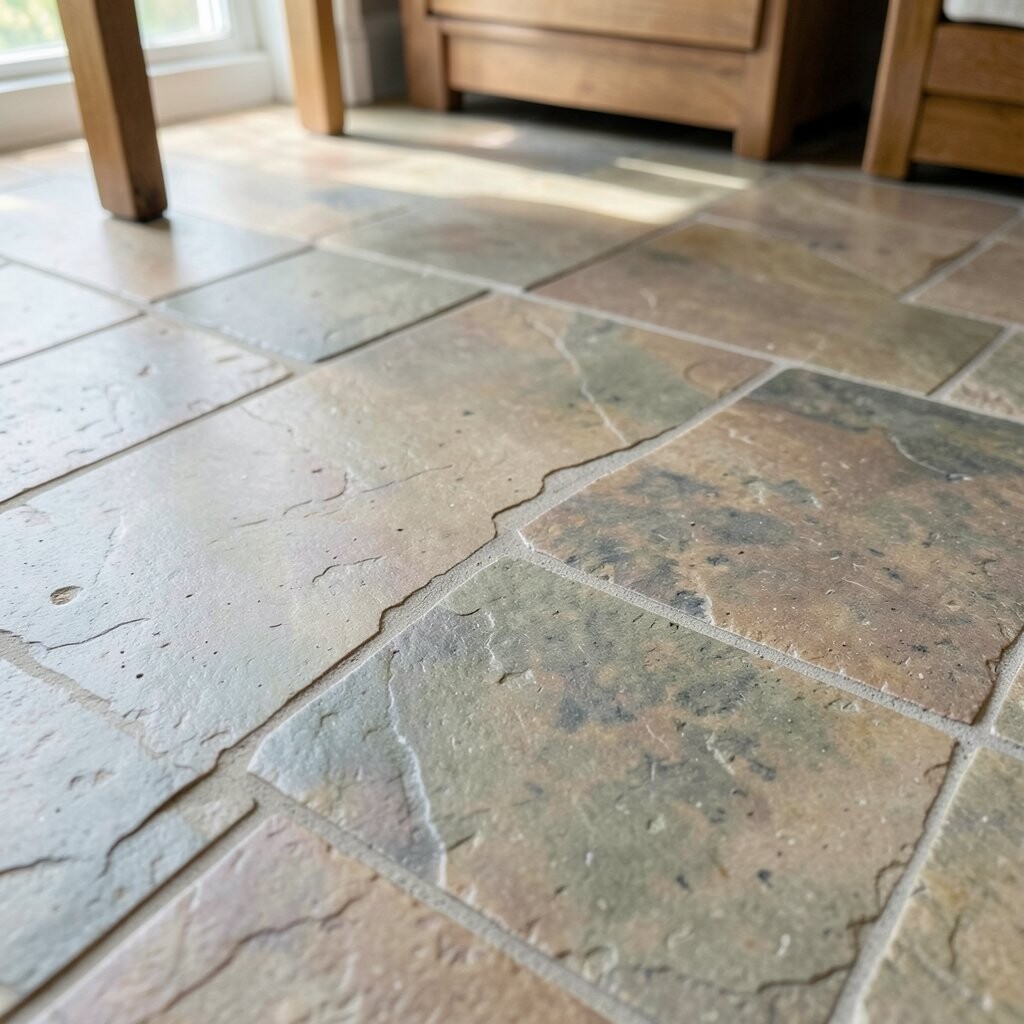
Even though stone feels tough, point pressure can chip edges or crack tiles over time. Heavy items dragged across the floor can also grind dust into the surface.
Use felt pads under furniture legs and inspect them often so they don’t wear out. Lift items when moving, and avoid sliding heavy appliances across the floor.
15. Using Harsh Chemicals to “Cut Through” Stains
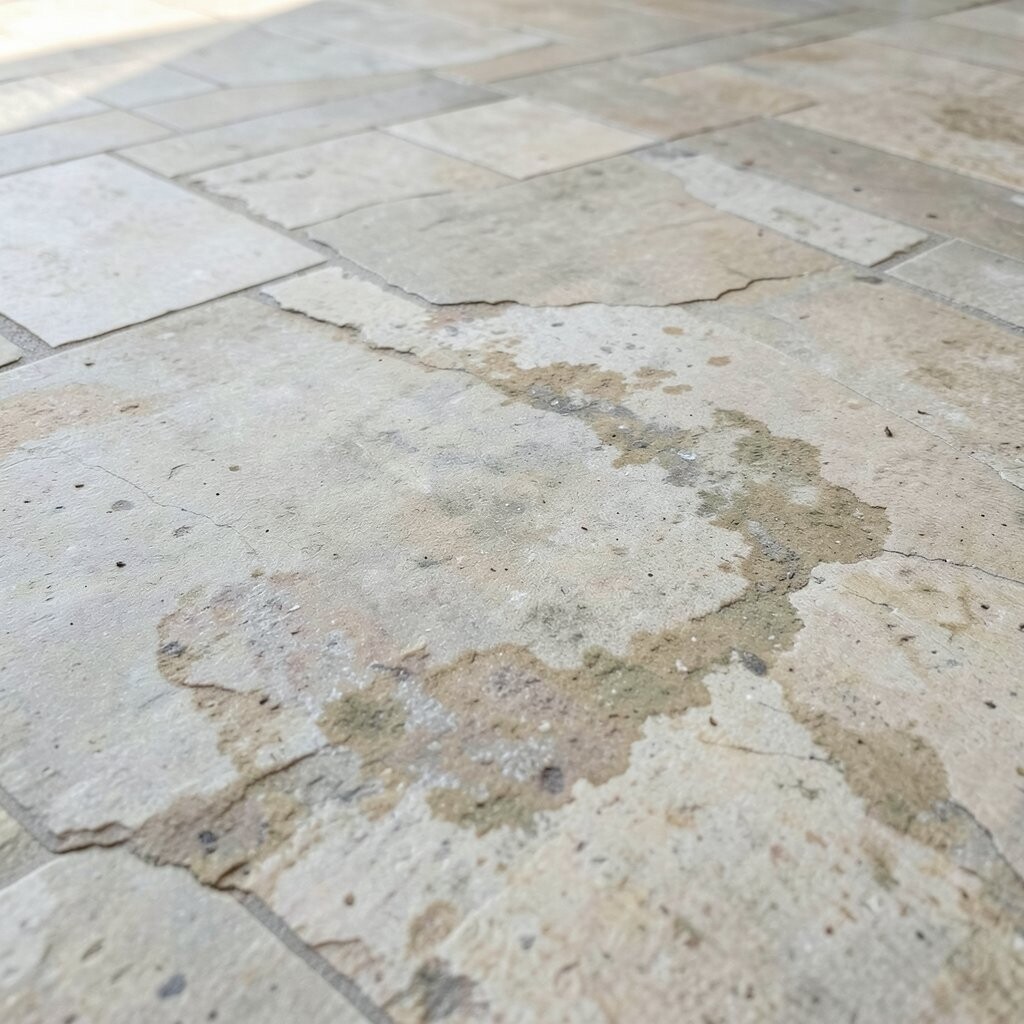
Stains can be stubborn, but chemical shortcuts can cause new damage. Bleach, strong degreasers, and stain removers can discolor stone or weaken sealers.
Match the remedy to the stain source, such as oil-based versus organic staining. If you need chemical help, choose products labeled for your stone type and follow the dilution and dwell times.
For many stains, gentle poultice methods work better because they pull the problem out without overworking the surface. Always rinse and dry thoroughly after treatment.
16. Overusing Mats and Trapping Moisture
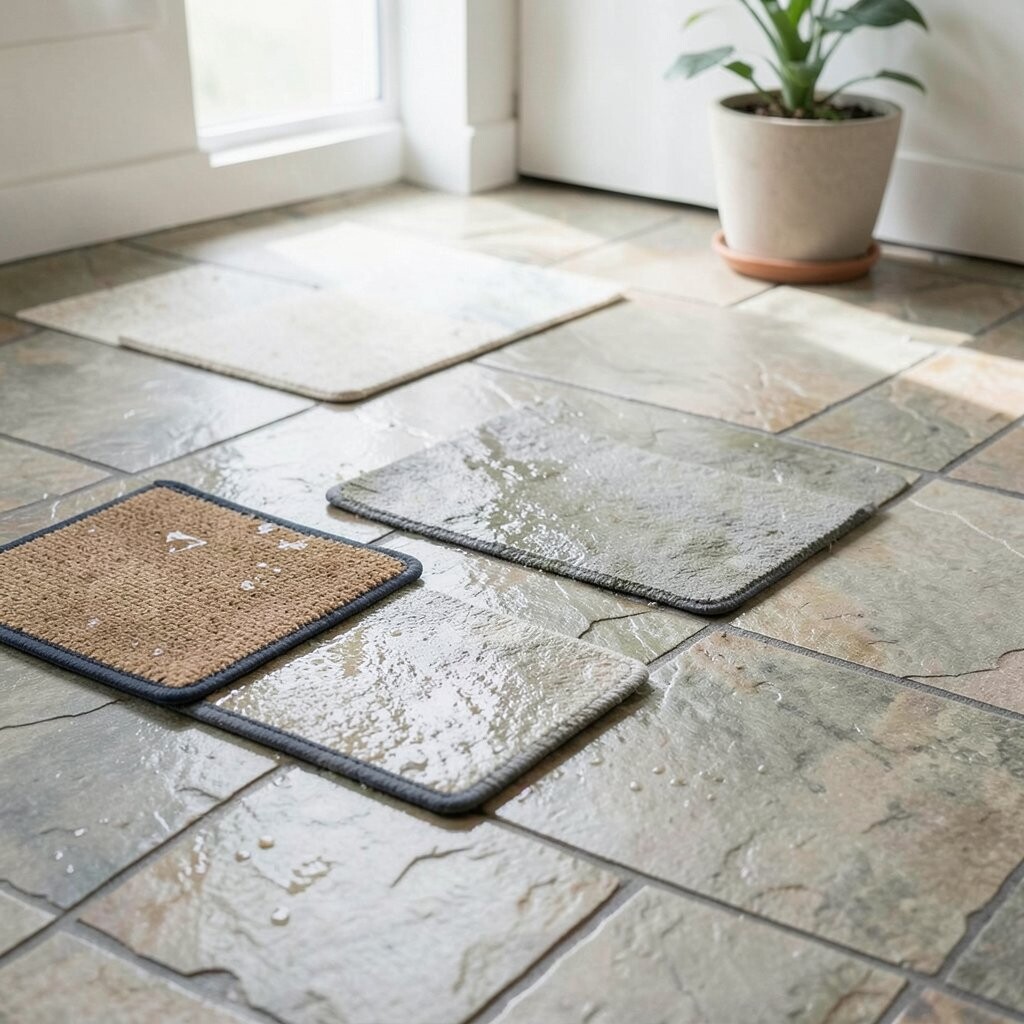
Mats protect stone, but they can also trap moisture underneath. That trapped dampness can create dark patches, especially on porous stones.
Choose breathable mats when possible and clean them regularly. If a mat gets wet, move it and dry the stone area beneath.
In humid climates, consider rotating mats so you don’t create constant pressure marks or persistent damp zones. Your floor should look even after the mat moves, not patchy.
17. Forgetting Grout Care and Edge Details
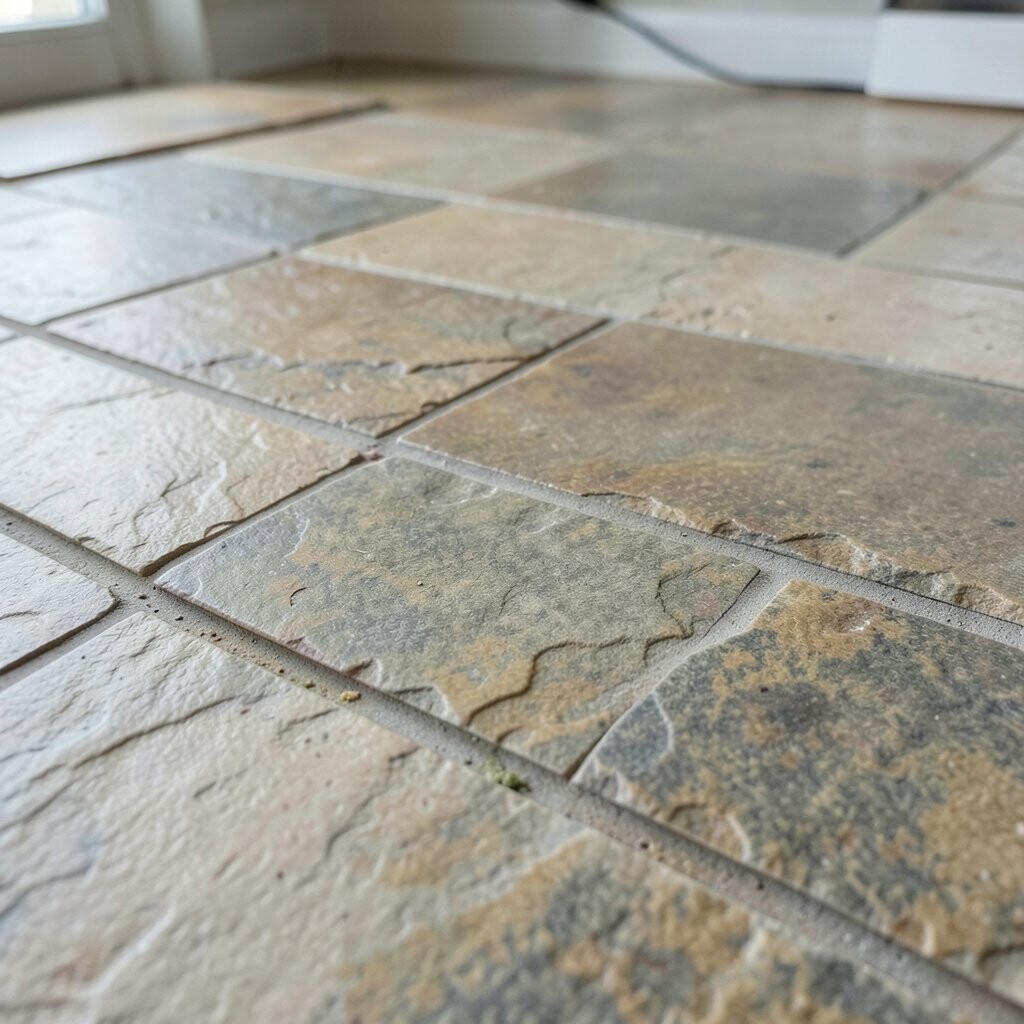
Many people focus only on the stone slabs and ignore grout, but grout affects how the floor looks as a whole. Grout discoloration can make clean stone seem dingy by comparison.
Clean grout with techniques that don’t splash harsh cleaner onto adjacent stone. For sealed grout, treat it with the same respectful timing as the surrounding surfaces.
When grout is cracked or failing, addressing it sooner helps prevent moisture from reaching the subfloor. Edge details around transitions and baseboards need attention too because water often starts problems there.
18. Waiting Too Long Before Removing Build-Up
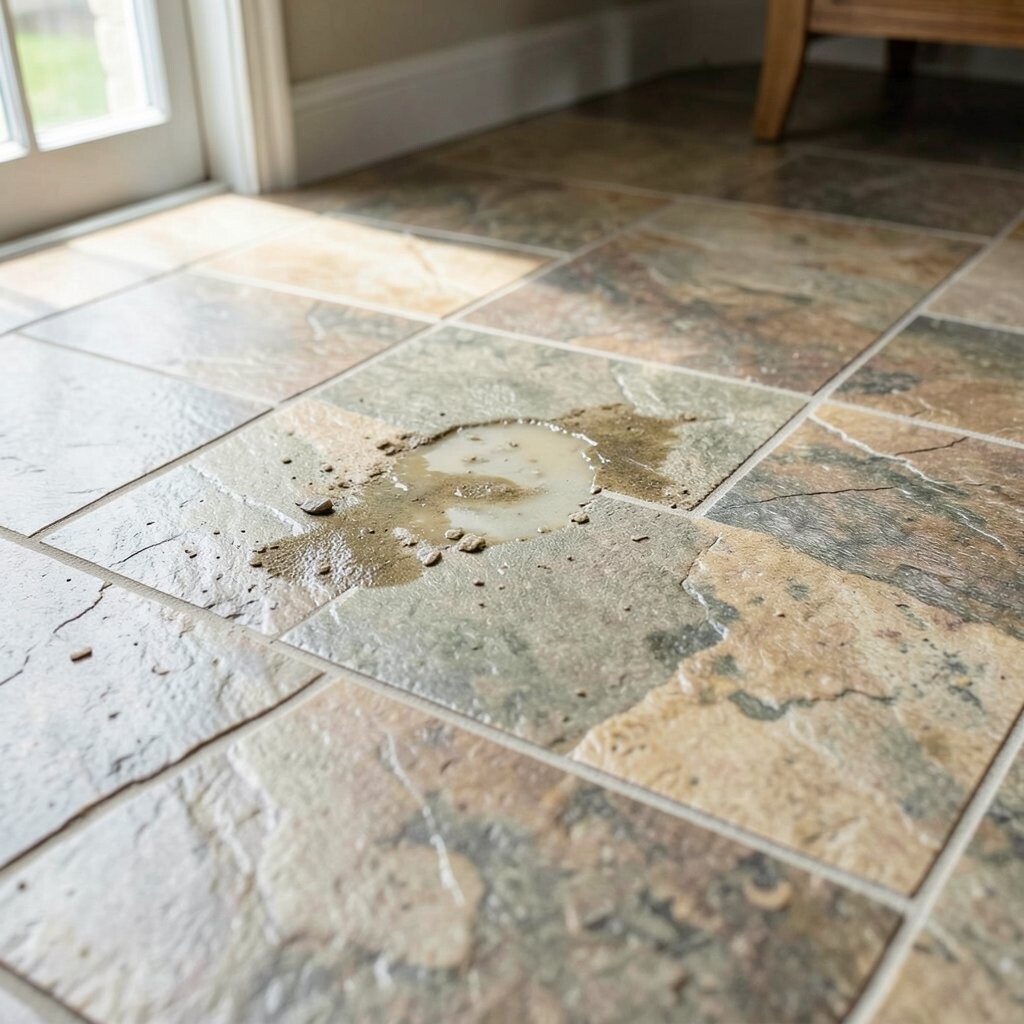
Residue from cleaners, hard water, and everyday products can build up and dull the stone’s natural look. Over time, the floor may feel rough even when it’s visually clean.
Pay attention to the way the floor reflects light; dullness that worsens after cleaning often signals residue. Use a stone-safe approach for periodic deep cleaning as recommended for your stone and sealer.
If build-up is severe, consider professional restoration rather than repeating home scrubbing sessions. The goal is to remove the layer causing dullness without stripping the stone or damaging the finish.
19. Ignoring Safety Basics While Cleaning
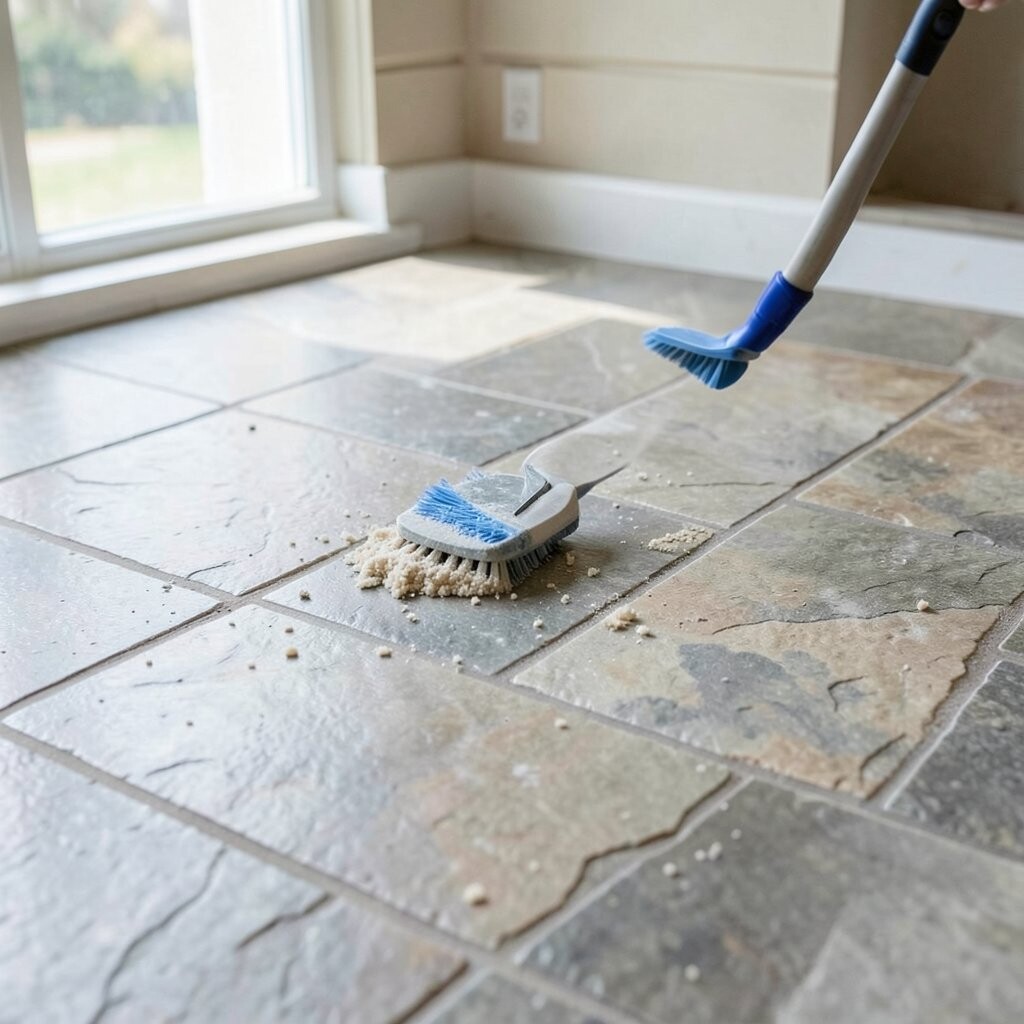
Care products aren’t always harmless, and stone floors can get slick when you’re cleaning them. Safety mistakes can lead to falls and also to hurried cleaning that damages surfaces.
Wear gloves if your cleaner is strong, and keep the room ventilated. Make sure the floor is fully dry before walking on it, and use the right mop head so you don’t drag particles across the stone.