The kitchen floor takes a beating every day, from spills to heavy foot traffic. Small installation mistakes can turn a beautiful finish into a constant repair headache.
1. Skipping Moisture Testing

Moisture is the silent enemy of many kitchen floors. If subfloors or slabs hold extra water, adhesives and materials can fail, warp, or start to smell.
Before installation, test the subfloor with the right method for your flooring type and climate. Match test timing to product requirements so you’re not guessing. When moisture is high, you’ll need mitigation like leveling compounds, vapor barriers, or approved membranes before laying anything down.
2. Choosing the Wrong Underlayment

The wrong underlayment can change how your floor feels and wears. Some products help with sound, but others trap moisture or reduce stability.
Look up what your specific plank, tile, or sheet flooring requires so you don’t mix incompatible layers. Pay attention to thickness, vapor ratings, and whether your subfloor is already smooth enough.
For kitchens, consider underlayments that help with sound reduction and protect against minor subfloor texture. If you have radiant heat or special subfloor systems, confirm compatibility and follow the manufacturer’s instructions closely. Spending a little time here usually prevents squeaks, gaps, and uneven movement later.
3. Ignoring Subfloor Flatness
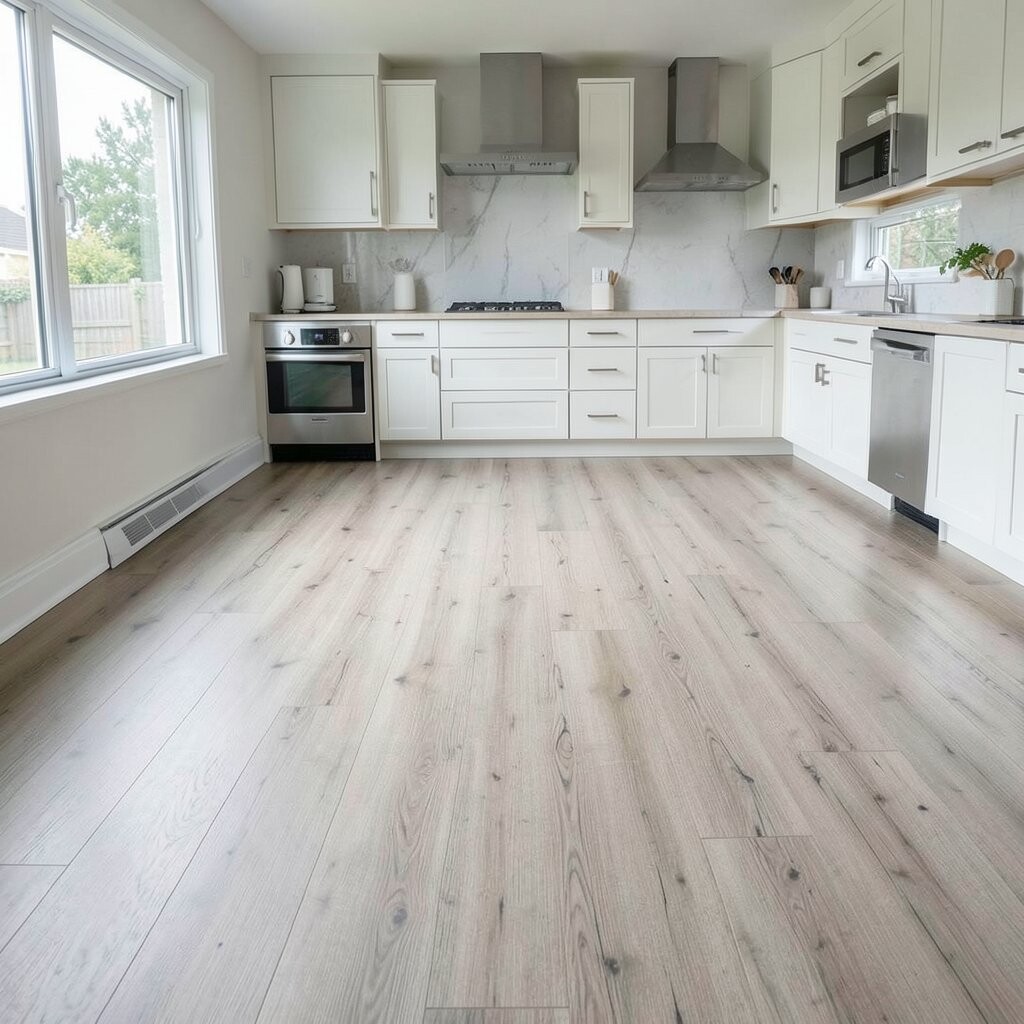
A kitchen floor should feel solid when you walk on it. If the subfloor is wavy or out of level, your new surface may flex and loosen over time.
Check flatness with a straightedge and follow the tolerance limits for your flooring. Sand high spots, fill low areas, and allow any patching material to cure fully before installation begins.
For visual clarity, imagine sunlight catching every ripple on a glossy plank surface. That’s why taking flatness seriously makes floors look better right away and hold up longer.
When you skip this step, locking systems may fail to engage cleanly and grout lines can crack. It also increases wear in high-traffic kitchen zones like the entry path and the sink area.
4. Not Accounting for Expansion and Contraction

Many people think floors should be installed tight like a tile grid forever. In reality, most materials move with humidity and temperature.
Use the correct expansion gaps around walls, cabinets that don’t move, and doorways. Then cover those gaps with trim or transitions so your floor looks finished while still breathing.
5. Installing Without Acclimation

Your flooring needs time to adjust to the indoor environment before it’s laid down. Skipping acclimation can cause gaps, buckling, or peaking as the boards absorb or release moisture.
Bring boxes into the kitchen and store them flat as recommended by the manufacturer. Keep the room at normal living conditions so the acclimation matches how you’ll actually use your home.
When you acclimate, the final color and feel are more consistent too. It’s especially important with luxury vinyl planks, laminate, and engineered wood that can react to seasonal swings.
6. Rushing the Layout Plan

A great kitchen floor starts with a smart plan, not a last-minute “we’ll figure it out” moment. Without measuring and dry-fitting, patterns can end up crooked or unbalanced at the edges.
Before any cuts, map out the main direction of the flooring, check key reference lines, and confirm how planks or tiles will land near doorways. Dry-lay sections so you can see whether your best-looking edges fall in the right spots.
Also think about sight lines from the kitchen doorway and where you naturally stand while cooking. A layout that feels intentional makes the whole room look more put together, even when the floor is budget-friendly.
7. Starting in the Wrong Corner

Where you begin matters more than people expect. A crooked starting line can create a “wave” that becomes harder to correct as the installation grows.
Use a straight reference line and start from the most visible, most square area rather than the first corner you spot. Measure diagonal distances between corners to locate any skew.
If your room is slightly off, you can still get a clean outcome by adjusting your first row. This is one of those small choices that protects your floor from visible misalignment.
8. Using the Wrong Adhesive or Fasteners

Adhesives and fasteners aren’t interchangeable. Using the wrong product can cause weak bonding, staining, or failure under moisture exposure.
Follow the flooring manufacturer’s specs for adhesive type, trowel size, cure time, and subfloor readiness. If you’re installing tiles, the mortar and grout also need to match the tile material and kitchen conditions.
For example, some floors require specific acrylic or pressure-sensitive options, while others need moisture-rated systems. Always check label instructions and don’t “eyeball” coverage or spread rate.
When bonding is off, you’ll notice hollow spots, loose edges, or shifting sections that turn into expensive repairs later. In a kitchen, those problems show up fast because spills and heavy appliances keep stressing the floor.
9. Not Preparing the Surface Properly

A beautiful floor depends on a clean, sound surface beneath it. Dirt, dust, paint overspray, or old adhesive can interfere with bonding and leveling.
Scrape off debris, remove contaminants, and ensure the subfloor is dry and fully cured. If you’re using leveling compound or patching, apply it correctly and let it reach the right hardness before installation.
10. Forgetting About Cabinet Planning

Cabinets can trap gaps and complicate transitions if you don’t plan around them early. Installing flooring under certain cabinets may or may not be recommended, depending on your style and material.
Decide whether you’ll install the floor before cabinets or around fixed bases. Consider whether drawers and toe-kick areas will need clearance so the final height looks consistent.
For a personalization touch, think about how you want the flooring to frame the island and how you’ll handle height changes at thresholds. Planning cabinet steps early can save you from awkward cuts and uneven edges.
11. Skipping Under-Door and Threshold Planning

Doors, vents, and transitions are where kitchen floors often look messy when planning is rushed. If you ignore them, you’ll end up with binding doors, uneven transitions, or gaps you can’t easily hide.
Plan flooring height and choose the correct transition pieces between rooms. Test door clearance and cut under-door spaces as needed so the new surface slides under cleanly without scraping.
Thresholds are also good places for extra stability, especially near sinks and exterior entries where moisture risk is higher. A well-designed transition can look intentional instead of “patched.”
It also helps your floor move properly without stressing edges at the doorway.
12. Making Bad Cuts and Ignoring Layout Breaks

Kitchen flooring needs lots of fitting around corners, cabinets, and outlets. If your cuts are sloppy, the floor may not lock together, or tiles may sit unevenly.
Measure twice, mark clearly, and use tools suited for the material, such as a quality tile saw, flooring cutter, or jigsaw blade for specific cores. Maintain consistent expansion gaps and keep edges straight so seams line up naturally.
When you hit a layout break, like a doorway or an appliance footprint, plan where the seam will land. A clean break can make the installation look more professional and reduce the chance of future shifting.
13. Underestimating Cleanup and Dust Control
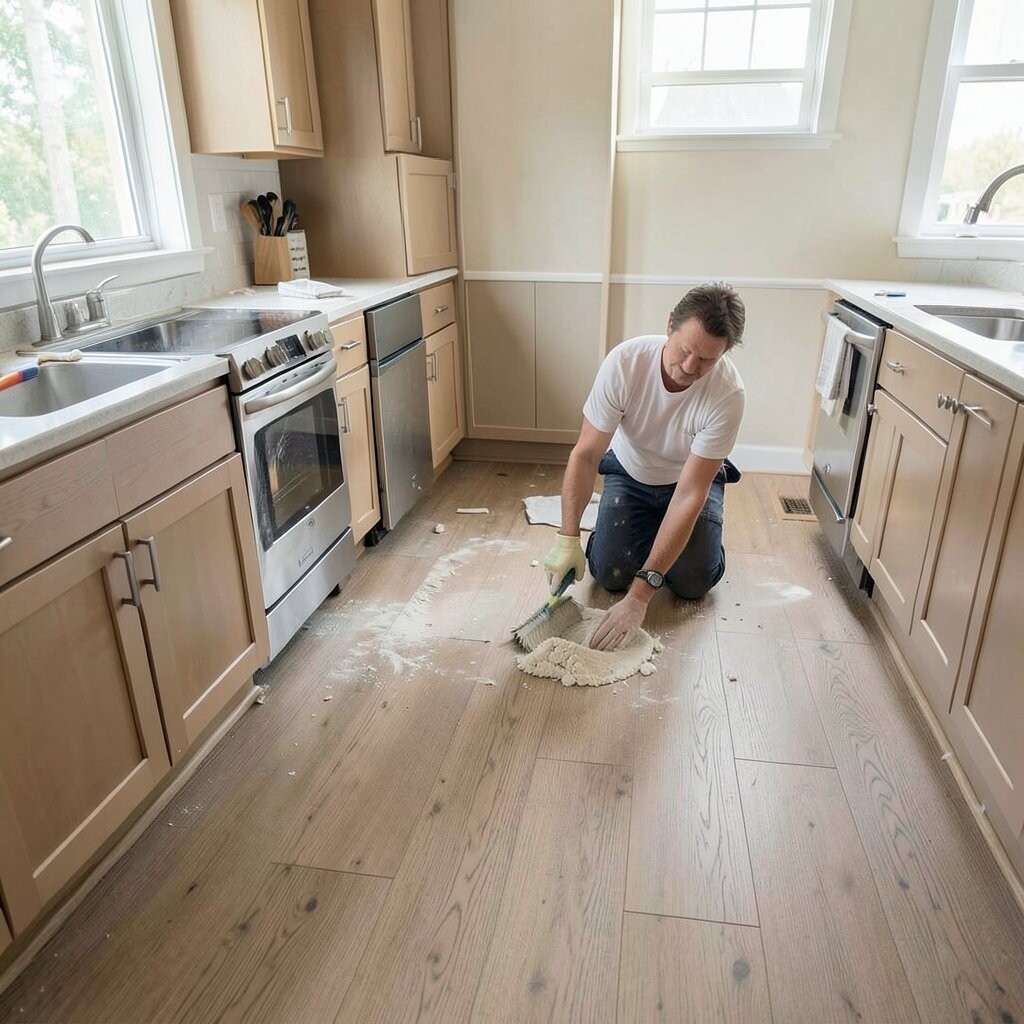
Dust and debris don’t just look messy; they can ruin adhesion and ruin fit. Even small particles can interfere with locking joints and leveling.
During cutting, control dust and clean often so the surface stays ready for bonding. Vacuum thoroughly, especially in corners, and avoid letting grout or adhesive residue build up where it can affect the next layer.
In busy kitchens, it’s also worth protecting the area so you can keep working without constantly tracking debris. A tidy workspace helps you see mistakes early and prevents you from embedding grit into the floor system.
14. Not Checking for Level After Installation Begins

It’s easy to feel confident once the first few rows go down. But the floor can shift as you continue if you don’t keep checking alignment and level.
Use a level and measuring tape throughout the installation, not just at the start. Watch for tiny steps between rows and adjust before the adhesive cures or before more boards lock in place.
15. Skipping Stagger Requirements for Plank Floors

Staggering seams helps floors look natural and strengthens the overall structure. If boards line up like a repeating pattern, the floor can appear “cheap,” and weak spots can form.
Follow the minimum stagger guidelines from your manufacturer so seams fall where they should. For personalization, you can choose a longer stagger rhythm for a more modern look, but only within the required range.
Also think about how seams line up with kitchen traffic lines, like the path from the fridge to the stove. A strong stagger pattern makes the entire surface feel more intentional and stable.
16. Ignoring Kitchen-Specific Wear Points

The kitchen has zones that get special stress, including the area near the sink, dishwasher, and entry path. Installing without thinking about these wear points can leave you with early wear, lifting edges, or staining.
Use stain-resistant materials where spills happen most, and ensure edges are protected with correct sealing if required. Consider rugs or mats designed for kitchen use, especially in front of the sink, as a practical extra layer of protection.
Also plan for appliance moves and future upgrades. A floor that tolerates minor stress and moisture cycles is usually a smarter long-term choice than a delicate surface that looks perfect but can’t handle real life.
17. Skipping Proper Sealing and Finishing Steps
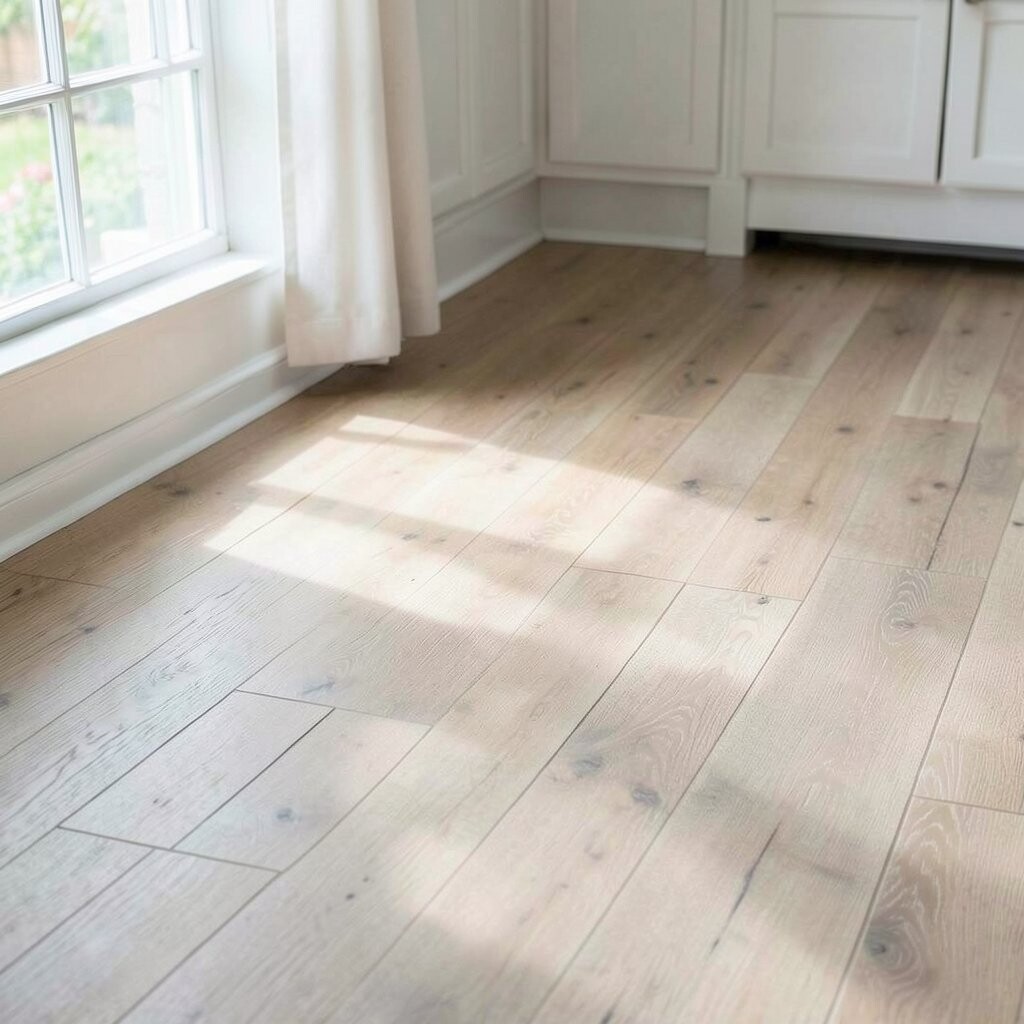
Some kitchen floors need sealing or specific finishing to resist water and grease. If you skip this step, stains can soak in faster than you expect.
Apply sealers, finishes, or grout treatments exactly as instructed, including curing and drying times. Don’t rush to move appliances or place heavy items before the floor system is ready.
Keep in mind that kitchens see frequent wipe-downs, so the right finish can help reduce water penetration and make cleanup easier. It’s a small step that supports the beauty you want to see every day.
18. Choosing Style Over Compatibility

It can be tempting to pick the trendiest look, but style needs to match how your kitchen functions. A floor can be gorgeous and still be a poor fit if it doesn’t handle moisture, temperature swings, or daily traffic.
Choose materials based on your household routines, pet needs, and how often you cook or spill. Consider durable top layers, slip-resistant options, and realistic maintenance so the look stays fresh.