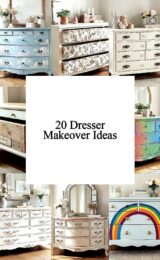
21 Cheap DIY Dresser Farmhouse Projects Ideas For Your Home
There’s something magical about a farmhouse dresser that looks like it has stories to tell. With a few smart swaps, you can make it charming, useful, and totally yours.
These ideas focus on budget-friendly materials and simple steps that still look great in real rooms. Pick one project and start with the small changes first.
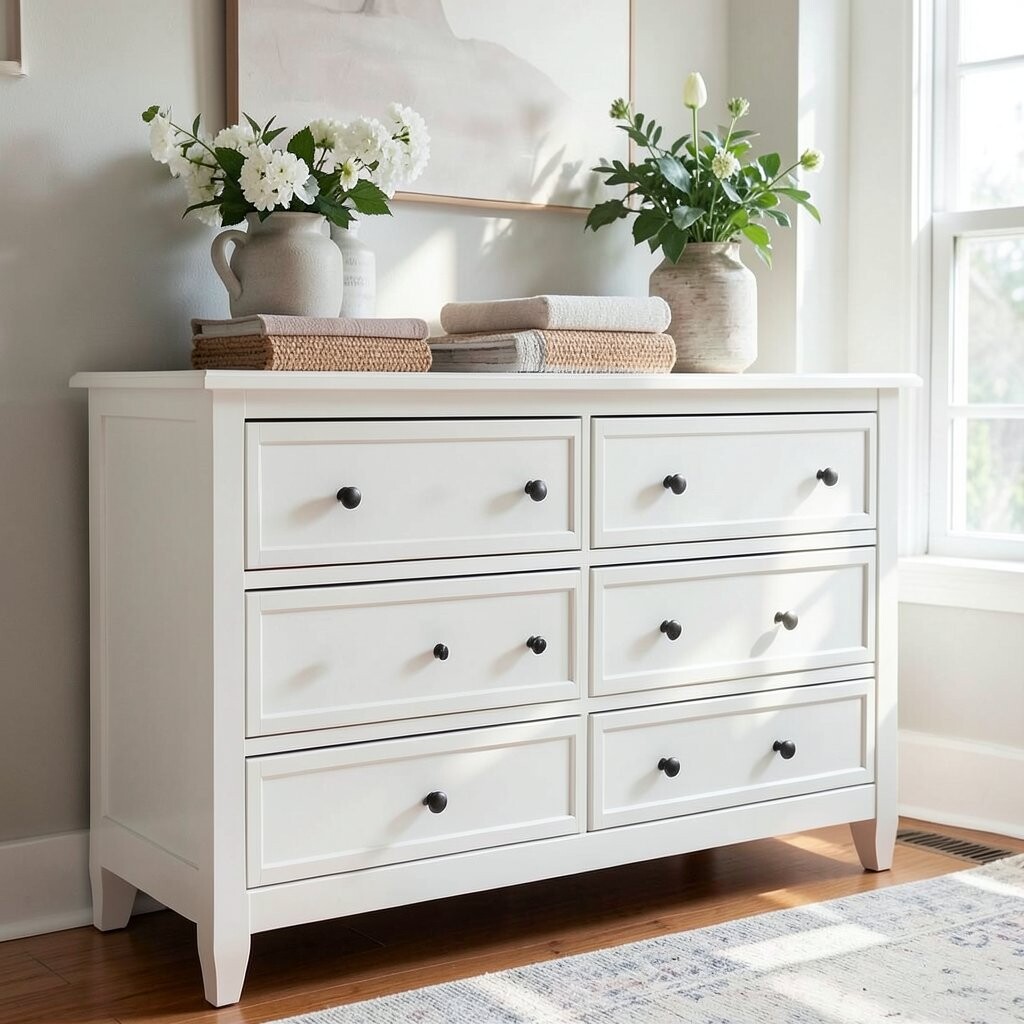
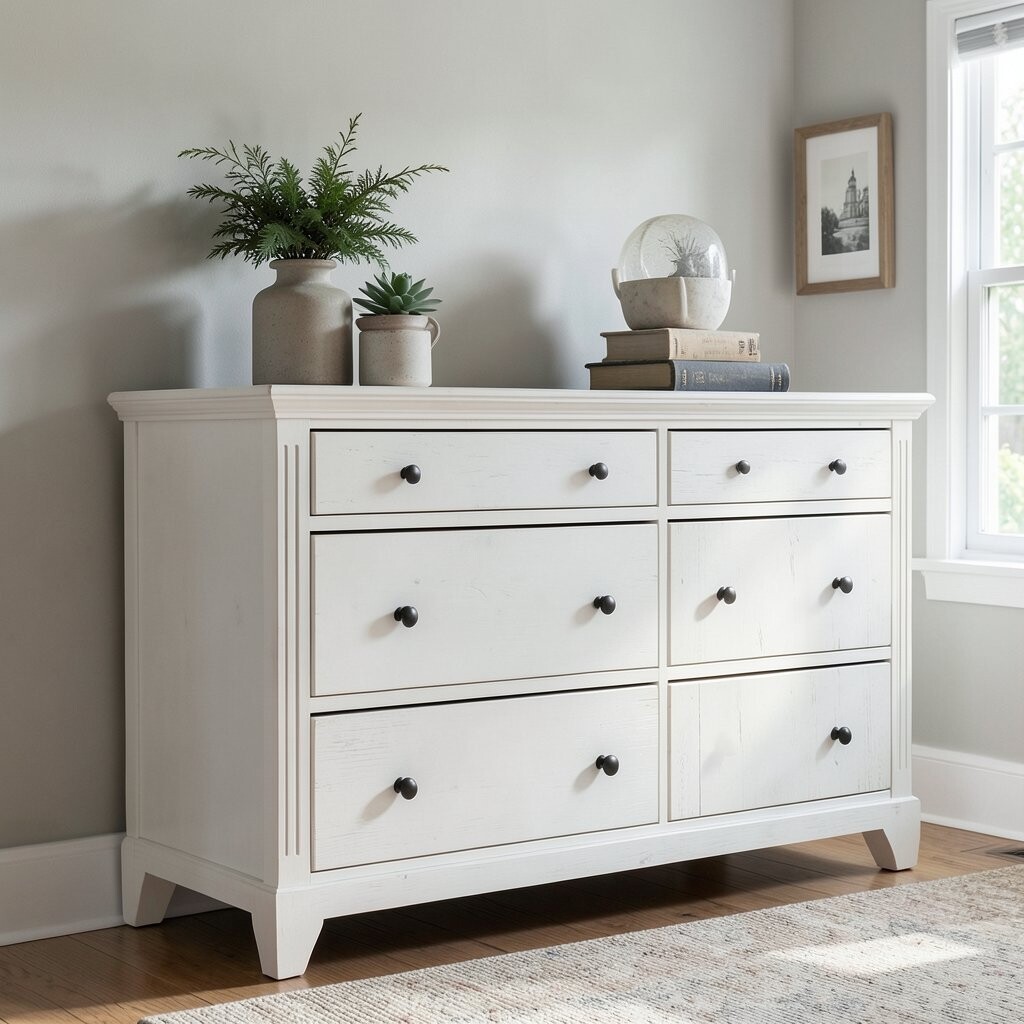
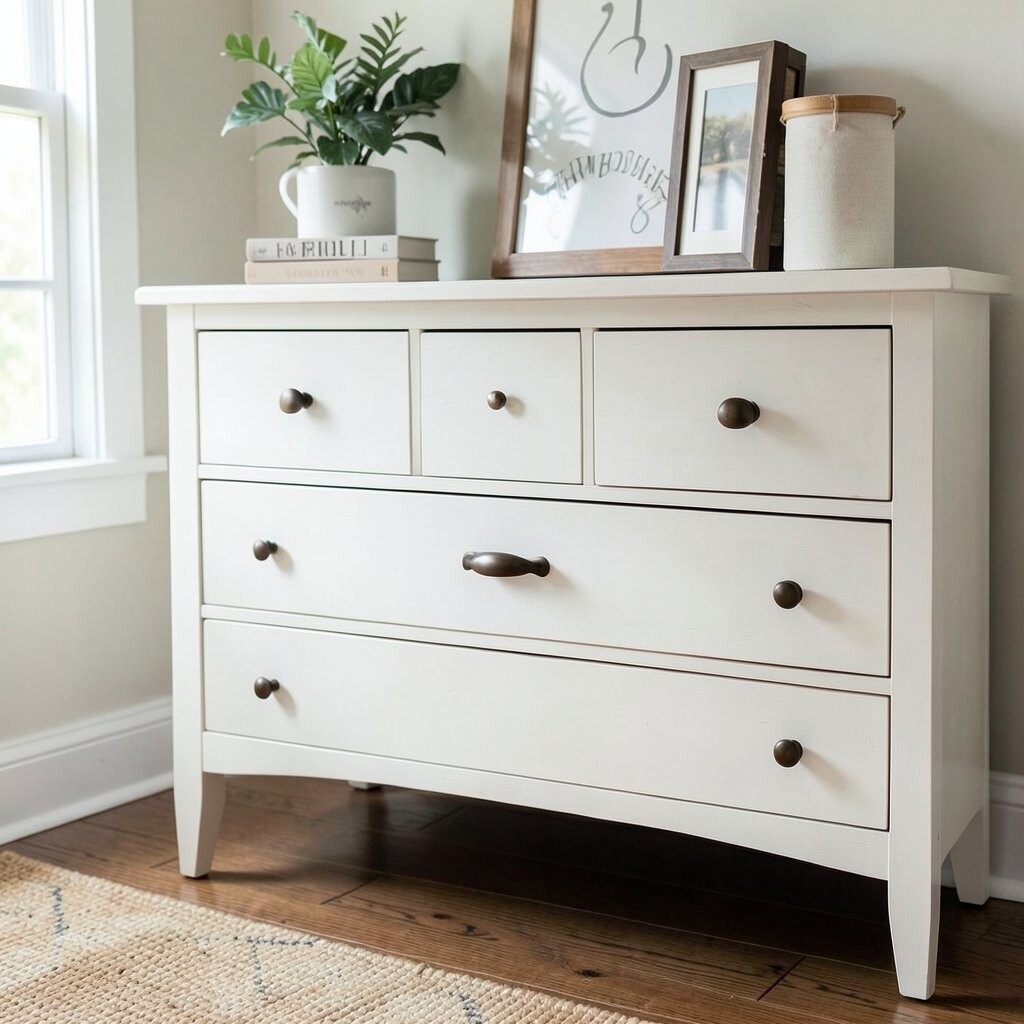
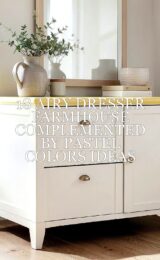
You can turn a plain dresser into a bright farmhouse piece with a calm white paint job. Imagine the way sunlight bounces off smooth doors and drawers that look crisp and clean.
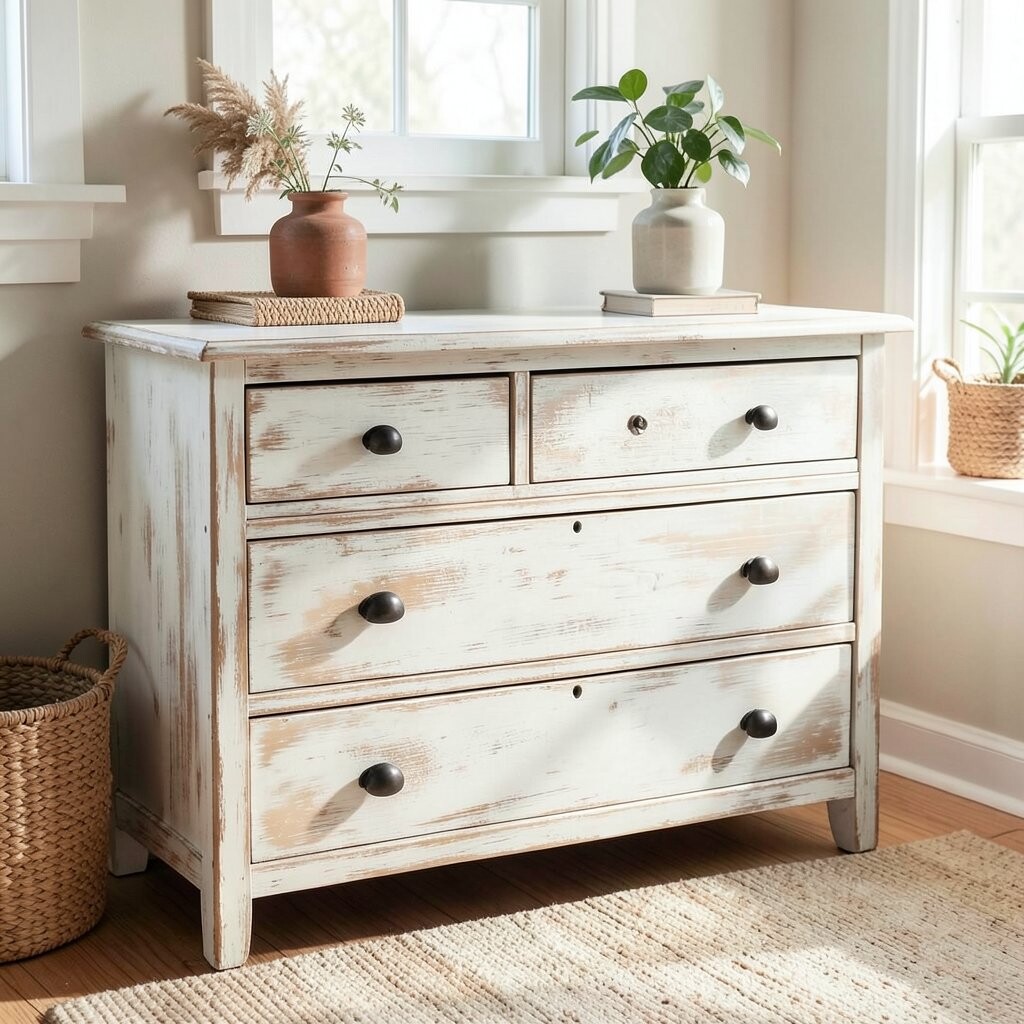
Choose a satin or eggshell finish so it wipes easily. This project saves money because paint is often cheaper than buying a new dresser. If you want extra charm, lightly distress the edges with sandpaper for a worn, friendly look.
2. Add Reclaimed Wood Drawer Front Panels
Add Reclaimed Wood Drawer Front Panels
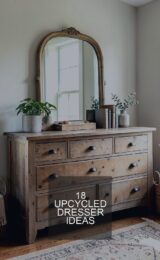
For a warm, rustic vibe, swap your drawer fronts with small reclaimed wood panels. You’ll see natural grain lines that instantly make the dresser feel older, in a good way.
This adds character without changing the whole piece, and it can be done with simple tools. Use wood filler for gaps, then stain lightly to highlight texture. Tie the look to your room by matching the wood tone to your picture frames or shelf trim.
Check for straight boards and sand them smooth so drawers still glide. Measure each panel carefully and keep hardware centered. A budget tip: visit salvage yards and ask if they have short offcuts you can buy cheaply.
3. Weathered Gray Stain With Clear Topcoat
Weathered Gray Stain With Clear Topcoat
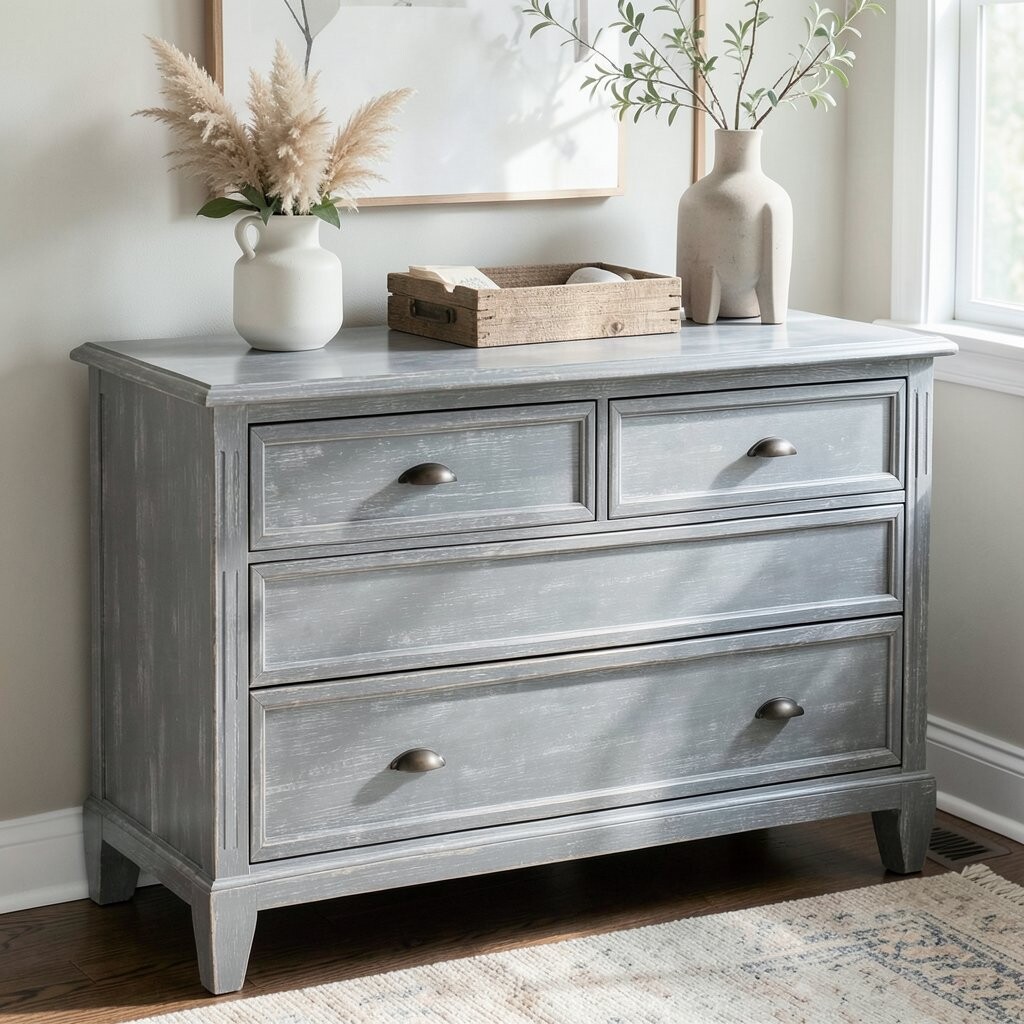
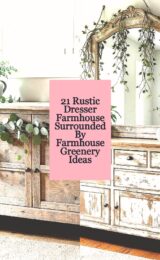
Instead of paint, try a weathered gray stain for a farmhouse-gray finish that looks soft and lived-in. Picture the drawers looking like they belong in a cozy country house.
Staining keeps the wood’s natural feel, which is great if you love visible grain. It also hides small imperfections better than bright paint. Finish with a clear topcoat so fingerprints and everyday mess wipe away easily.
Use a foam brush to apply stain evenly, then wipe off excess for that faded look. If the dresser is already varnished, lightly sand first so the stain can grip. Personalize by mixing a tiny bit of darker stain into the last coat for depth.
Watch for trends: gray farmhouse pieces are still popular because they match both modern and traditional décor.
4. Swap the Knobs for Vintage-Style Hardware
Swap the Knobs for Vintage-Style Hardware
Small changes can make a huge difference, and hardware is the fastest place to start. When you add vintage-style knobs, the dresser instantly looks more collected than bought.
Choose matte black, antique brass, or brushed nickel for different farmhouse moods. This project is budget-friendly because knobs and pulls are usually inexpensive. It also helps your dresser feel smoother to use because updated pulls can fit your grip better.
5. Use Chalk Paint and a Dark Wax Edge
Use Chalk Paint and a Dark Wax Edge
Chalk paint gives you that soft, velvety farmhouse surface, and dark wax adds a gentle “shadow” along edges. Think of how a cabinet looks when it’s been loved for years, but still feels clean.
After painting, rub wax into corners and raised areas so details stand out. This makes the dresser look richer without spending on fancy molding. Keep a clean cloth nearby and buff for a satin glow.
Personalize by choosing a chalk paint color that matches your room—cream, sage, or dusty blue. A practical tip: do a test spot inside a drawer first, so you know exactly how the wax will darken. The end result feels trendy and cozy at the same time.
6. Create a Shiplap-Style Side Panel Accent
Create a Shiplap-Style Side Panel Accent
Add farmhouse charm by covering just the dresser sides with narrow “shiplap” boards. When you step closer, you’ll notice clean lines that make the piece look custom.
This is a smart budget approach because you only need a small amount of wood. Use thin planks or pre-made shiplap strips for easy fitting. Seal the wood so dust wipes away, and paint it to match the main dresser color.
7. Add a Topper Shelf for Display
Add a Topper Shelf for Display
Turn your dresser into a styled spot by adding a simple topper shelf. Imagine a few pumpkins, a tall candle, or framed photos sitting neatly on top.
You can build it from inexpensive boards and basic brackets. The benefit is that it gives you more “farmhouse surface” without buying a whole new cabinet. It also helps you keep clutter organized because small items have a home.
Personalize by adding a crossbeam look or small ledge trim. If you want a softer style, round the edges slightly with sandpaper. Measure before you cut so the shelf sits level and doesn’t wobble.
8. Brush-On Rusty-Barn Red for a Statement Drawer
Brush-On Rusty-Barn Red for a Statement Drawer
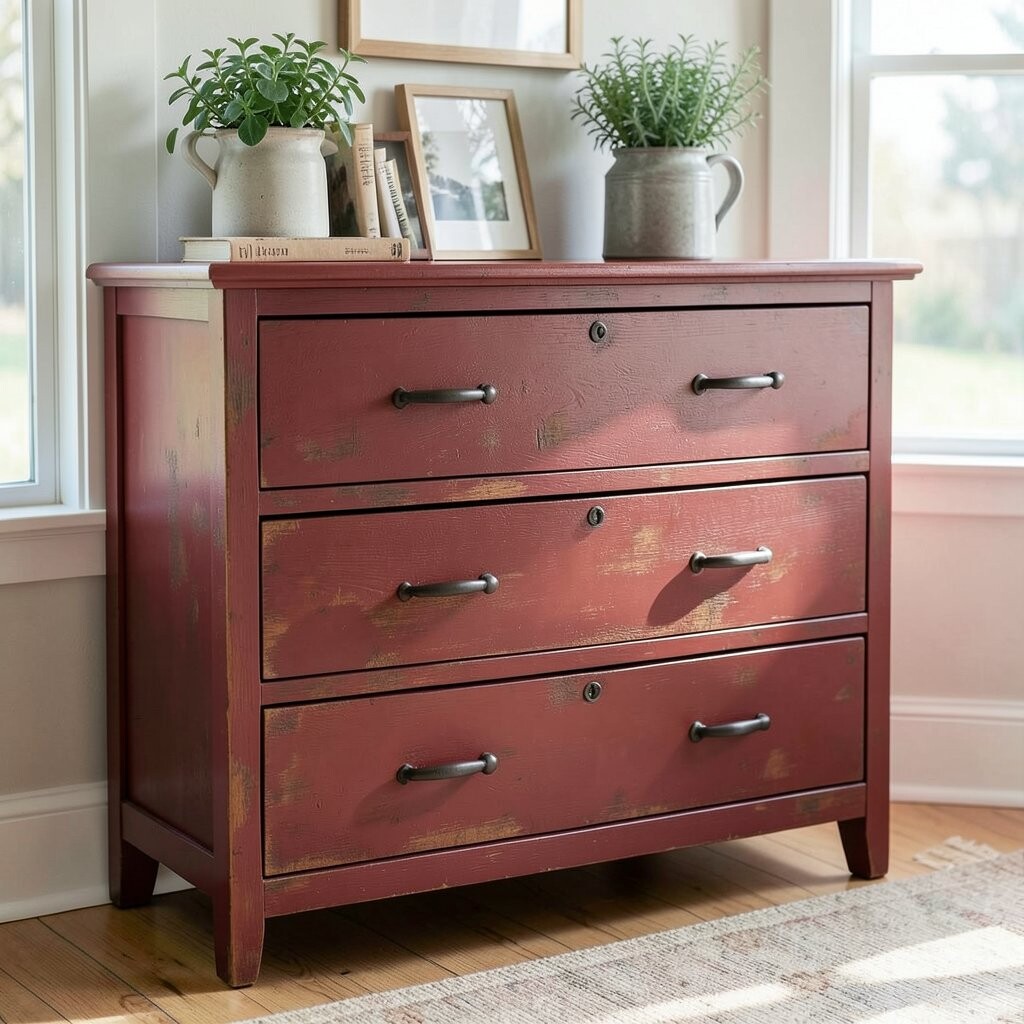
One bold color can make a dresser feel playful, especially when it’s a barn-inspired red. Picture the contrast of warm red drawers against a light body for a farmhouse “wow.”
Instead of painting everything, paint only one drawer or one section. This keeps costs low and makes the design feel intentional. Use a primer first if the surface is glossy, then apply paint in thin coats.
For extra uniqueness, add a small wood “badge” label on the red drawer front. You can also stencil tiny stars or simple words like “home” or “linen.” Finish with a clear coat for durability so everyday handling doesn’t chip the color.
This style matches current farmhouse trends that mix neutral bases with one warm accent.
9. Line Drawers With Linen-Style Fabric
Line Drawers With Linen-Style Fabric
Drawer liners make your dresser feel fancy, but the materials can be very affordable. When you open a drawer and see soft fabric, the whole piece feels more inviting.
Use cotton or linen-look fabric and adhere it carefully so corners stay smooth. This protects your belongings and reduces the chance of scratches. It’s also an easy way to personalize, since patterns like tiny checks or muted florals look farmhouse-ready.
10. Decoupage Vintage Maps on Drawer Faces
Decoupage Vintage Maps on Drawer Faces
Decoupage gives your dresser a storybook look, especially when you use old map pages. Imagine the lines of streets and routes showing through like a treasured find.
Cut images to fit drawer fronts, then seal them with a durable topcoat. This keeps the paper from peeling and helps it last through daily use. The benefit is that you get a unique design that no one else will have.
Personalize by choosing maps from places you love, like where you grew up or favorite vacation towns. Add a light stain wash around the edges so the paper blends into the wood. Cost tip: print your own antique-style map pages or use thrift store book pages.
11. Distress With a “Rubbed” Finish Instead of Heavy Scratches
Distress With a “Rubbed” Finish Instead of Heavy Scratches
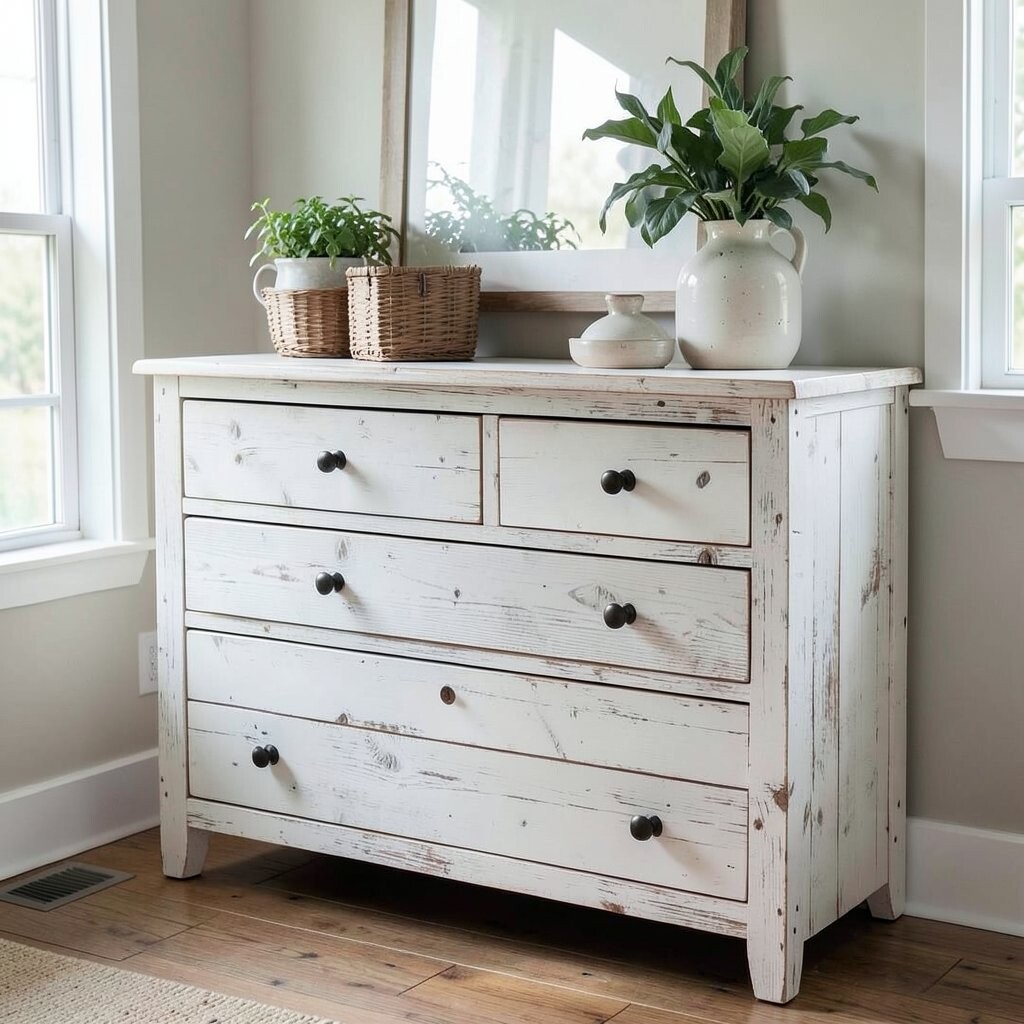
Distressing can look classy when you do it gently and evenly. You’ll love how the finish shows “wear” in places that feel natural, like corners and edges.
Use a darker glaze on edges first, then lightly sand the top layer so color shows through. This method creates a more realistic farmhouse look than big, random gouges. It also saves money because you’re using fewer fancy materials—just paint, glaze, and sandpaper.
12. Add a Crown Molding Trim to the Top
Add a Crown Molding Trim to the Top
Install a simple crown molding trim along the top edge to make a dresser look built-in. The visual payoff is huge because the top becomes a focal point in the room.
You can find molding pieces at home improvement stores in small lengths that fit many dressers. The benefit is that you hide rough edges and make the farmhouse style feel more “architectural.” Paint the trim the same color as the dresser or slightly contrast it for depth.
For personalization, carve or stencil tiny details on the trim before painting. A practical tip: use wood glue and small nails or screws, then fill holes with wood filler. Keep the trim centered by marking measurements with a pencil before attaching anything.
13. Create a Split-Paint Pattern: Upper Cream, Lower Warm Wood
Create a Split-Paint Pattern: Upper Cream, Lower Warm Wood
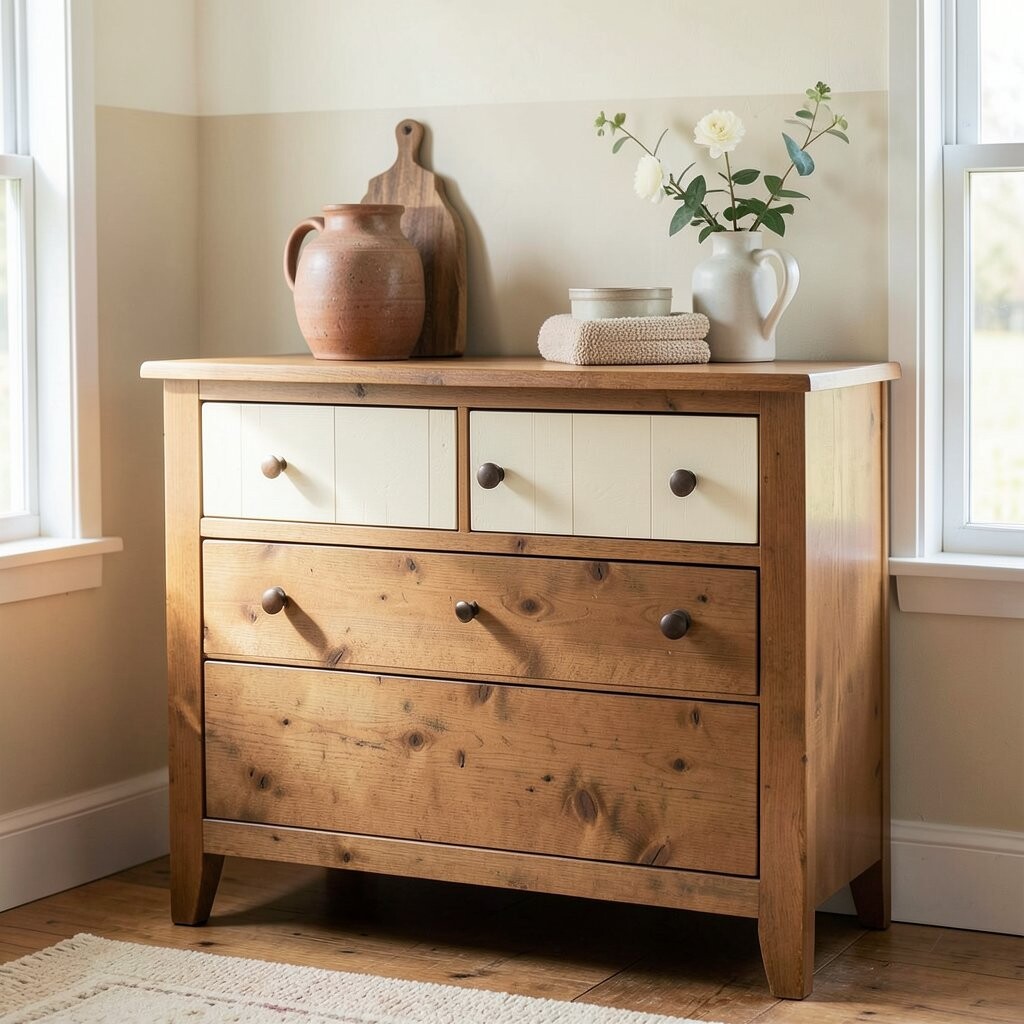
A split-paint pattern looks clever and modern, while still keeping a farmhouse feel. Imagine the top drawers in creamy white and the bottom in warm stained wood for a balanced look.
You can stain the bottom portion and paint the top portion, then separate them with a straight line. This saves effort because you work with two finishes instead of covering everything the same way. The look is unique because it feels styled like furniture you’d see in magazines.
Use painter’s tape for crisp edges, and remove tape while paint is still slightly tacky. Personalize by changing the warm tone to honey, pecan, or walnut stain. A cost consideration: stain is often cheaper than multiple layers of specialty paint.
This style fits current trends that favor mixed finishes and clean, intentional lines.
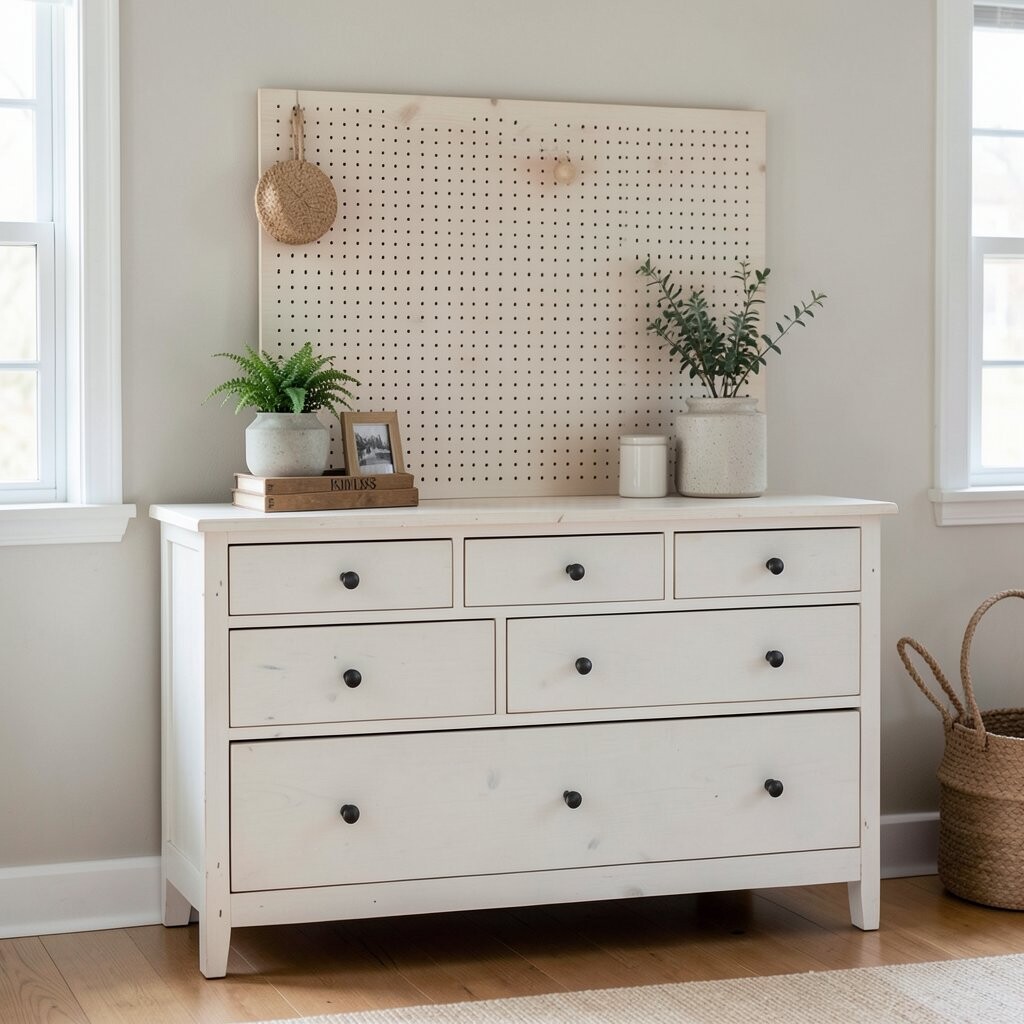
14. Make a Simple Pegboard Backboard Behind the Dresser
Make a Simple Pegboard Backboard Behind the Dresser
Attach a pegboard panel behind the dresser to create a functional farmhouse display wall. You can hang small baskets, hooks, and lightweight décor right where you need it.
The advantage is organization plus style, all without rebuilding the dresser itself. Paint the pegboard white or a muted gray so it blends with your scheme. Then add hooks for scarves, necklaces, or even keys for easy morning routines.
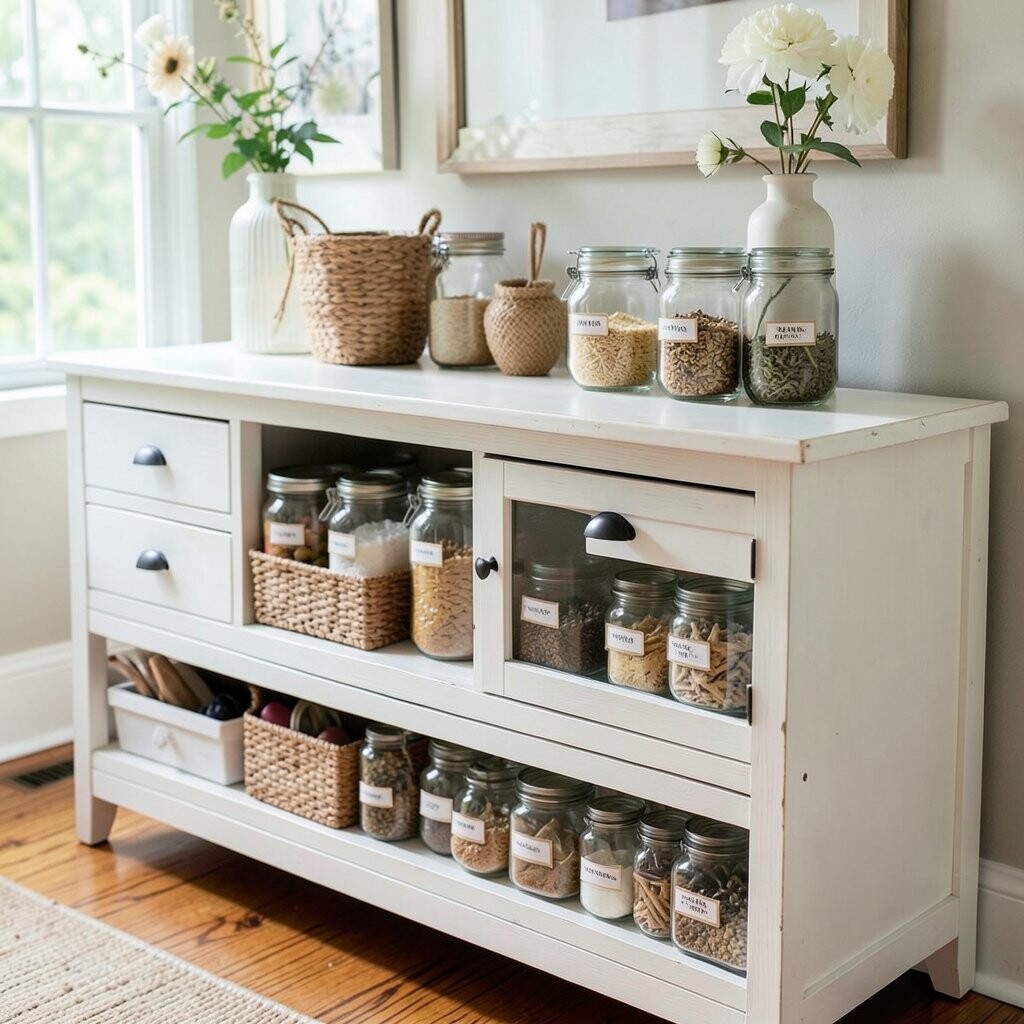
15. Add Glass Jar Storage With Labels
Add Glass Jar Storage With Labels
Turn drawer space into charming storage by using small glass jars for items like buttons or bath salts. When you place labeled jars on top or inside the drawers, the dresser looks neat and cozy.
You can make matching labels with chalk markers or printed label stickers. This is budget-friendly because jars can be bought in sets or reused from old containers. The benefit is that you can see what’s inside without digging around.
Personalize by using different label shapes and fonts, like “tea,” “buttons,” or “laundry.” Trend-wise, clear storage containers with simple labels still look clean and farmhouse-friendly. Keep jar sizes similar so the display looks tidy and intentional.
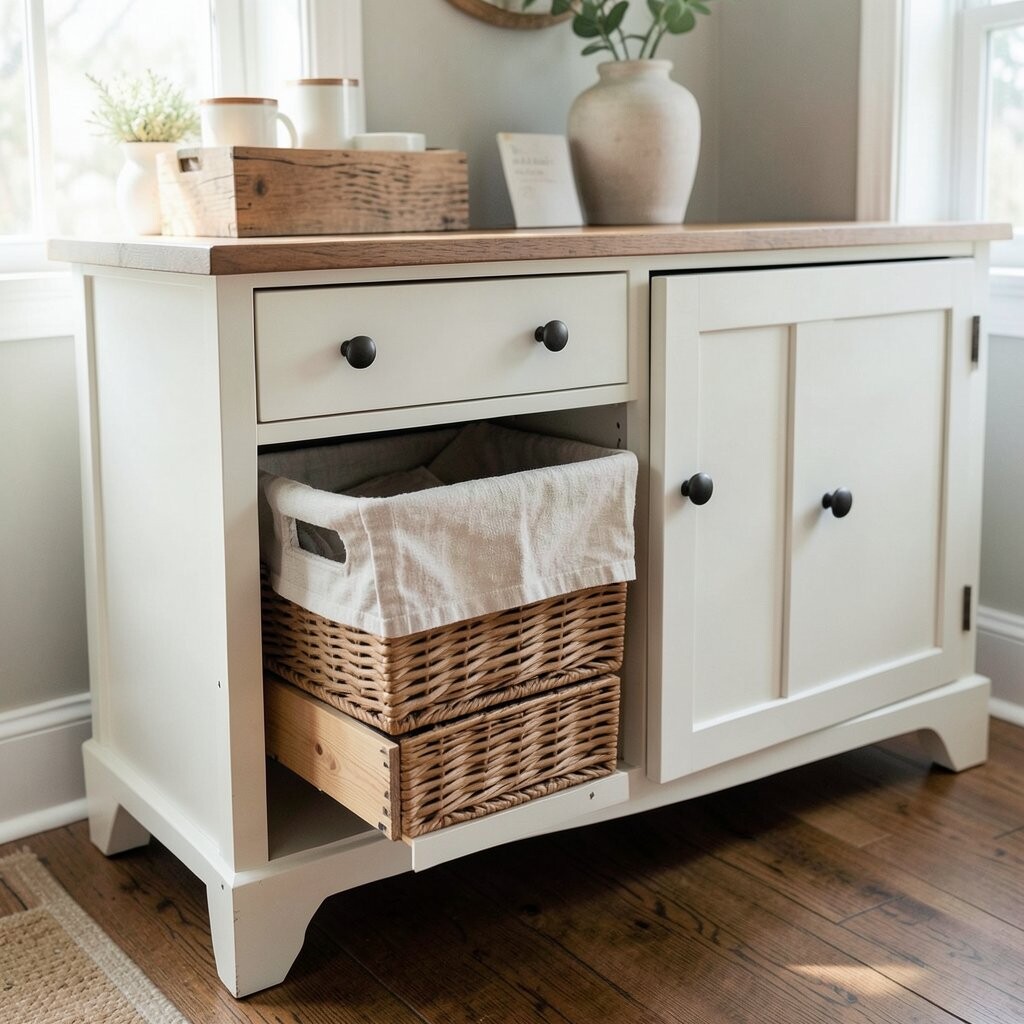
16. Replace One Drawer With a Linen Display Basket Insert
Replace One Drawer With a Linen Display Basket Insert
Want a dresser that feels special every day? Swap a drawer insert for a woven basket or framed linen tray so you can display folded towels or throws.
This gives you an easy farmhouse staging area while keeping items accessible. Measure the drawer opening, then choose a basket insert that fits snugly. You’ll love how the texture of woven material adds warmth next to painted wood.
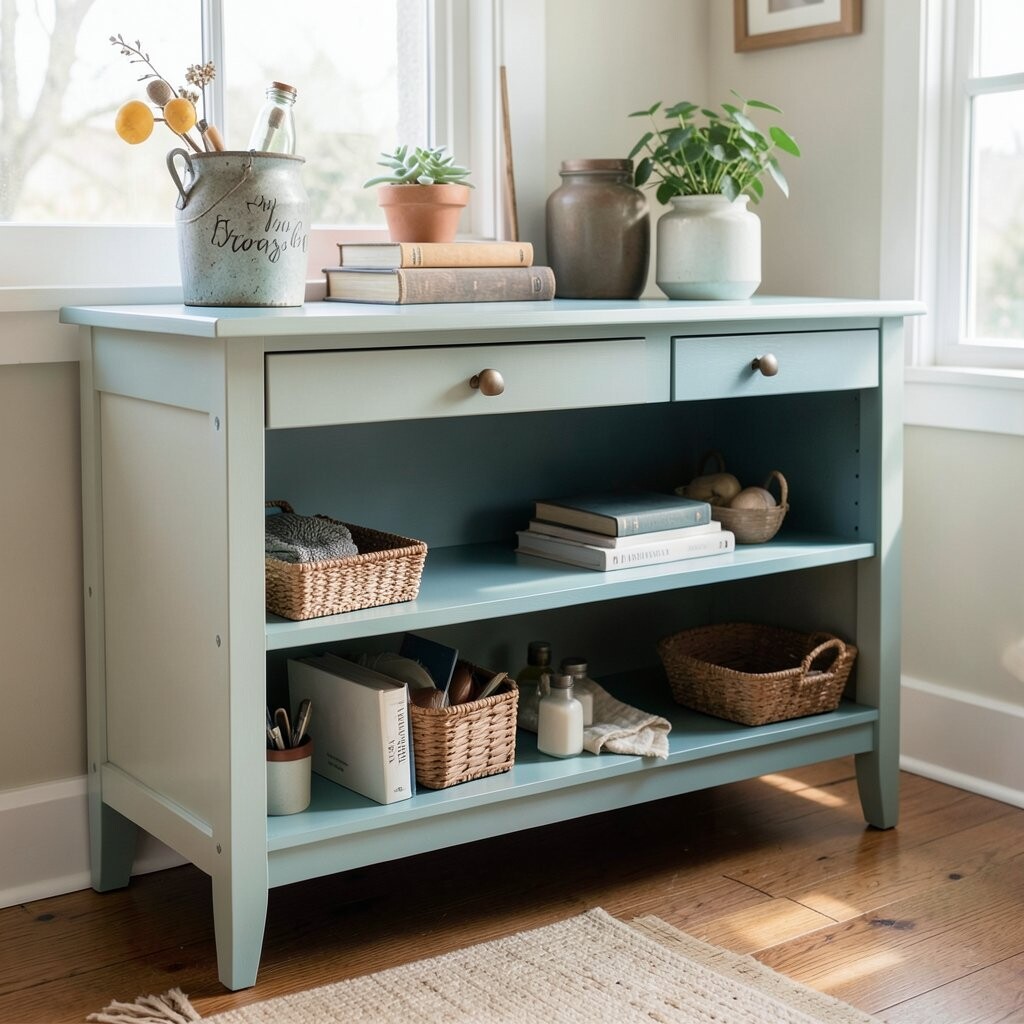
17. Paint a Bottom Shelf or Inside Drawer as an Accent Color
Paint a Bottom Shelf or Inside Drawer as an Accent Color
An accent color doesn’t have to be loud—just tucked in the right spot. Try painting the inside of a bottom shelf or the inside of one drawer in a muted sage, navy, or dusty blue.
This small color “surprise” makes the dresser feel thoughtfully designed. It also helps the dresser match seasonal décor because blue and green tones work with many themes. Cost stays low because you only need enough paint for a small area.
Personalize with a simple stencil border near the top edge of the painted inside space. Seal it well so it’s easy to wipe. A tip: use a contrasting hardware color so the accent area feels connected to the rest of the piece.
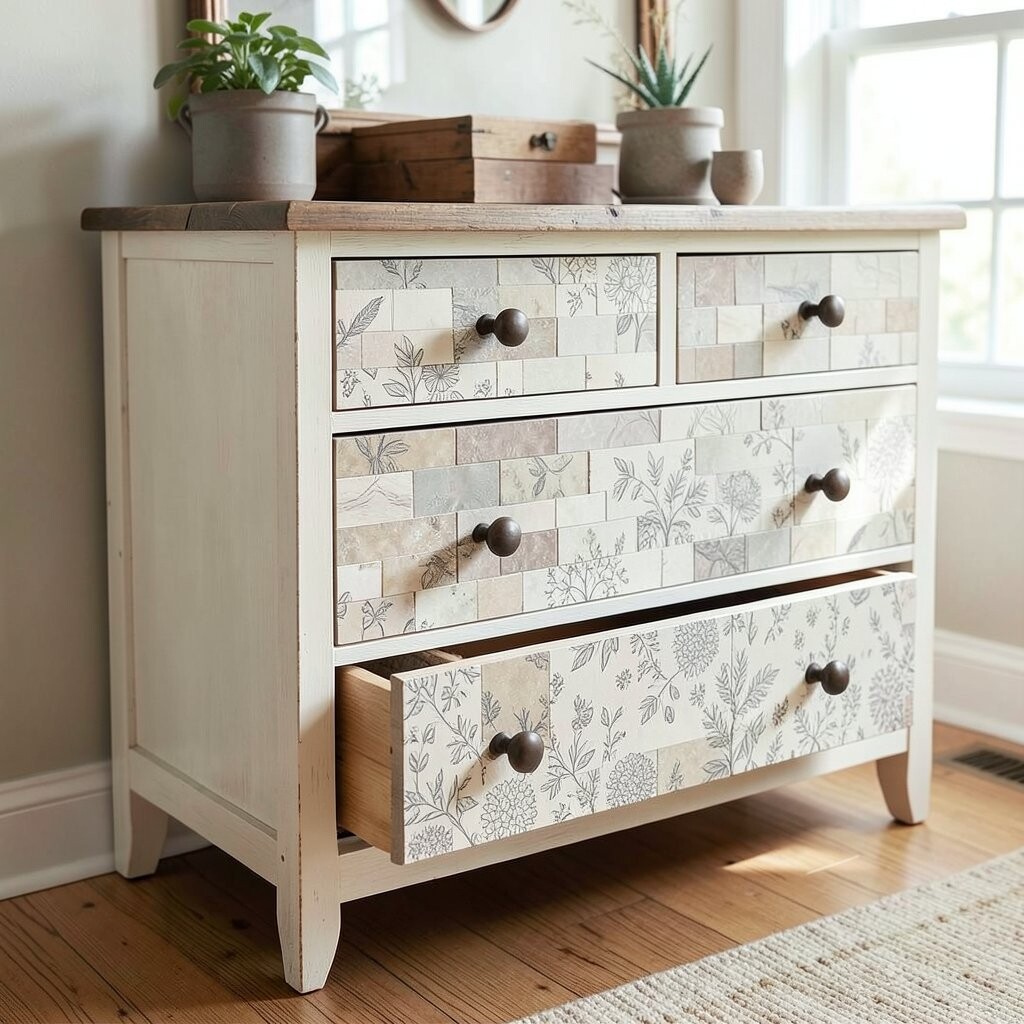
18. Create a Faux Tile Drawer Front With Contact Paper
Create a Faux Tile Drawer Front With Contact Paper
Faux tile can look adorable and farmhouse-modern when you use peel-and-stick contact paper. Imagine a drawer front that appears to have tiny tiles, without the heavy work of real tile.
Choose a pattern like white subway, simple gray grid, or warm terracotta blocks. The benefit is a dramatic change for a low cost, and it’s easy to swap later if you change your style. Apply contact paper smoothly to avoid bubbles and trim edges carefully.
For personalization, add a small wood frame around the paper so it looks like a tile panel. Seal the area with a clear coat designed for vinyl and paper, if needed. Use it in one drawer first to test durability and your favorite look.
This method is popular right now because it supports quick updates without major renovations.
19. Add a Simple Center “Appliance Pull” Handle for Style
Add a Simple Center “Appliance Pull” Handle for Style
Switch out a few knobs and use a single long center handle to create a sleek farmhouse look. It’s bold, practical, and easy to grab when you’re moving things in and out of drawers.
Long handles can also make a dresser feel more streamlined, especially on wider drawers. Choose handle finishes like matte black or antique brass to keep the farmhouse vibe. This project is budget-friendly because you might only replace hardware once, not every piece.
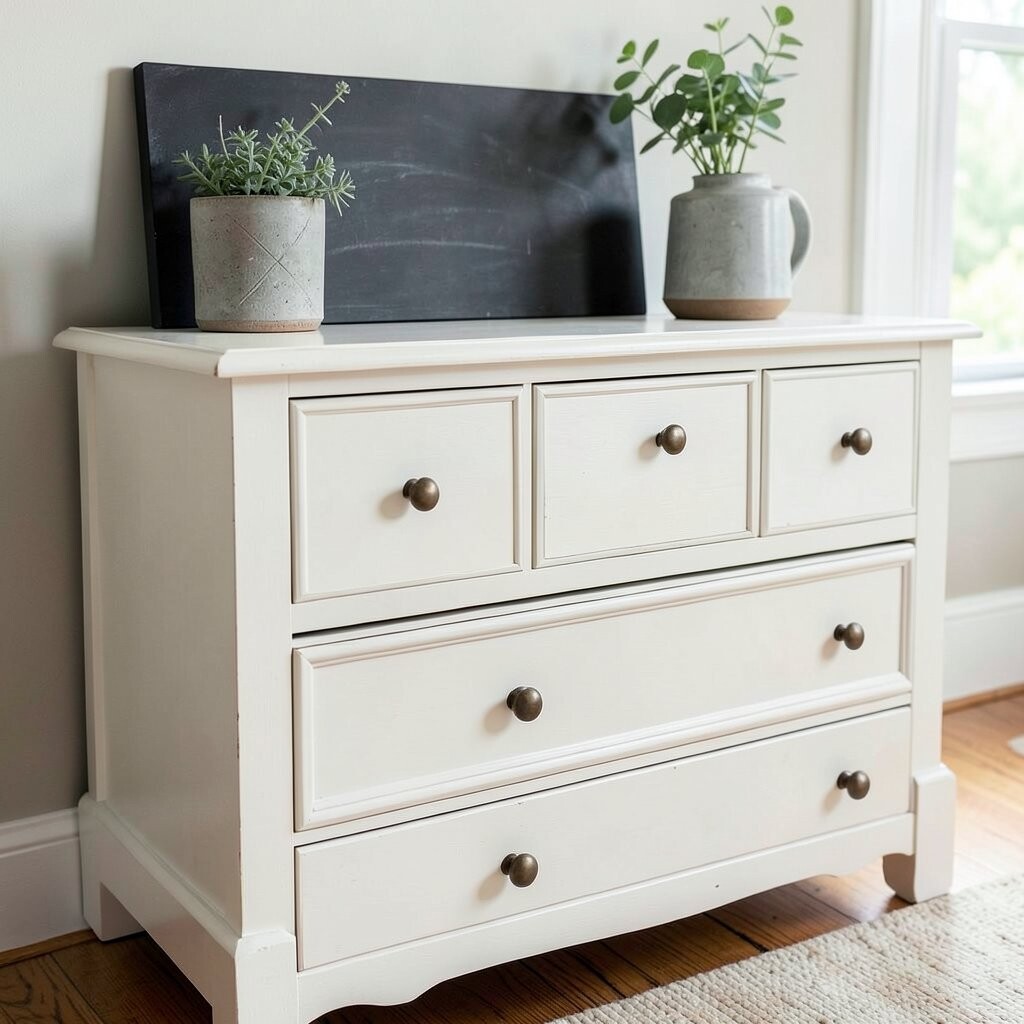
20. Paint a “Chalkboard” Panel Inside the Dresser Top
Paint a “Chalkboard” Panel Inside the Dresser Top
Build a small chalkboard spot on the inside of the dresser top or on the back of a hinged flap. You can write notes for the day, grocery reminders, or kids’ schedules in neat handwriting.
The benefit is that the dresser becomes more useful, not just pretty. Use chalkboard paint on a flat board piece, then attach it so it doesn’t wobble. Keep it farmhouse by framing it with wood trim and painting the frame in matching cream or white.
Personalize by stenciling border lines or tiny icons like stars and leaves. Cost is usually low because chalkboard paint is a small purchase, and wood trim can be inexpensive. Make sure the board dries fully before using chalk so it won’t smear right away.
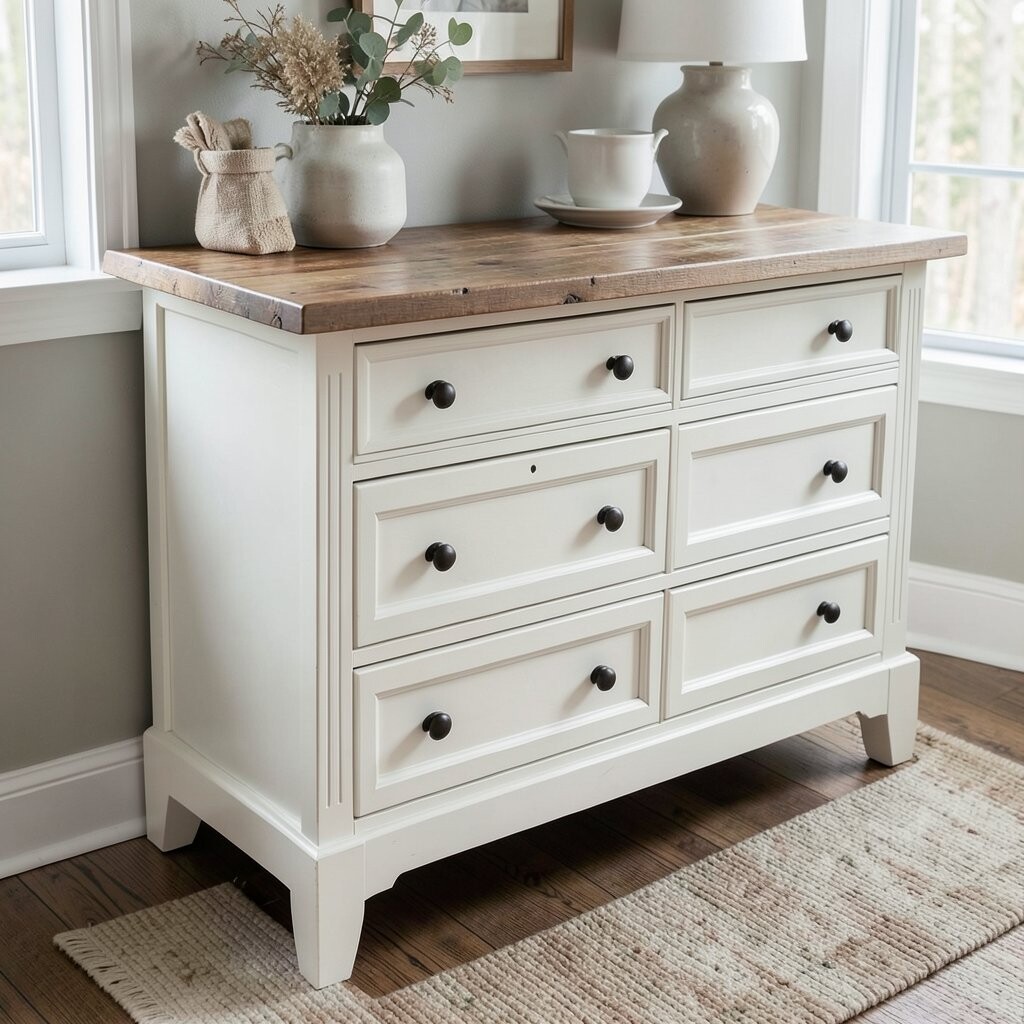
21. Cover the Dresser Top With a Durable Farmhouse Table-Style Finish
Cover the Dresser Top With a Durable Farmhouse Table-Style Finish
Your dresser top takes a lot of daily life, so giving it a strong finish makes the whole project last longer. Think of a smooth, protected surface that looks good even when you place everyday items on it.
Use a clear protective topcoat or a furniture wax designed for high-traffic surfaces. If your top is rough, sand it smooth first so the finish goes on evenly. This boosts durability and keeps the farmhouse look crisp instead of fading over time.
Personalize the top by adding a removable tray for seasonal styling, like a metal tray for candles or a wooden tray for greenery. Cost considerations: finishing materials are often cheaper than replacing a damaged top. Trends still favor natural textures and practical protection, so this idea stays relevant year after year.