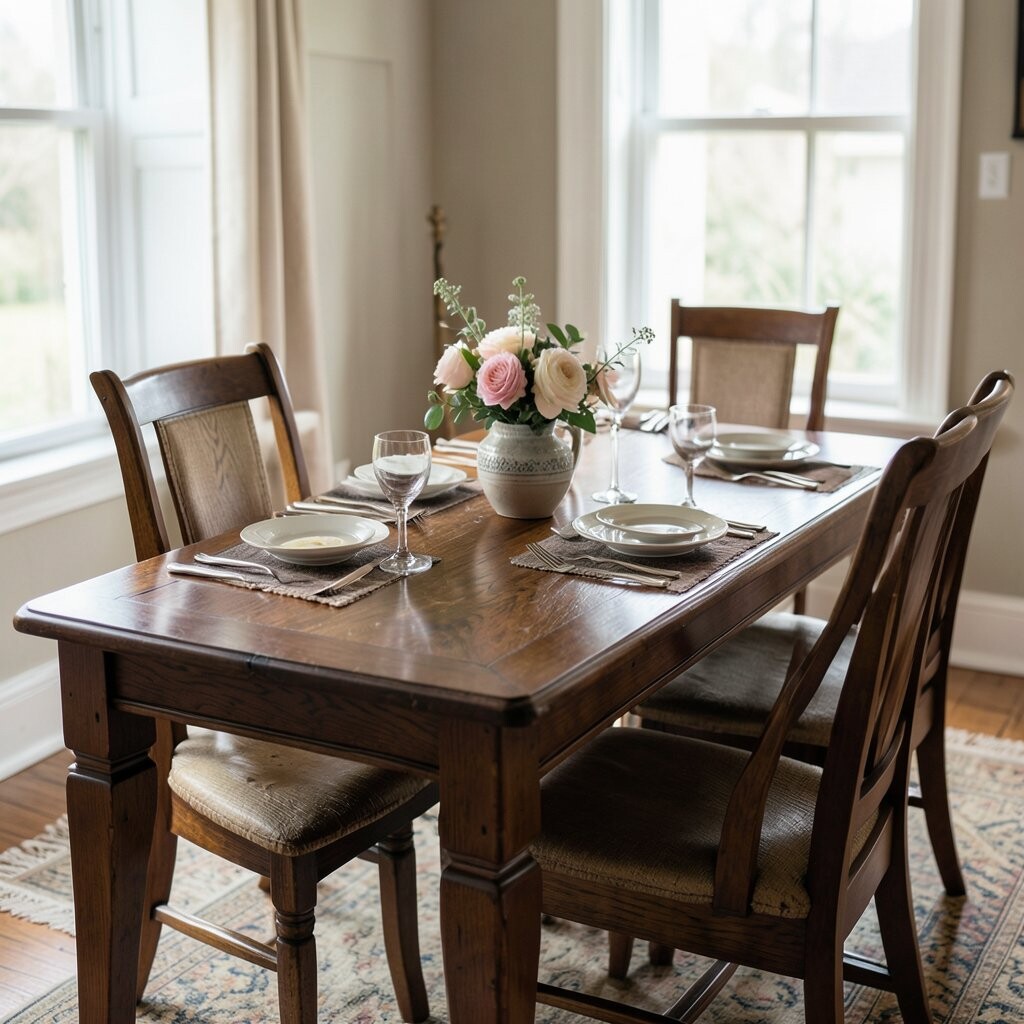
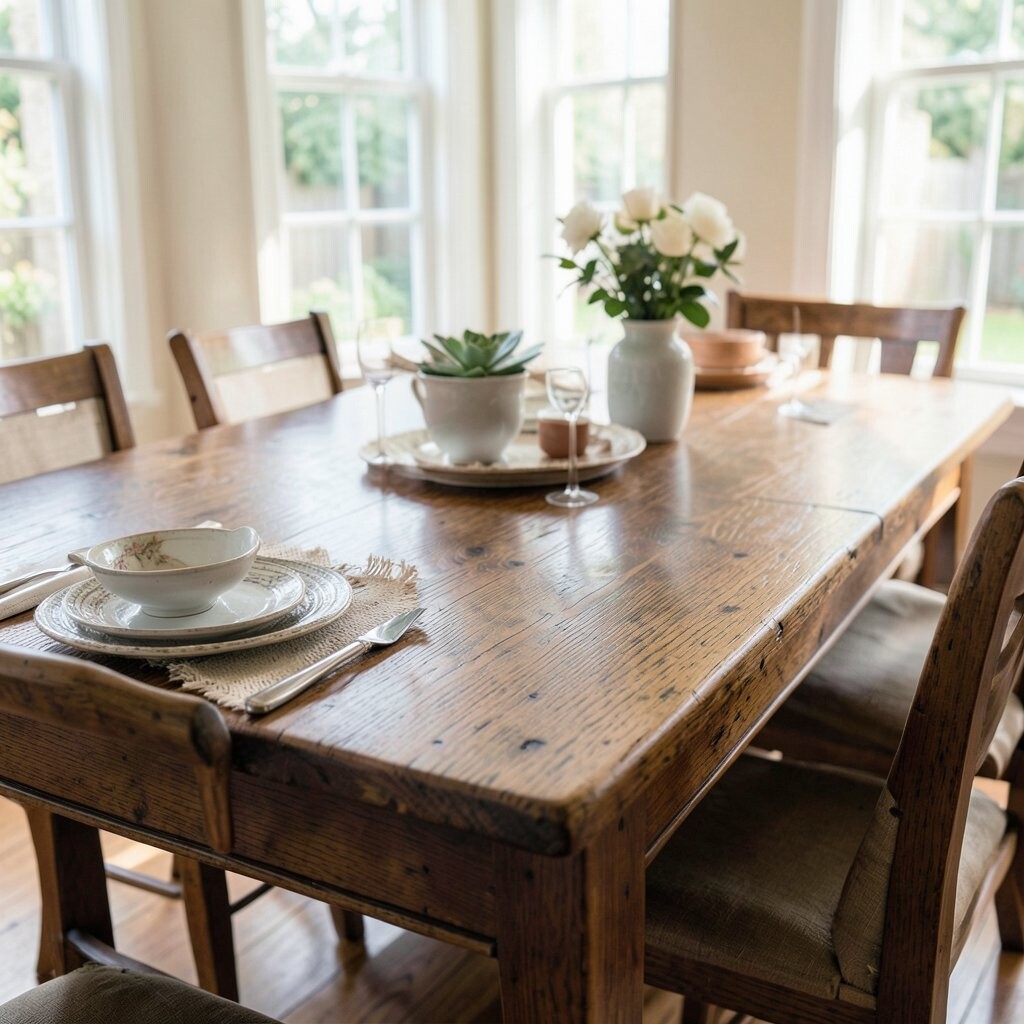
18 Dining Table Care Tips For Vintage Wood Finishes Ideas
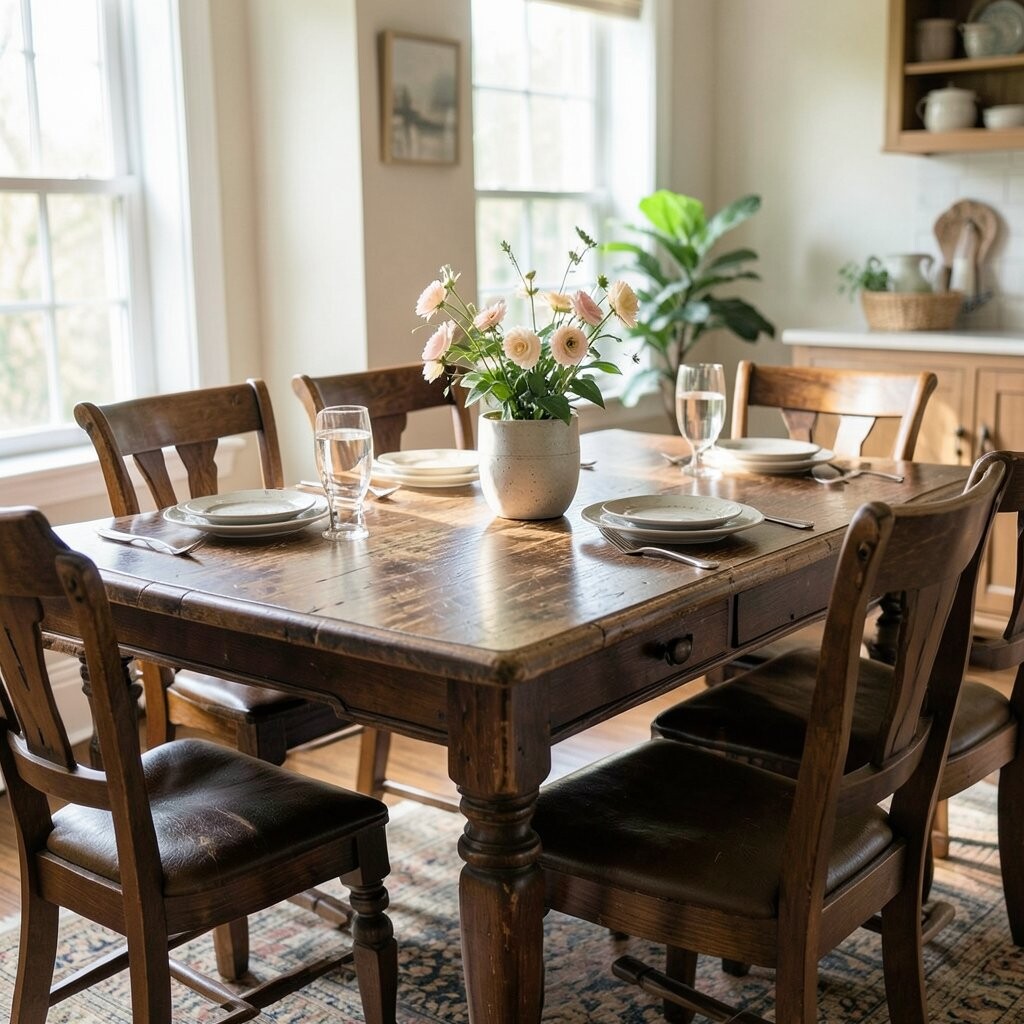
Old wood has a voice, and your care choices help it keep singing. A vintage finish can look warm for years when you treat it kindly.
Your dining table is more than furniture; it is the stage for family moments. With the right habits, the grain will glow, the color will stay rich, and daily life will feel easy on the eyes.
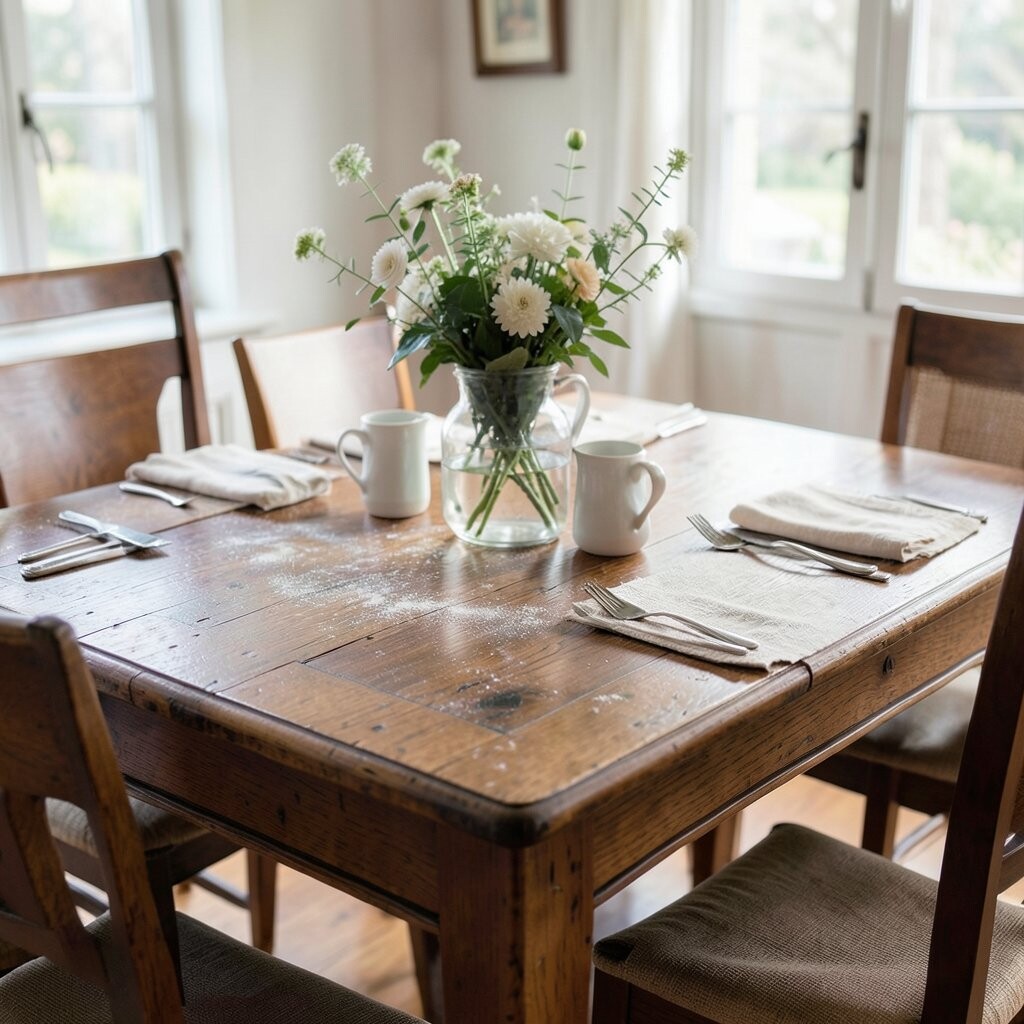
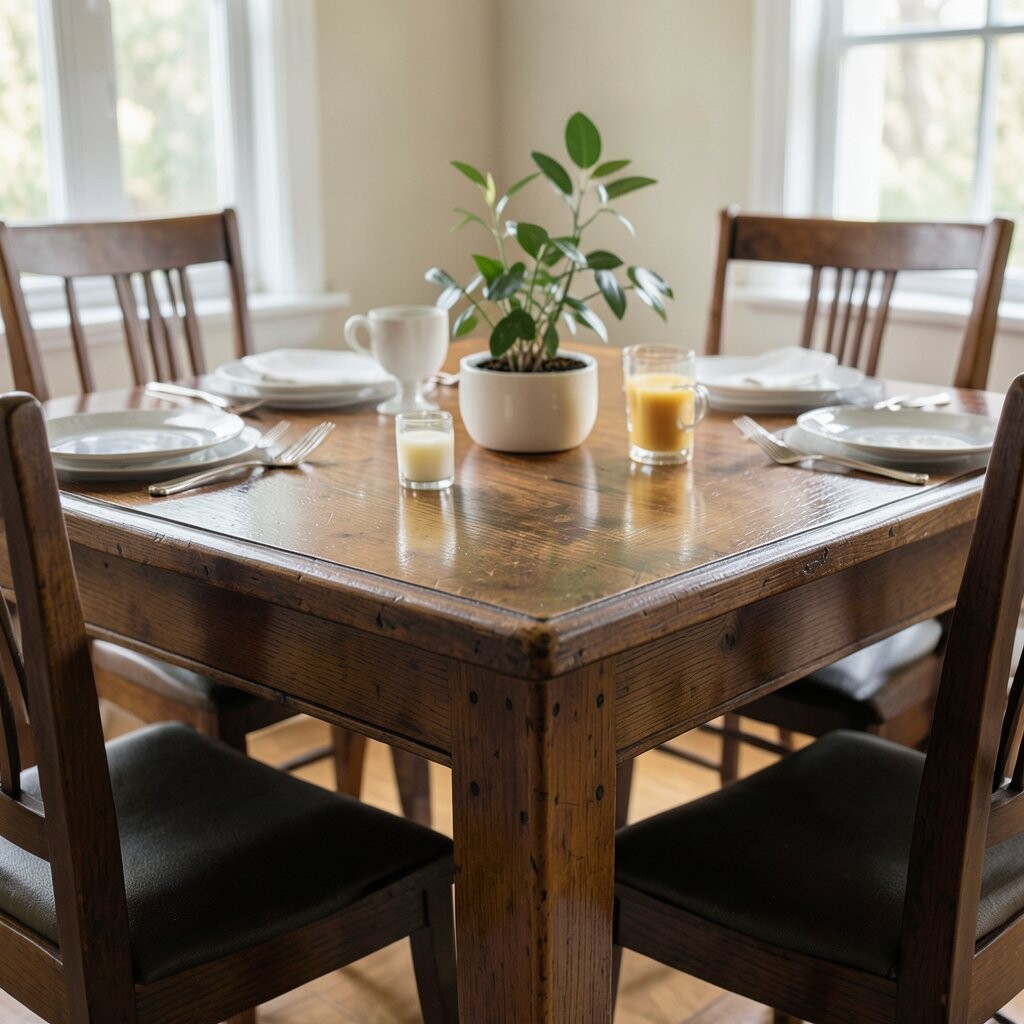
Grab a soft, clean microfiber cloth and wipe in the direction of the wood grain. Use light pressure so you lift dust without scratching the finish.
Dust can act like tiny sandpaper over time, especially on high-traffic tabletops. When the surface stays clean, the wood looks more even and the sheen feels natural. This small habit helps your vintage finish keep its depth instead of turning dull.
2. Choose a Cleaning Plan That Respects the Finish
Choose a Cleaning Plan That Respects the Finish
Before you clean, look for clues: is the table glossy, satin, or more of a matte look. Vintage finishes can be shellac, varnish, or oil, and each one needs a slightly different touch.
If you want a safe start, use a damp cloth with a gentle cleaner made for wood. Wipe, then dry right away to stop water from soaking into seams. This careful approach protects the color, and it also lowers the chance of sticky residue.
To personalize, keep a small “table kit” in a basket with cloths and one trusted cleaner. Current trends love low-chemical cleaning, so plant-based or pH-balanced options are popular for everyday care. You can often stay within a reasonable budget by buying one good cleaner and using it sparingly.
3. Use Coasters Every Time, Even for Water
Use Coasters Every Time, Even for Water
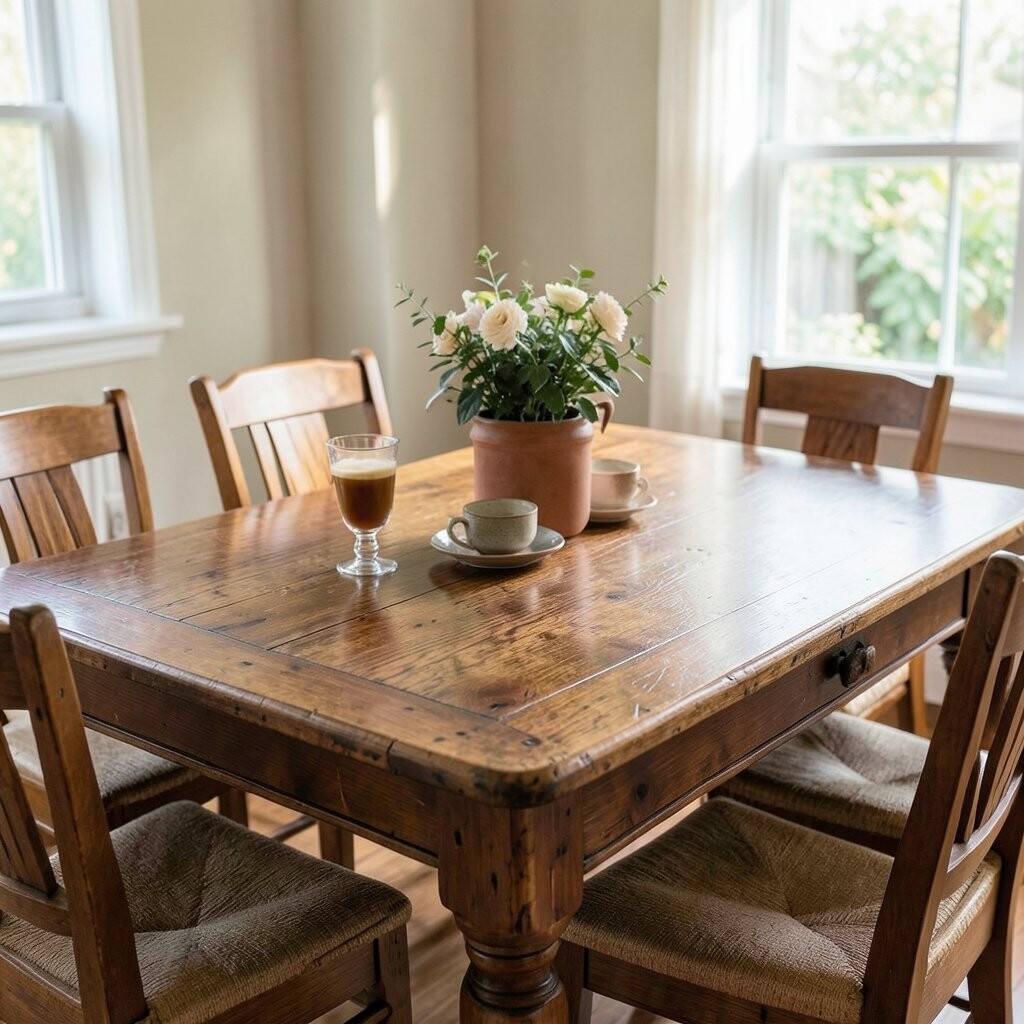
Set coasters by default, even when you think a glass is “not a big deal.” Water rings and heat marks can appear faster than you expect, especially on older top layers.
Wood finishes can darken where moisture sits, and the stain can feel like it sinks into the grain. Coasters prevent that surprise and keep the tabletop looking smooth and calm. This also makes cleanup quicker after meals.
For uniqueness, try coaster styles that match your room: cork for a cozy look, marble for a modern touch, or woven coasters for warmth. A simple upgrade like stylish coasters is usually affordable and can feel fun, not fussy. Guests will notice, and you will enjoy the tidy look every day.
If you like personalization, label a few coasters by user, like “Mom,” “Kids,” or “Coffee.” That helps everyone remember without a lecture.
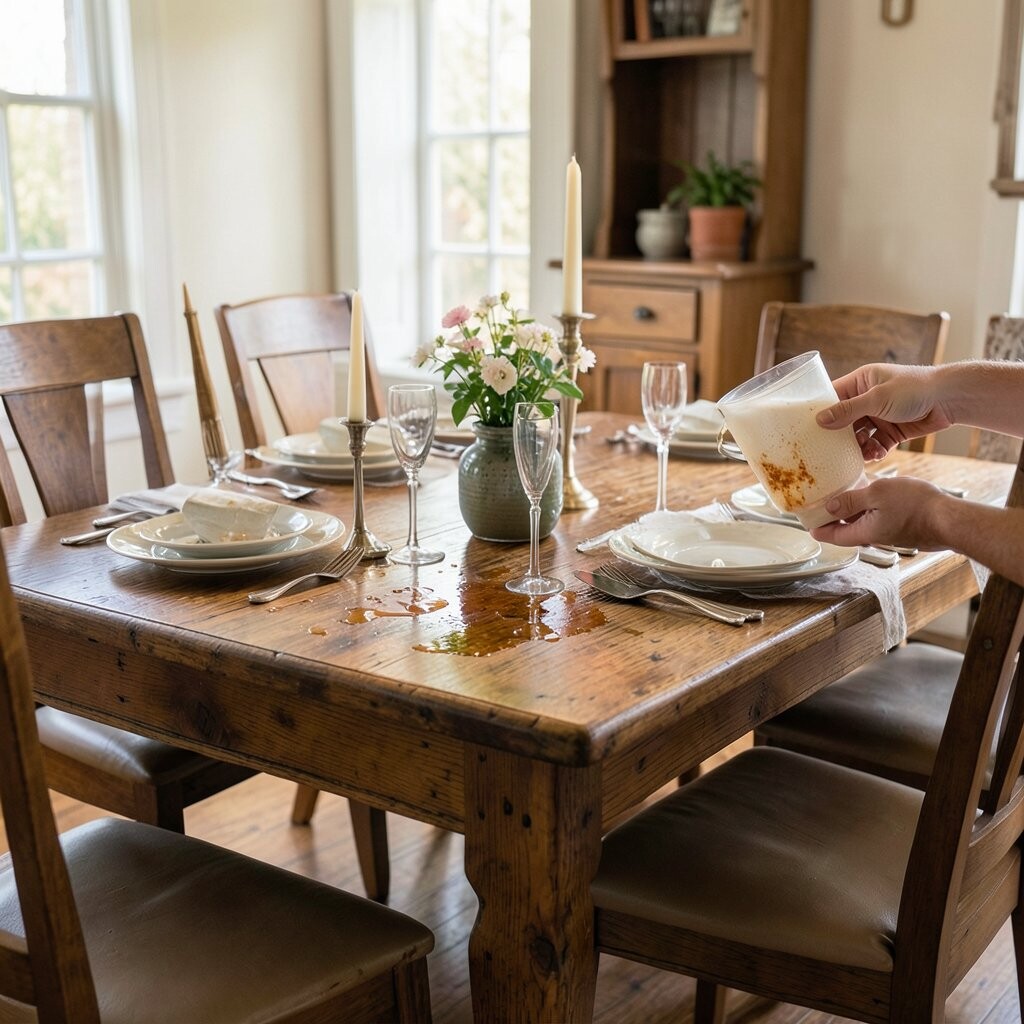
4. Handle Spills Right Away With a Fast, Soft Method
Handle Spills Right Away With a Fast, Soft Method
When something spills, blot first, then clean. Use a clean cloth and keep wiping gently instead of spreading the liquid around.
Fast action is a big benefit because many stains become harder once they dry. After you blot, dry the spot completely so the finish has less chance to cloud. This habit keeps the table looking clear and helps the vintage tone stay even.
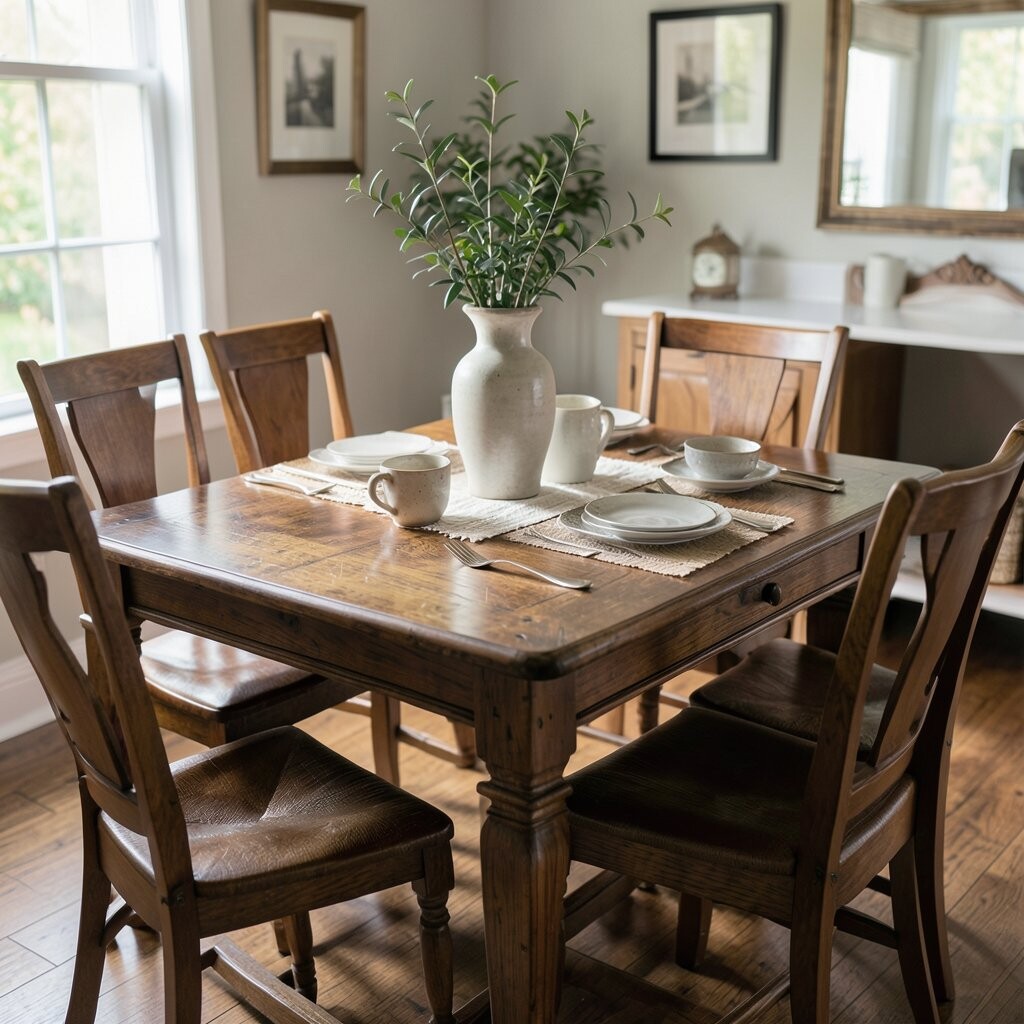
5. Keep Heat Off the Finish With Easy Place Mats
Keep Heat Off the Finish With Easy Place Mats
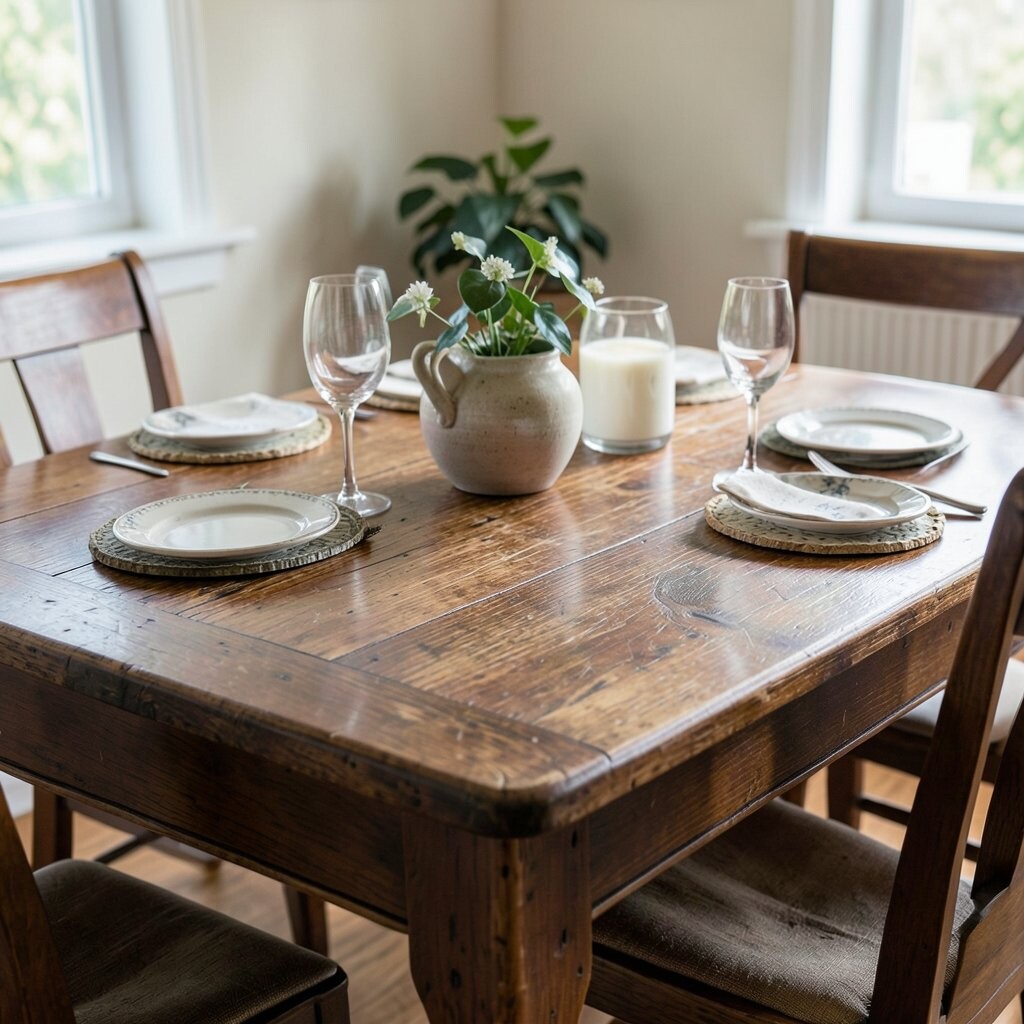
Place mats or hot pads under warm plates, pans, and serving dishes. Heat can break down certain vintage finishes, causing dull spots or tiny cracks.
By blocking hot surfaces, you reduce the risk of color fading and finish softening. Your dining table will still look polished for everyday meals and special dinners. This makes hosting feel smoother because you will worry less about damage.
For personalization, choose mats that match the season—think autumn tones or summer woven textures. Many people also mix metal accents and neutral wood styles because it looks current and clean. Costs can stay low if you buy a few good mats and rotate them for variety.
6. Treat Your Table Like a Heritage Piece, Not a Cutting Board
Treat Your Table Like a Heritage Piece, Not a Cutting Board
Try never to chop directly on the tabletop, even “just for a second.” Instead, use a cutting board that fits your space and your cooking style.
Knives can leave micro-scratches that catch light and make the surface look tired. A cutting board also protects the finish layer, which helps the table keep its vintage glow. This keeps everyday dining looking neat and keeps the wood from looking patchy.
7. Restore Shine With the Right Wax or Oil, Sparingly
Restore Shine With the Right Wax or Oil, Sparingly
If your table looks dry or feels less smooth, consider a thin layer of wax or oil made for wood. Use a soft cloth and buff gently so the finish stays balanced.
Too much product can cause a sticky surface or a hazy look over time. When you use a small amount, you get the benefit of a healthy sheen without buildup. This also helps the grain look richer, like it is wearing its best outfit.
To personalize, choose products with scents you enjoy or finishes that match your style, like soft satin rather than high gloss. Right now, many homes prefer “natural-looking” finishes, so light maintenance oils are trending. Costs vary, but one quality product can last many cleanings because you apply so little.
8. Watch Humidity Levels to Prevent Warping and Cracking
Watch Humidity Levels to Prevent Warping and Cracking
Wood reacts to the air, so keep your room climate steady. Too much dryness can encourage cracking, while too much moisture can lead to swelling.
A simple hygrometer can help you notice changes before they become visible. When the air stays balanced, the table’s shape stays true and the finish stays stable. This is one of those behind-the-scenes care tips that saves money later.
9. Avoid Harsh Chemicals That Can Cloud Vintage Color
Avoid Harsh Chemicals That Can Cloud Vintage Color
Skip strong cleaners, bleach, and anything that smells “extra chemical.” Vintage wood finishes can react in ways that are hard to fix.
Harsh products can strip the surface and make color look uneven or dull. Using gentle cleaners helps the top layer stay strong and clear. That means your table looks consistent across the whole surface, not just in the center.
For personalization, test your cleaner on a hidden spot first. This lets you choose your comfort level and prevents surprises. Many current routines emphasize safer, simpler ingredients, which is both budget-friendly and family-friendly.
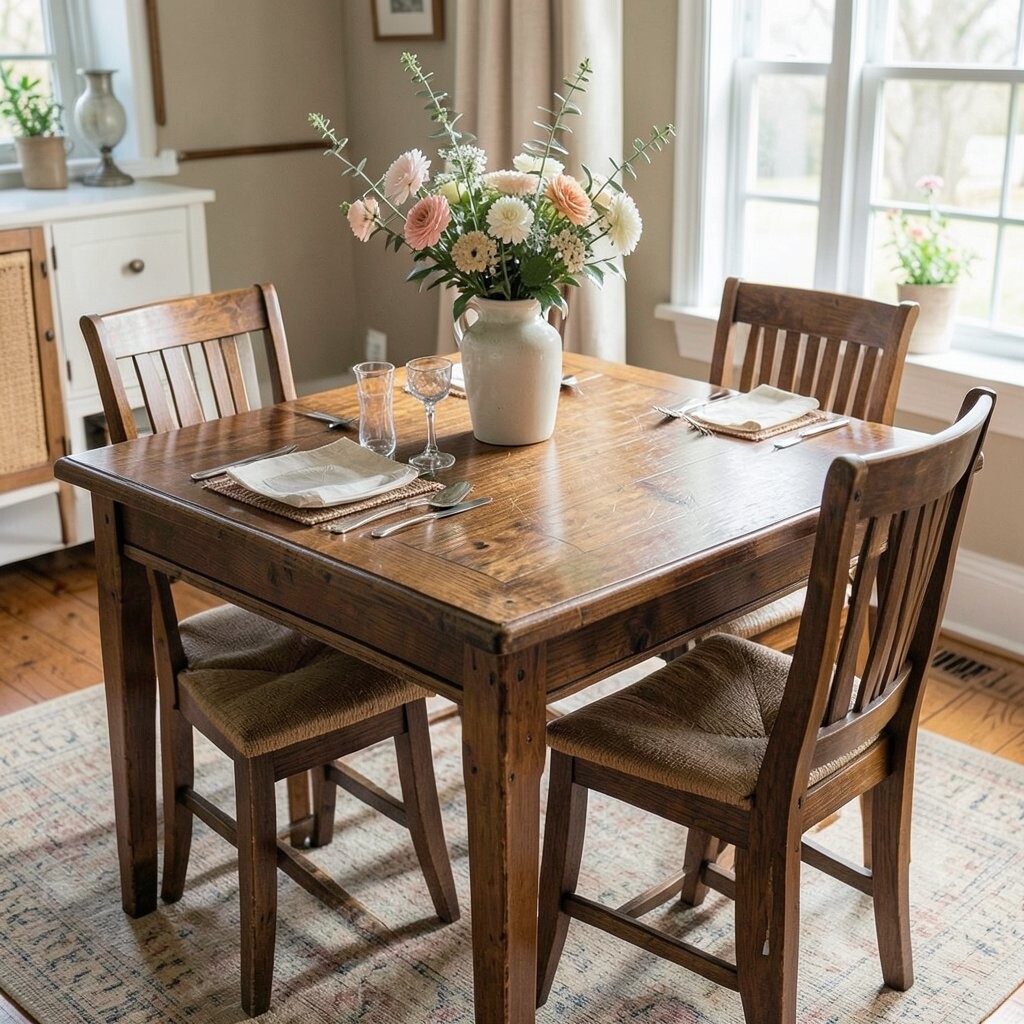
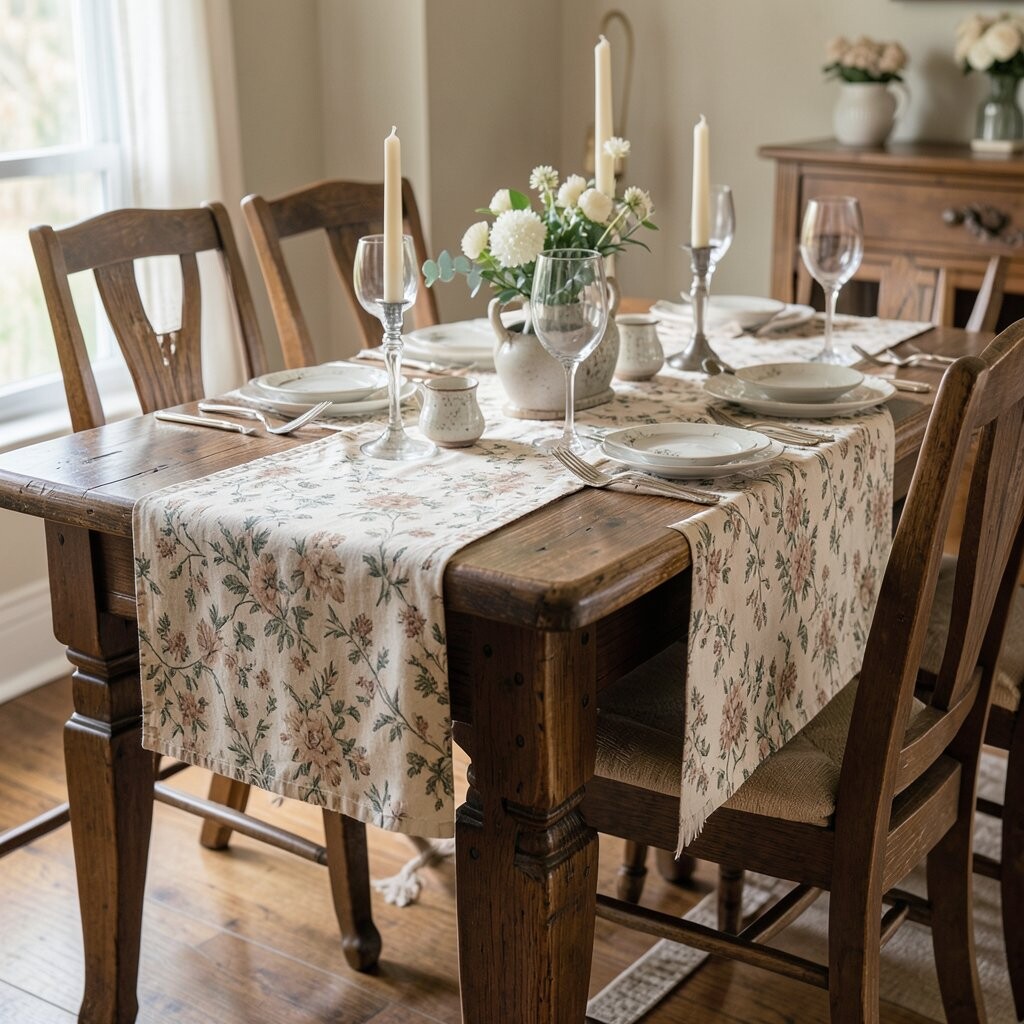
10. Protect the Surface With a Table Runner You Can Style
Protect the Surface With a Table Runner You Can Style
A runner can be both protection and decoration. It blocks everyday wear where plates and dishes sit most.
When you protect the busiest areas, the rest of the tabletop can keep its original finish longer. Runners also make the table feel dressed up without heavy changes. This is a fun way to keep your style fresh while caring for the wood.
11. Learn the “Grain Direction” for Every Wipe and Buff
Learn the “Grain Direction” for Every Wipe and Buff
Notice the wood grain lines and follow them when wiping or buffing. Moving with the grain helps prevent tiny scratches that can grow over time.
This method improves the look because it keeps the surface smoother. It also helps the shine feel even instead of streaky. With each wipe, you support the finish instead of fighting it.
For personalization, choose a cloth texture that feels good to you, like soft flannel or gentle microfiber. Many people now like using washable cloths to reduce waste, which is a popular trend. Costs are easy to control because you can wash and reuse what you already own.
12. Use Felt Pads Under Chairs to Stop Finish Wear
Use Felt Pads Under Chairs to Stop Finish Wear
If chairs scrape even a little, the tabletop can show faint marks. Add felt pads to chair legs so movement stays quiet and gentle.
This tip helps prevent scratches and keeps the finish from wearing thin in the same places. You also get a better sound in the room, which feels calmer and more refined. The benefit is both visual and practical, and it often saves money compared to repairs.
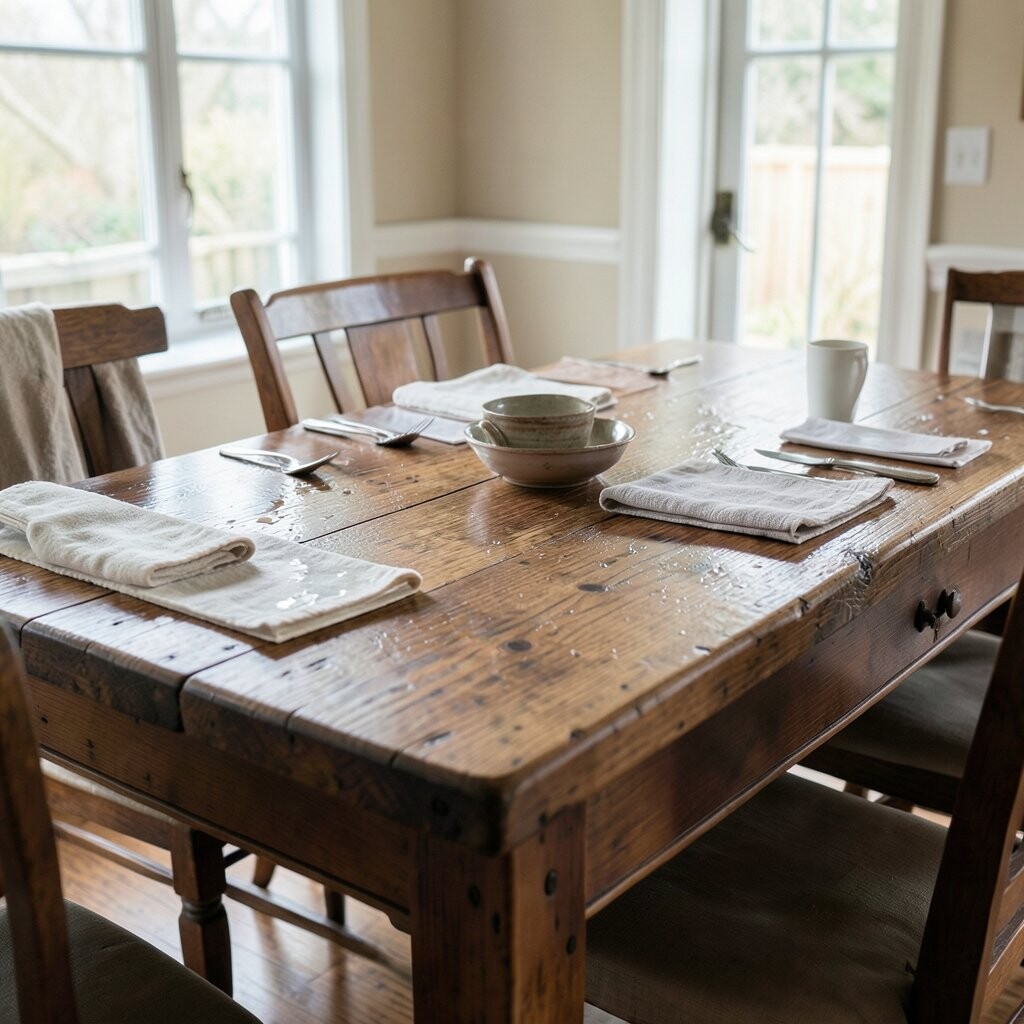
13. Avoid Soaking: Clean With Damp Cloths, Then Dry
Avoid Soaking: Clean With Damp Cloths, Then Dry
For most cleanups, use a cloth that is damp, not wet. Wring it well before it touches the table.
Soaking can seep into seams, edges, and small cracks, which may lead to discoloration. When you wipe and then dry, the wood stays protected and stable. This routine also reduces the chance of sticky spots caused by too much cleaner.
To personalize, you can keep a “drying towel” next to your cleaning cloths so you always finish the same way. Many homes now prefer simple two-step routines because they are easy and repeatable. Budget-wise, damp cloth cleaning usually needs no special tools beyond cloths.
On busy weeks, this method is especially helpful because it keeps cleanup quick without risking damage.
14. Refresh Protective Layers With Gentle Periodic Maintenance
Refresh Protective Layers With Gentle Periodic Maintenance
Vintage tables often love small, regular refreshes rather than big, dramatic overhauls. Check the surface each season to see if it feels dry or looks less lively.
When you refresh lightly, you boost the table’s color depth and help the finish resist everyday wear. This also makes your care feel manageable instead of stressful. A little maintenance can delay the need for costly refinishing.
For personalization, decide your “maintenance vibe”: do you prefer a warm, honey tone or a cooler, aged look? Products can lean one way or the other, so choose based on how you want the table to appear in your room. Trends today often favor breathable, natural-feel protection over heavy coatings.
15. Deal With White Spots and Water Rings Like a Pro
Deal With White Spots and Water Rings Like a Pro
Water rings can look like pale circles, and white spots can appear after trapped moisture. Start by gently drying the area completely and giving it a little time to settle.
Then try a careful step using products meant for wood finishes, following directions closely. If you are unsure, test first on a hidden corner so you can see how the finish responds. The benefit is that you may remove or reduce the mark without harming the rest of the surface.
For uniqueness, keep a “spot-care” pouch with a few soft cloths and a trusted finish-safe remedy. This makes you feel prepared, and it turns problems into manageable tasks. Costs are usually lower when you handle issues early rather than waiting for full refinishing.
16. Keep Sunlight in Check to Prevent Fading
Keep Sunlight in Check to Prevent Fading
Direct sunlight can fade vintage wood and lighten the tone over time. If your table sits near a window, consider curtains or blinds that soften the light.
When you control sun exposure, the benefit is steady color and less contrast loss across the tabletop. The wood grain keeps its classic richness instead of looking washed out. This also helps your dining space feel more consistent in color year-round.
17. Plan for Coats: Don’t Rush Layers and Don’t Overbuild
Plan for Coats: Don’t Rush Layers and Don’t Overbuild
If you choose to apply wax, oil, or polish, remember that thin is usually better than thick. Follow product instructions and allow proper time between applications.
Layering too much can lead to buildup that attracts dust and feels greasy. Controlled application protects the finish and keeps the surface easy to wipe clean. The result looks smooth, and the table feels pleasant to touch.
For personalization, you can create a signature look by choosing a satin-friendly product for a soft glow. Current trends often aim for “lived-in” beauty, so a gentle sheen is popular. Costs can be lower because using small amounts means your product lasts longer.
18. Store Extra Protection: Covers That Fit and Breathe
Store Extra Protection: Covers That Fit and Breathe
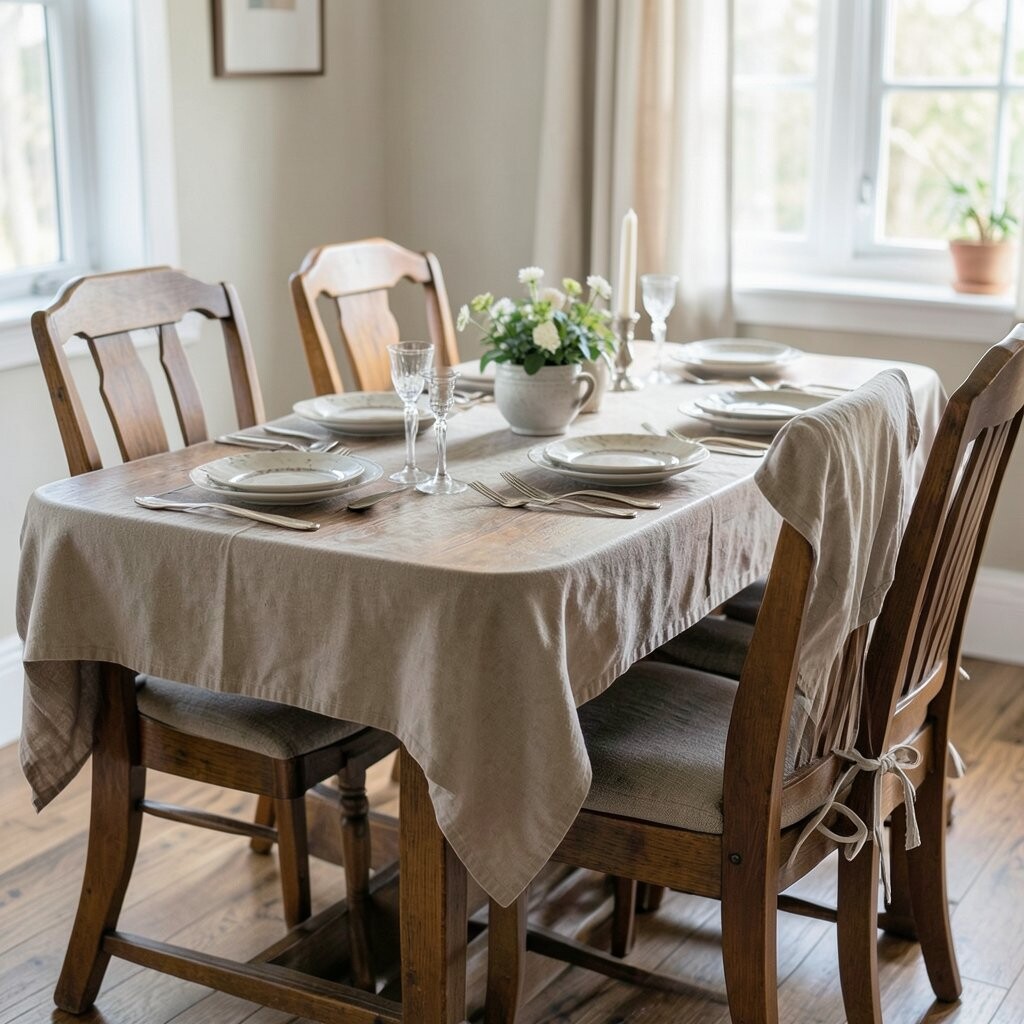
When your dining table is not used much, consider a cover that fits well. Choose something that helps block dust while still allowing the wood to breathe.
A good cover can reduce grime buildup and limit scratches, especially if you have pets or busy seasons. When dust stays lower, cleaning is easier and the finish stays sharper. This tip is also budget-smart because prevention is cheaper than restoration.