Petals feel like tiny keepsakes from warm seasons. Once they are dried, you can turn them into crafts that look special and personal.
1. Pressed Petal Letter Art

Choose a bold letter shape and fill it with dried petals for instant eye-catching art. It looks delicate up close, but it still feels sturdy from a distance.
Use cardstock or thick paper so the petals do not warp as you glue them down. A simple tip is to lightly sketch the letter first, then place petals one by one for even coverage. For personalization, match the petal colors to a name, school theme, or the vibe of your room.
2. Handmade Scented Potpourri Mix
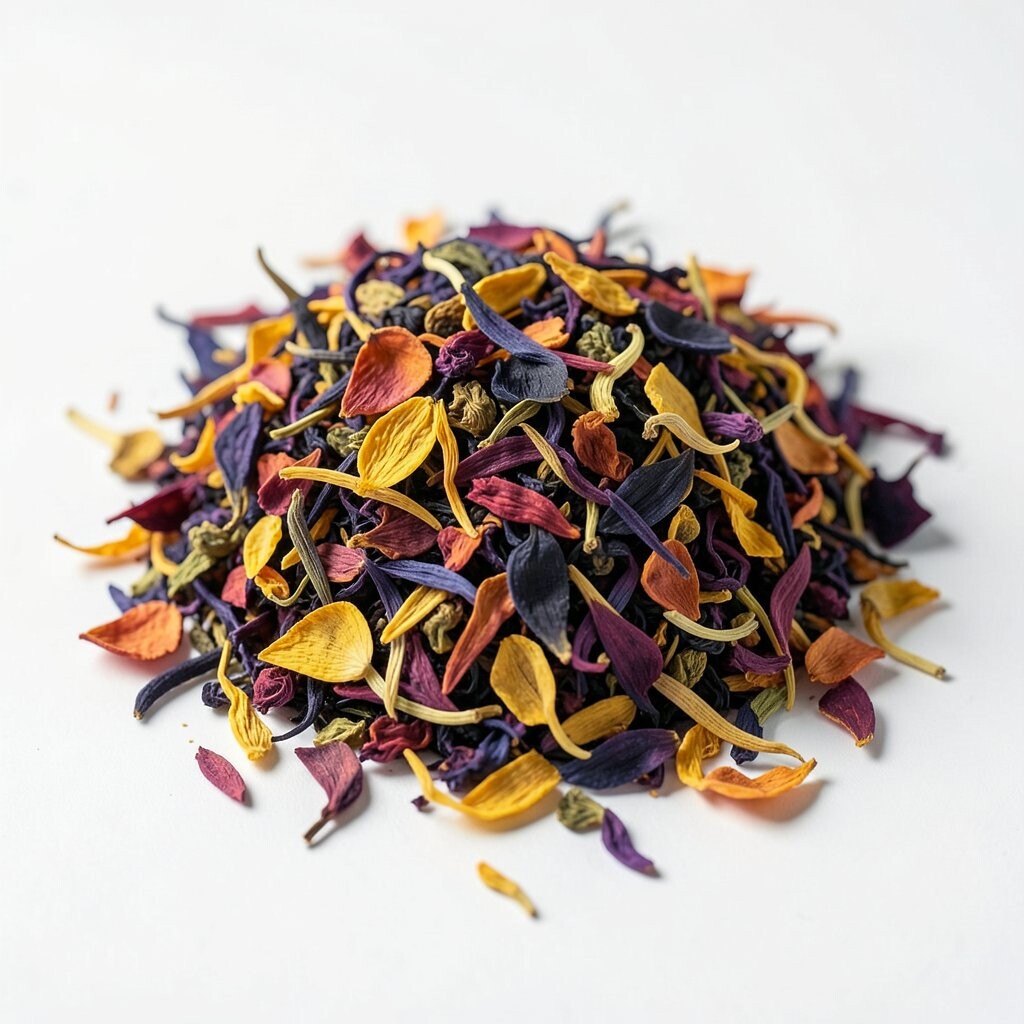
Dried petals can become a gentle-smelling potpourri that makes any space feel cozy. Their natural colors add softness to bowls and trays.
To keep it from turning bland, mix petals with a pinch of dried herbs and a few drops of essential oil. Start with a small amount of scent, because petals can get overwhelmed if you add too much. Let the mixture sit for a day so the fragrance spreads through.
What makes this unique is that each batch looks different depending on the petal variety you used. Keep an eye on cost by saving petals from bouquets instead of buying new materials. A current trend is using rustic glass jars or ceramic dishes with simple labels, so the craft also looks intentional.
3. Petal Bookmark with Laminated Shine

This is a practical craft that turns dried petals into something you will actually use every day. You get a gentle pop of color tucked between pages.
Layer petals carefully in clear contact paper or a laminating sheet, then trim the edges neatly. Choose thin petals for smoother layering, and press them down so they do not lift. If you want extra durability, seal the edges with a thin strip of clear tape.
For personalization, add a tiny star, number, or initial made from a contrasting dried petal. If you love clean styles, use only one color family like blush pink and cream. Cost stays low because all you need is clear sheets, and you can reuse scrap paper for testing layout.
Right now, readers are into “aesthetic library sets,” so pair bookmarks with matching note cards for a coordinated look.
4. Floating Petal Candles for Cozy Decor
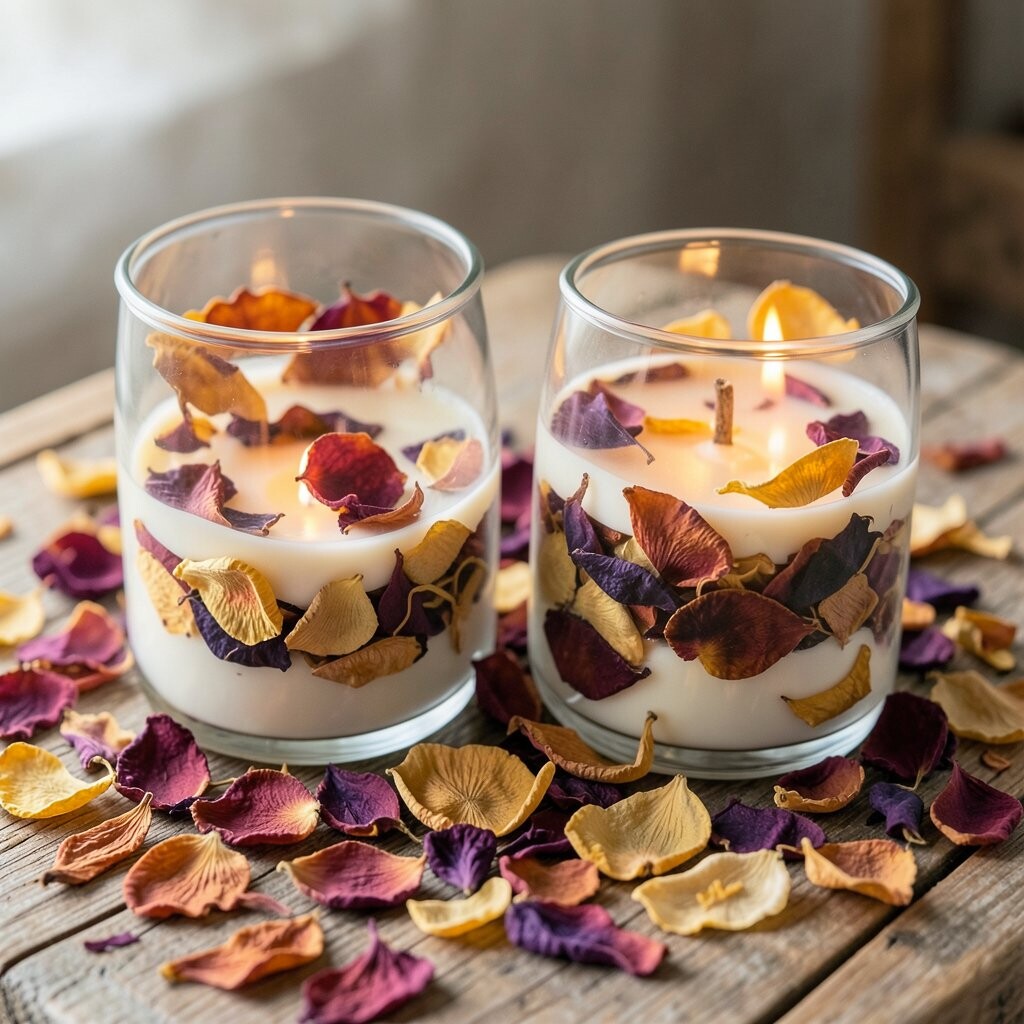
Set dried petals on top of candles to create a dreamy floating effect. The colors show through warm light like stained glass.
For best results, use small, flat petals and place them on the surface before the wax fully sets. Work gently so petals do not shift, and keep the candle on a level surface while it cures. If you are making them as gifts, tie a ribbon around the jar or wrap with tissue paper that matches the petal palette.
5. Epoxy “Petal in a Frame” Keychain

Turn dried petals into a glossy charm by sealing them in a small resin or epoxy frame. When it catches light, the petals look like they are preserved in time.
Use a small mold and place petals inside carefully, then pour resin slowly to avoid bubbles. A practical tip is to wait between steps so petals settle before you fully seal. For personalization, include a small dried leaf or a single petal “center” to make each charm feel intentional.
Resin can cost more than glue crafts, so consider sharing supplies with a friend or using clear resin only for a few pieces. A helpful trend is “wearable nature,” where people add botanical charms to bags, phone cases, and key rings.
6. Greeting Cards with Petal Borders

Dried petals make greeting cards feel warm and handmade without needing fancy tools. A petal border frames a message and instantly upgrades plain cardstock.
Start with a clean card base, then glue petals along the edge in a repeating pattern or a soft gradient. Use a glue stick for lighter petals and white craft glue for fuller pieces. Keep them flat while they dry by placing a scrap sheet on top.
Personalize the card by matching the message to the petal style, like using tiny petals for “thank you” notes or bigger petals for birthdays. Cost stays friendly because most households already have cardstock and basic glue. For current ideas, try pairing petal borders with simple stamped text instead of heavy decoration.
7. Petal-Stamped Fabric Napkin Accents

Use dried petals like nature stamps to decorate napkins, tote bags, or plain cloth banners. The result looks artsy and soft rather than sharp and printed.
Press petals onto fabric using fabric-safe paint or dye, then secure them with gentle pressure. Let the petals stay in place long enough to transfer color, and remove them carefully. For a tidy edge, outline the area with fabric chalk first so the pattern looks controlled.
What makes this unique is the mix of texture and color, since petals can leave speckles and lines. Personalize by using only one flower type for a “single botanicals” look or mixing types for a lively patchwork. Cost considerations are simple because you can use leftover fabric paint, and you can craft multiple napkins from the same batch.
A current trend is casual table styling, so these napkins pair well with simple plates and warm-toned centerpieces.
8. Marbled Petal Paper for Gift Wrapping
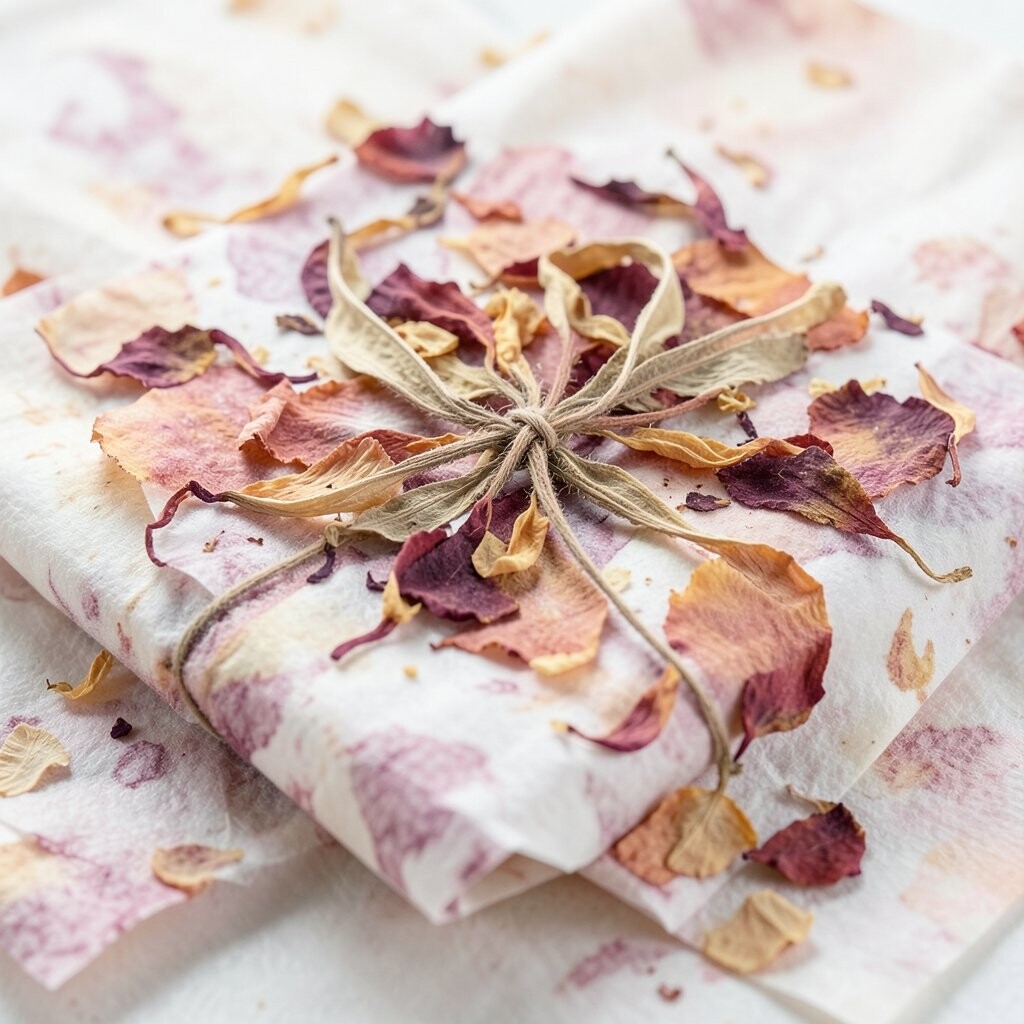
Marbled petal paper turns boring packaging into something memorable. You can use it for gift wrapping, small envelopes, or custom tags.
Combine petals with a bit of water-based medium and swirl them gently in a tray, then lay paper on top to pick up the color. Add petals in different corners so you get depth instead of one flat wash. Let everything dry fully before you cut or fold it.
For personalization, choose a theme like spring pastels, autumn rusts, or monochrome neutrals. This craft is budget-friendly because paper scraps and last-season petals can do the job. A trending look is “layered wrapping,” where marbled paper shows under brown kraft paper for a stylish two-tone effect.
If you want to keep it neat, test the technique with a small scrap first so you can adjust the swirl pattern.
9. Framed Petal Mandala Coaster Set

Create coaster art by arranging dried petals in a mandala pattern on a sealed backing. The circular design feels calming and looks like real decor.
Glue petals onto cork, thick cardboard, or wood slices, then seal with a clear coating so spills do not ruin the surface. Work from the center outward to keep symmetry. If petals vary in size, use tiny pieces to fill gaps for a smooth finish.
Personalization ideas include using your favorite flower colors, adding a ring of darker petals, or mixing petal types for texture. Cost is manageable because coasters can start from thrifted blanks or inexpensive craft bases. Right now, people love coordinated home sets, so make four matching coasters for a gift-ready set.
To avoid mess, use tweezers and clean paper underneath while you arrange petals.
10. Petal Confetti for Parties and Cards

Dried flower confetti adds a burst of color to celebrations and envelopes. It feels festive without the need for complicated supplies.
Cut petals into small pieces or crumble them gently, then store them in a jar so they stay easy to grab. Use only petals that are fully dry to prevent clumping. If you are mailing cards, keep the confetti amount light and place it in a small inner envelope.
What makes this unique is that you can control the look, from tiny sparkles to larger “petal flakes.” Personalize by using petals that match the party theme, like lavender for spring showers or marigold shades for fall birthdays. Cost-wise, this is one of the cheapest crafts because you can use leftover bouquet petals.
11. Resin-Free Petal Wax Seal Stickers

Give letters and envelopes a vintage vibe with petal wax seal style stickers. They look fancy, but the process is simple.
Use a clear adhesive sticker base or glue a small petal cluster onto thick paper, then cover with a thin layer of sealant for shine. Press firmly so petals bond well and do not curl at the edges. For personalization, choose a center focal petal and surround it with a few small petals to mimic a classic wax seal.
This craft is unique because it captures the “rubbed and stamped” look using real botanicals instead of printed designs. Cost considerations are good since you can reuse sticker sheets and use a small amount of sealant. A current trend is “slow mail,” so these stickers make everyday messages feel like a keepsake.
12. Petal-Embedded Soap or Bath Soak Trays
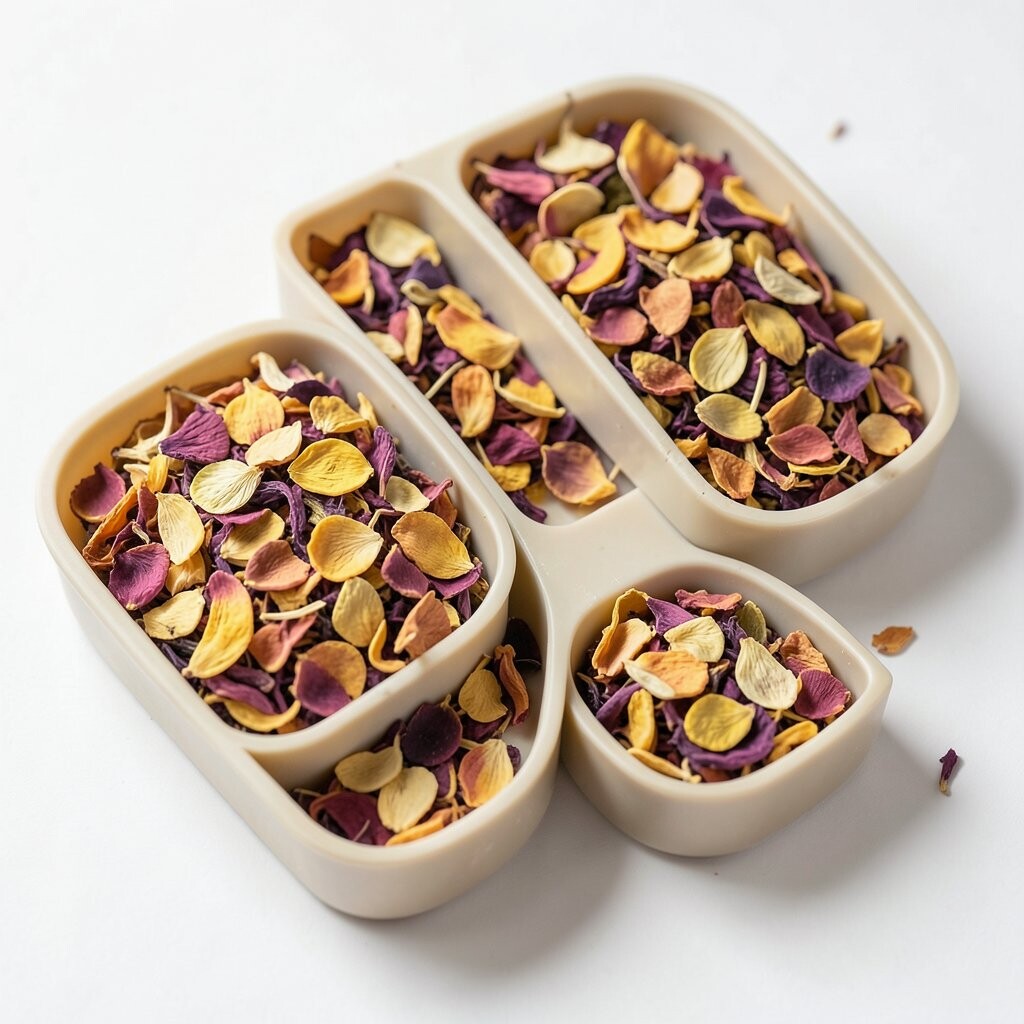
Embed dried petals into small bath soap pieces or bath soak melts for a pretty spa feel. When water touches them, the colors and fragrance feel extra relaxing.
For soap trays, arrange petals on the mold surface and pour melt-and-pour soap around them, then let it set. Use petals that are flat and not too thick so they do not float unevenly. You can also pair petals with a pinch of dried herbs for a natural look.
What makes this special is that it blends craft and self-care into one item. Personalize by choosing colors by mood, like calming blues and purples for evening baths. Cost can stay low because you can make small batches and use petals you already have, and you can gift them in sets for a nice value.
To follow a popular trend, package them in small clear bags with simple ribbon and a “botanical calm” tag.