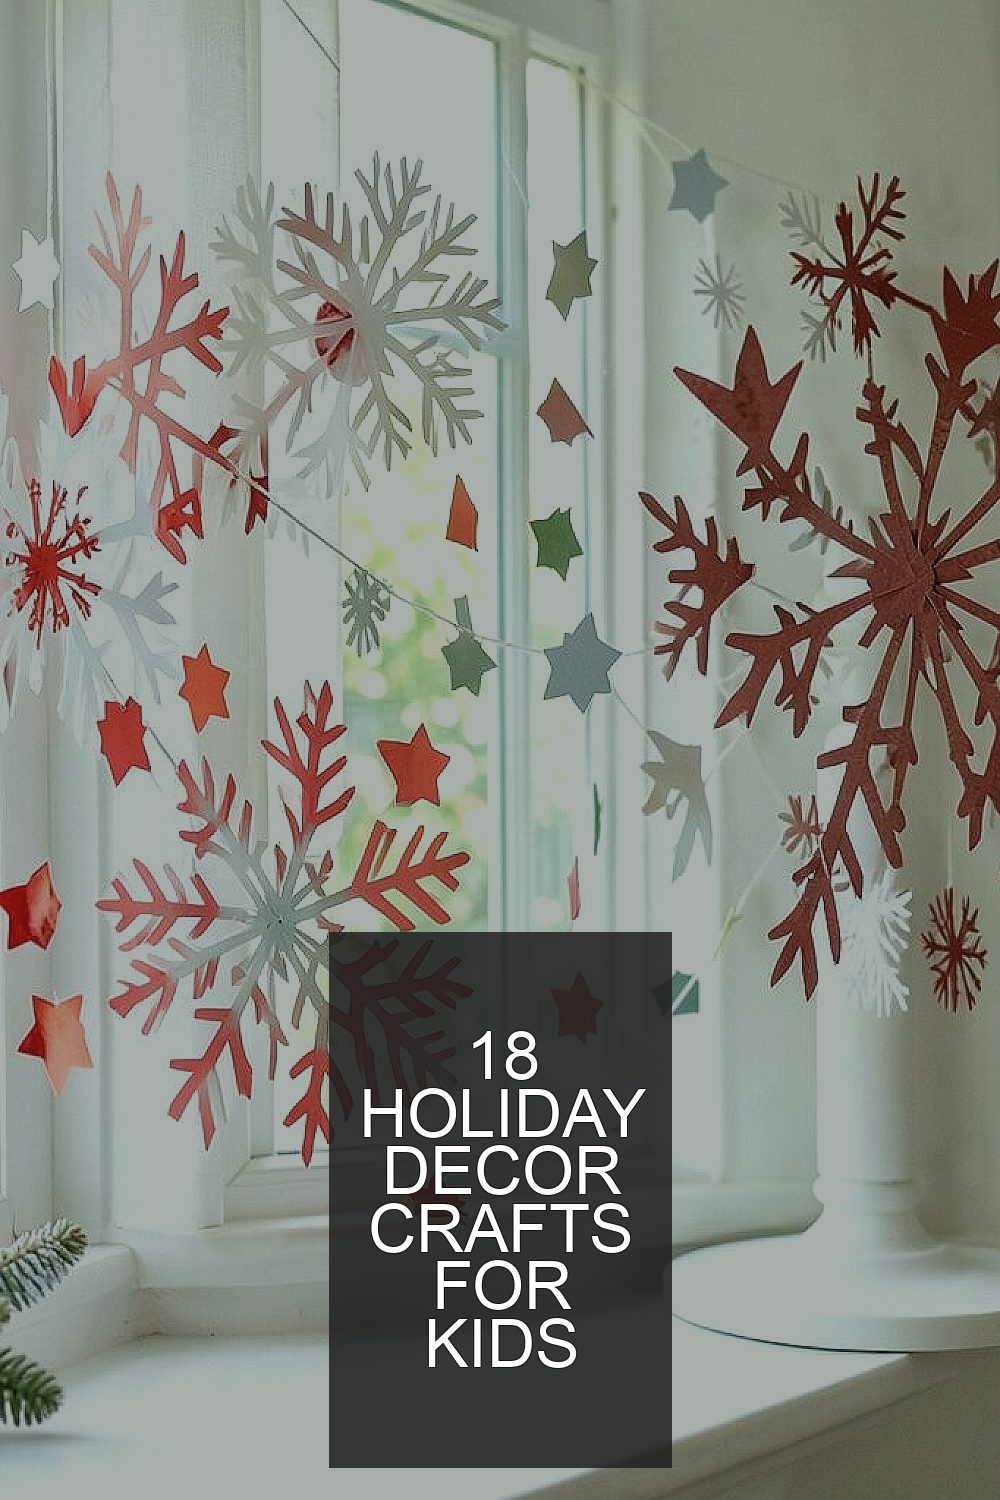
Holiday decorations can feel magical in the simplest way. When kids make them, every room starts to look more like a storybook.
-
1. Paper Snowflake Window Fans
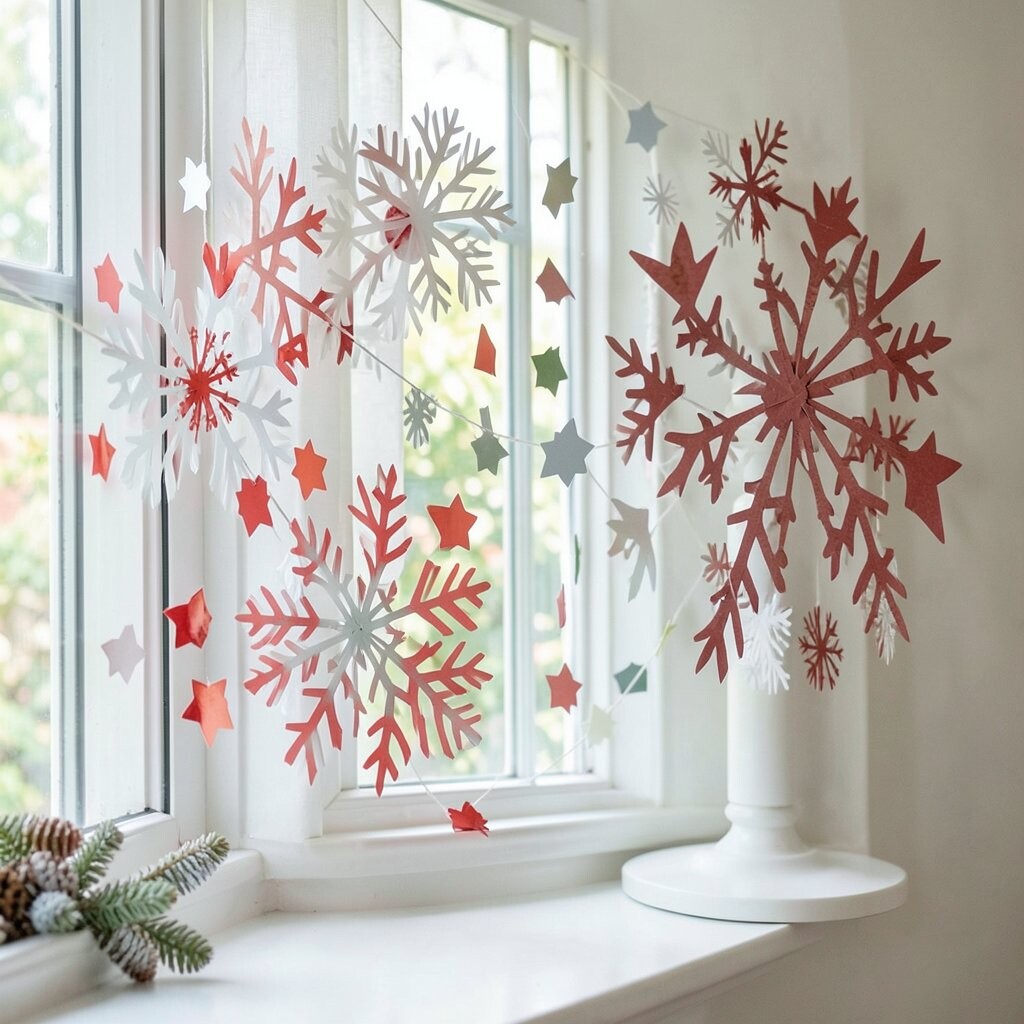
Paper Snowflake Window Fans Use white or pastel paper and cut gentle patterns into snowflakes. Then attach each snowflake to a popsicle stick and place them near a window so the light makes them glow.
This craft is great because it helps kids practice careful cutting and fine motor control. Try using pre-folded paper strips for younger kids to keep it less messy. For personalization, add glitter dots or draw tiny “ice cracks” with a silver marker.
Low-cost materials include printer paper, scissors, glue, and optional glitter. A current trend is “airy winter” decor, so keep your snowflakes light and not too heavy with decorations. If you want extra safety, choose kid-safe scissors and have an adult handle the first few cuts.
Tip: Make a few snowflakes in different sizes so the window looks layered, not flat. You can also swap paper colors for a theme, like blue-white for winter, or rainbow-white for playful holidays.
-
2. Ornaments from Salt Dough Footprints
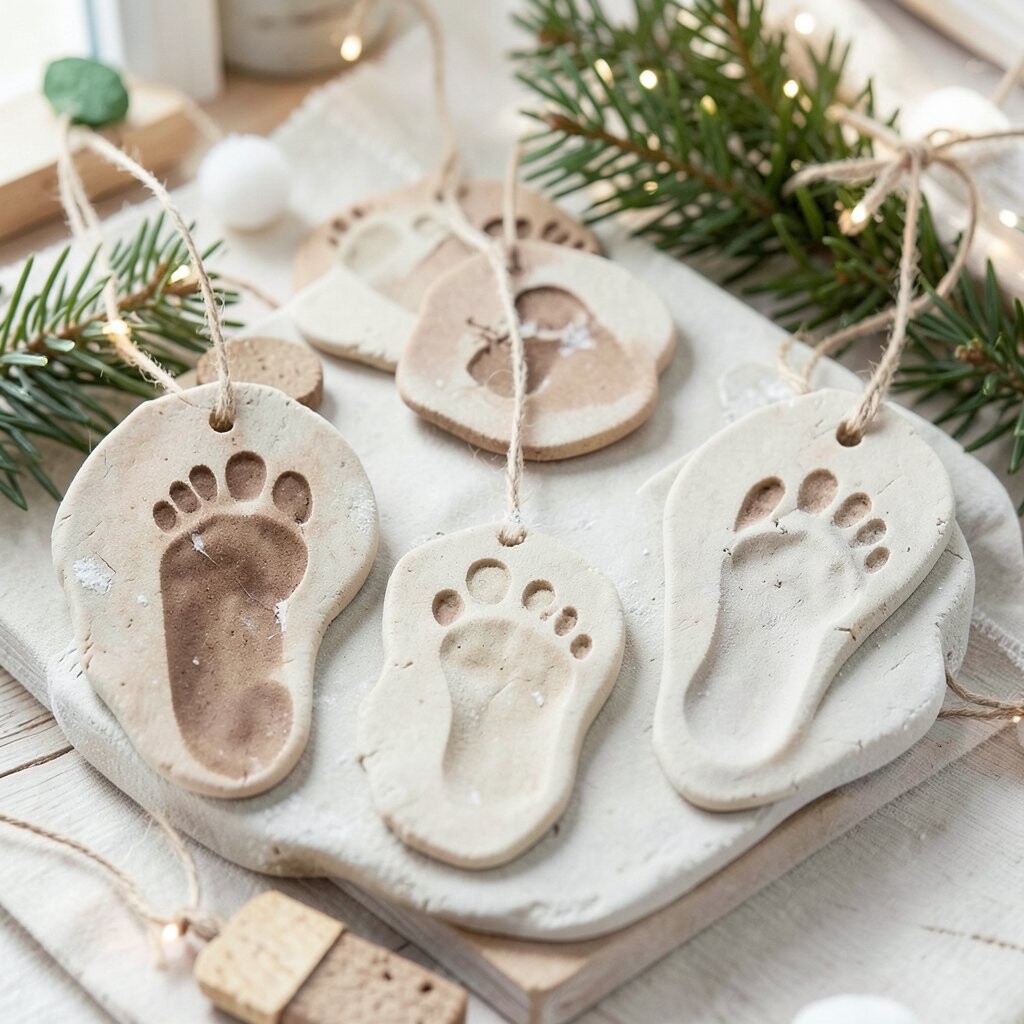
Ornaments from Salt Dough Footprints Mix salt dough, press a little footprint, and bake it until it hardens. Kids love seeing their own “tiny steps” turn into keepsake ornaments.
This craft is unique because it becomes memory art, not just a decoration. It also supports patience while dough dries and baking happens. Once cooled, paint the footprint with holiday colors and add a string loop.
For cost, you likely have flour, salt, and water at home, and paint can be simple craft paint. A personalization idea is to write the date on the back in small letters. Keep the surface smooth by gently pressing and lightly flouring the mold area.
-
3. Candy Cane Photo Frame Pops

Candy Cane Photo Frame Pops Cut craft foam or cardboard into thin “candy cane” shapes and let kids paint stripes. Add a small photo in the center using a clear pocket sleeve or a glue stick flap.
These frames feel fun and wearable around a room, especially when hung on a ribbon. The benefit is that children can practice drawing straight lines and planning a design. For personalization, add tiny names, ages, or short holiday messages beneath the picture.
Use red-and-white paint for the classic look, or try mint and gold for a newer holiday style. If you’re watching cost, cardboard and washable paint are usually cheaper than store-bought frames. Tip: Seal the foam with a thin layer of craft sealant so it lasts longer.
Current trends often include “mini gallery walls,” so hang several in a row across a hallway. You can also swap photos for kid-made drawings instead of pictures.
-
4. Pinecone Gnome Sitters
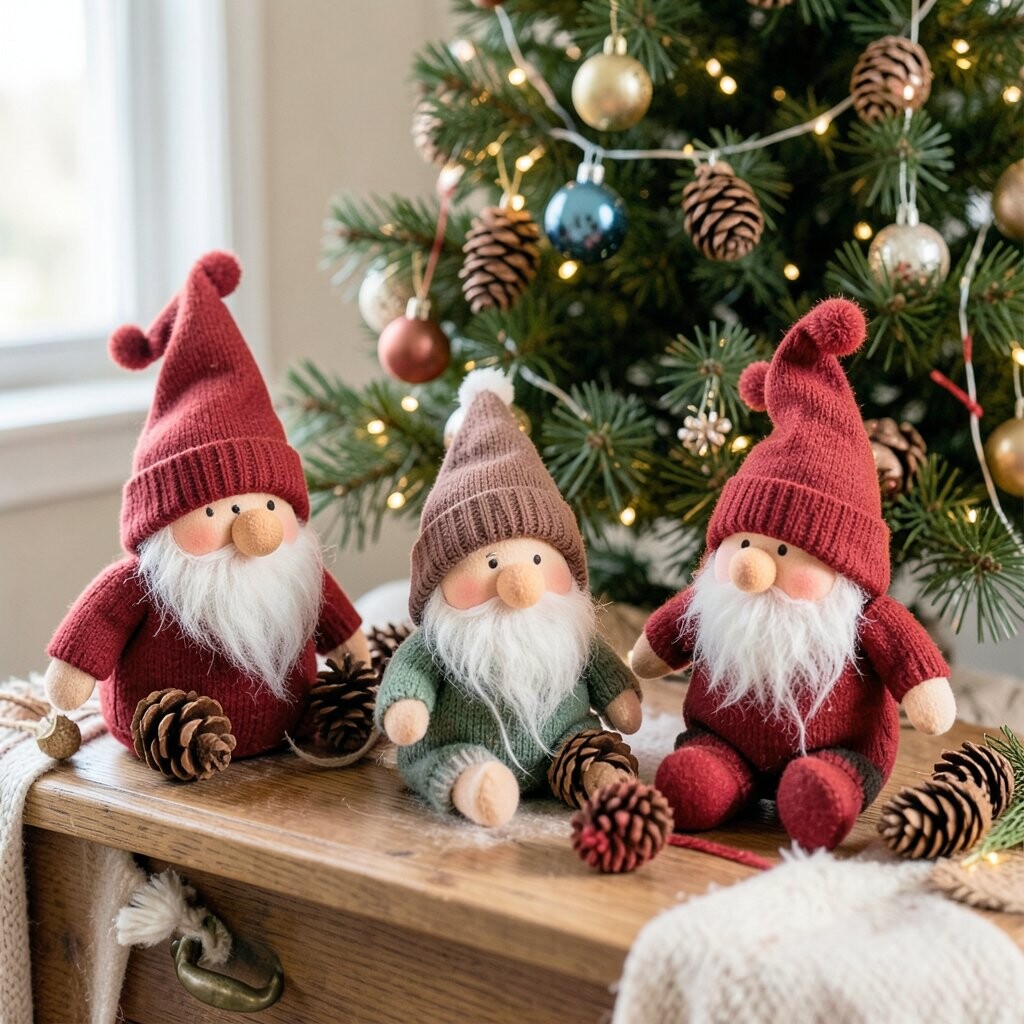
Pinecone Gnome Sitters Give each child a pinecone and help them add a tiny hat with felt or a small paper cone. Glue on a fluffy beard (cotton) and draw rosy cheeks for a friendly gnome face.
Kids enjoy working with natural textures, and that helps them slow down and focus. This craft is unique because each pinecone shape becomes its own character. For personalization, let kids choose the gnome’s “personality” by adding different beard lengths or cheek colors.
Cost considerations are great here: pinecones can be collected outdoors and felt scraps can be reused. A current trend is nature-inspired decor, so keep the look earthy with warm browns and forest greens. Tip: If pinecones are prickly, use gloves or have an adult handle the prickliest parts while kids do the face and hat.
-
5. Recycled Sweater Garland Cut-Outs
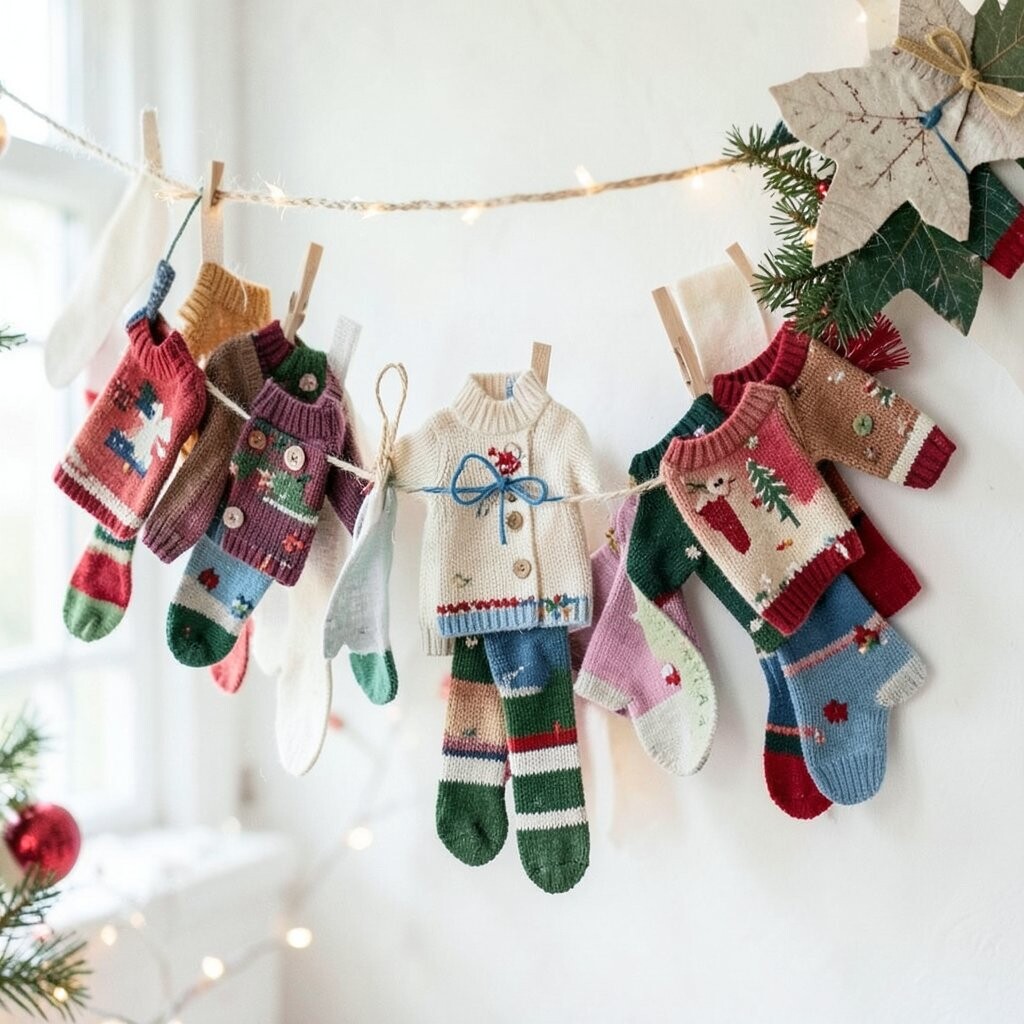
Recycled Sweater Garland Cut-Outs Cut old sweater fabric into fun shapes like stars, hearts, or tiny mittens. Glue or tie the pieces onto twine so the garland looks soft and cozy.
This is an awesome way to reuse materials, and kids feel proud when they spot “before and after.” The benefit is that sewing is not required, so it stays beginner-friendly. For personalization, kids can stitch simple buttons or add fabric paint patterns.
Cost stays low if you use items you already have, and you only need scissors, glue, and twine. A trend right now is “cozy maximalism,” so don’t be afraid to mix textures and colors. Tip: Cut small “holes” near the edges for stringing if glue is taking too long.
-
6. Cinnamon Stick Star Ornaments
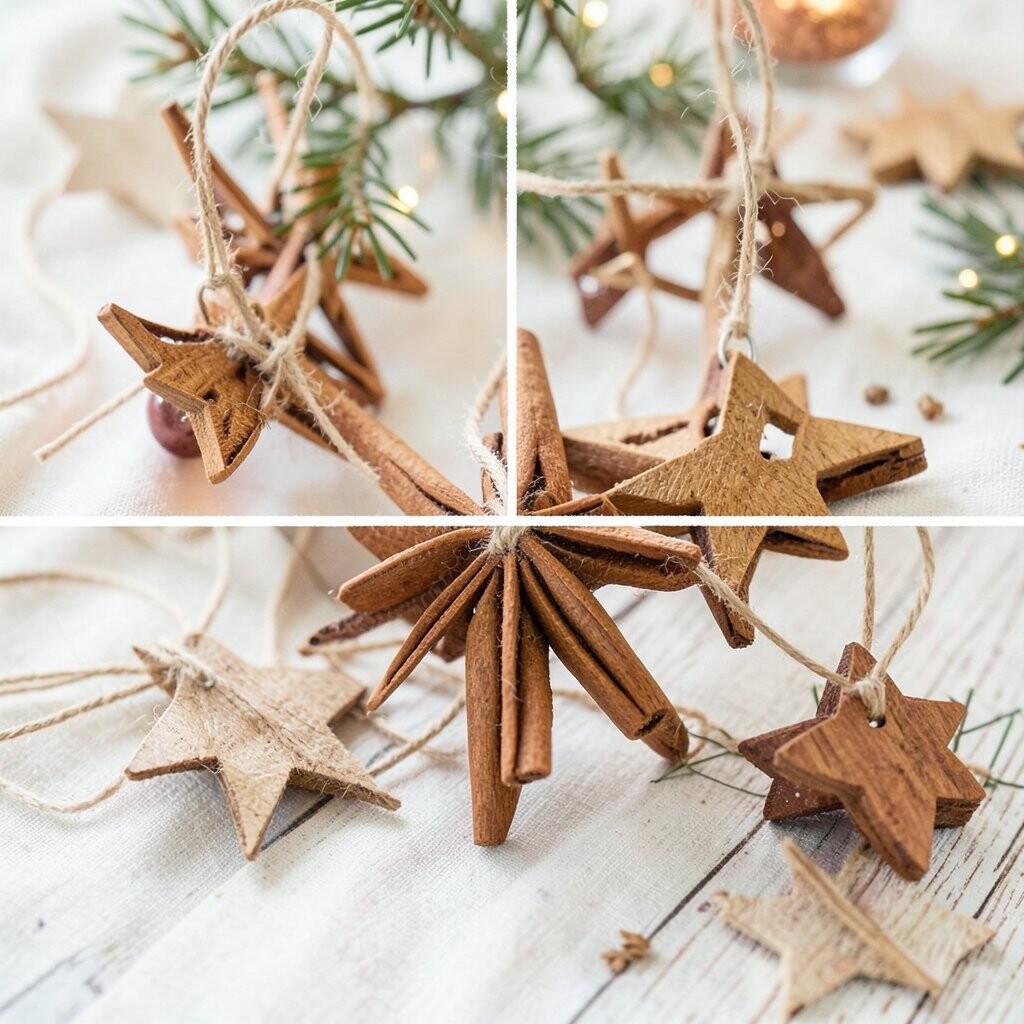
Cinnamon Stick Star Ornaments Use cookie cutters to draw star outlines on craft paper, then glue cinnamon sticks into the star shape. Kids will love that it smells like holiday warmth even before it’s finished.
This craft helps with planning and careful placement because sticks must fit neatly. It’s unique because the decoration doubles as a scent booster for rooms and drawers. Personalize by painting the star tips gold or adding a small bow made from ribbon scraps.
For cost, cinnamon sticks are affordable and you can reuse them in other crafts later. Keep the craft budget friendly by using fewer sticks per star or making smaller stars. Tip: Use white glue and let it dry flat on wax paper so the star doesn’t stick to your table.
Current trends include warm “spice decor,” so this idea fits right in. You can also tie a string through the back and hang the star on a doorknob or tree branch.
-
7. Tissue Paper Lollipop Tree Decorations
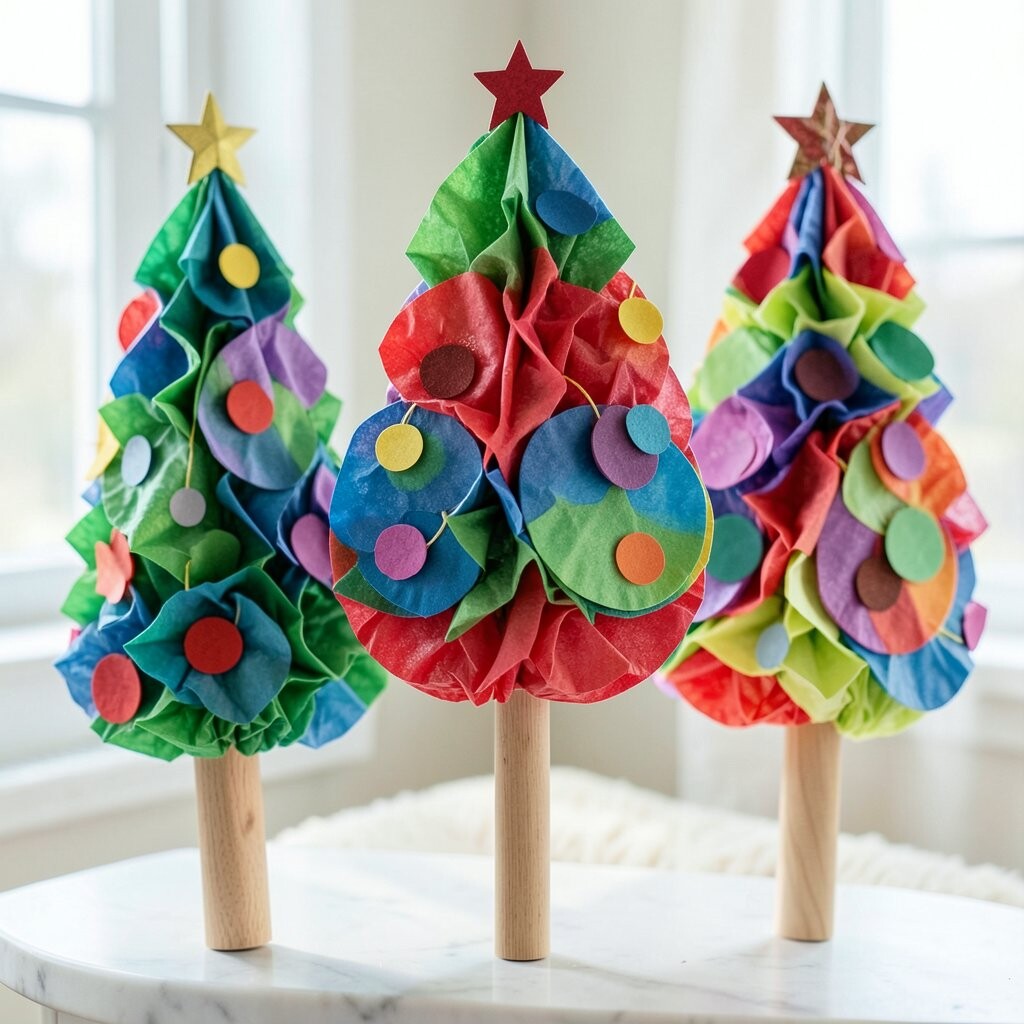
Tissue Paper Lollipop Tree Decorations Wrap tissue paper around a lollipop stick or a craft stick to make a little puff ball. Add a loop of string or ribbon at the top so kids can hang them on a small branch or room hook.
These decorations look bright and light, especially when sunlight hits the tissue layers. The benefit is that kids can practice tearing and layering without needing complicated tools. For personalization, let them choose color combinations like icy blue, red-hot pink, or classic green and gold.
Cost is low because tissue paper is usually inexpensive and can be reused. A helpful tip is to keep the tissue layers thin so the puffs look airy, which matches today’s “light and playful” decor trend. You can also make them as “snowflakes” by using white tissue and adding tiny dot centers.
-
8. Salt Shaker Snowman Nightlights
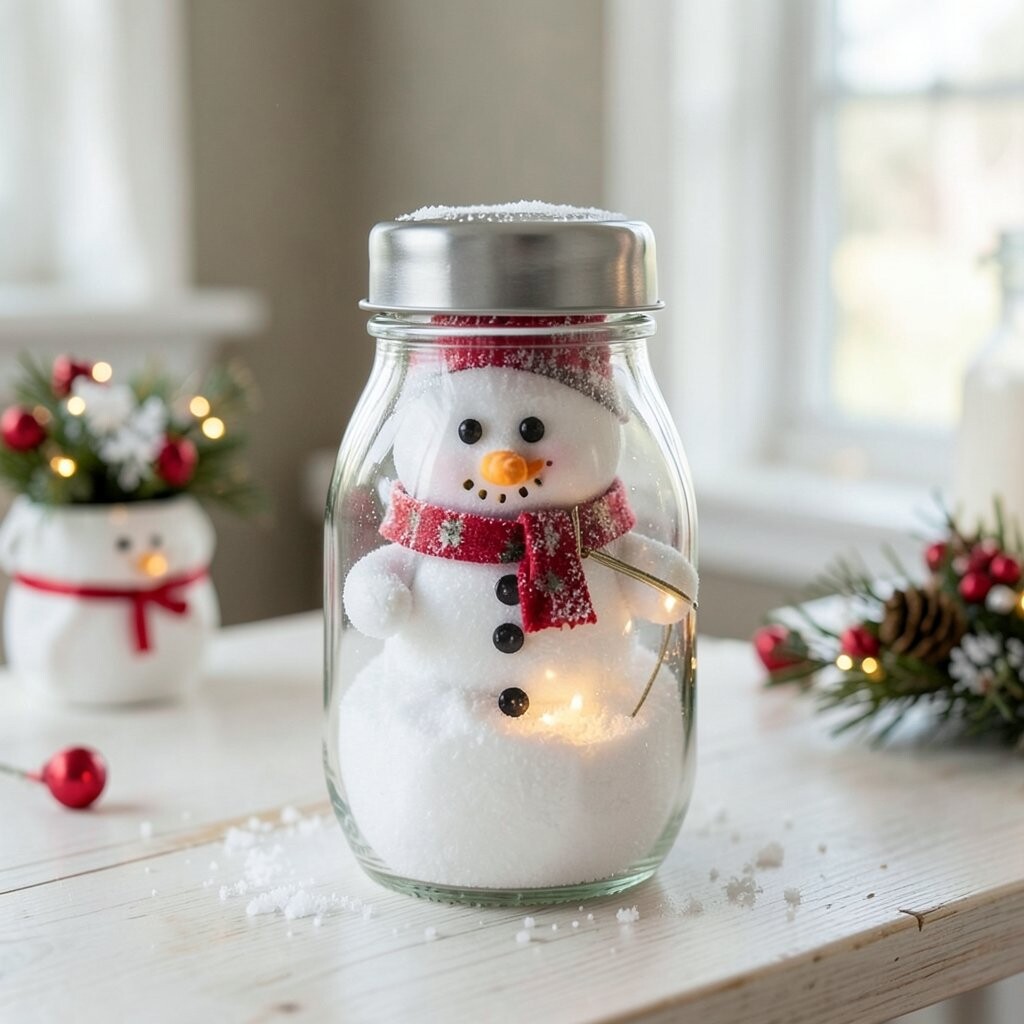
Salt Shaker Snowman Nightlights Turn an empty salt shaker into a snowman by gluing felt circles for the buttons and a small scarf. Use a battery tea light inside and cover any sharp edges with tape or glue-safe coating.
This craft is unique because it glows at night, turning a small object into a cozy scene. The benefit is that kids can design faces and outfits with simple materials. Personalize with a hat made from paper and add stick-on “snow” using cotton.
For cost, empty shakers and felt scraps are free or cheap, and tea lights are easy to find. A trend that’s popular now is “warm glow decor,” so this fits perfectly for bedtime-friendly holiday vibes. Tip: If tea light placement feels tricky, keep it for an older kid or do the last step together.
-
9. Cardboard Tube Candy Garland Loops

Cardboard Tube Candy Garland Loops Wrap small strips of colored paper around cardboard tube circles to create candy shapes. Then thread them on yarn in looping patterns so the garland looks like it’s bouncing.
Kids get to build a repeating pattern, which is great for math-friendly creativity. This craft is unique because the garland is made from tubes, so it feels smart and thrifty. For personalization, add tiny faces or initials on each “candy.”
Keep costs low by using leftover wrapping paper scraps and any string you have at home. Current trends often include “upcycled garlands,” and tube-based crafts are an easy win. Tip: Use double-sided tape to secure paper edges neatly and prevent unraveling.
-
10. Pine Branch Confetti Stick Wands
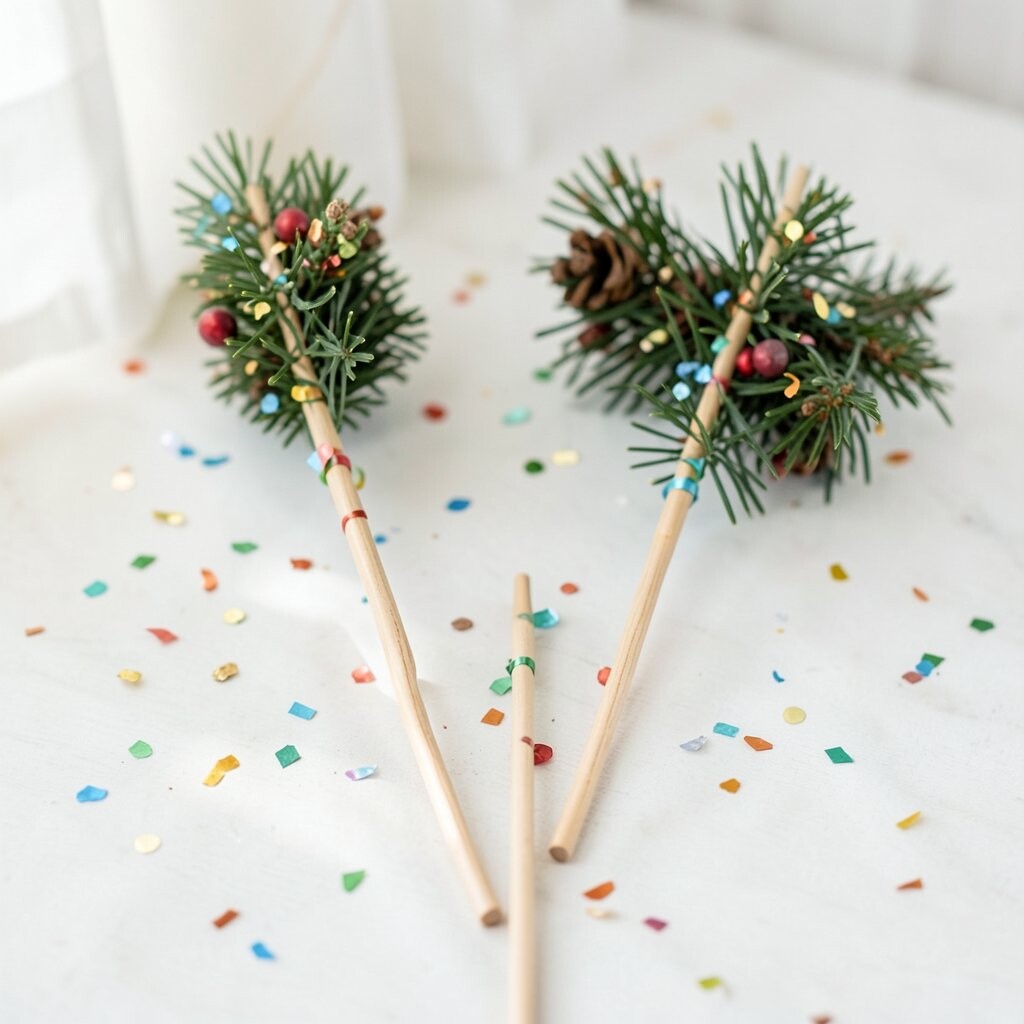
Pine Branch Confetti Stick Wands Cut small pieces of green paper to look like leaves, then glue them onto a craft stick like a mini branch. Add a little ribbon streamers so the wand looks festive from every angle.
Kids love waving these in the air, and the movement makes decor feel interactive. The benefit is that it builds confidence because they can “make it happen” during holiday play. Personalize by adding a tiny “berry” dot with red paint or paper circles.
-
11. Window Jelly Snow Art with Cornstarch
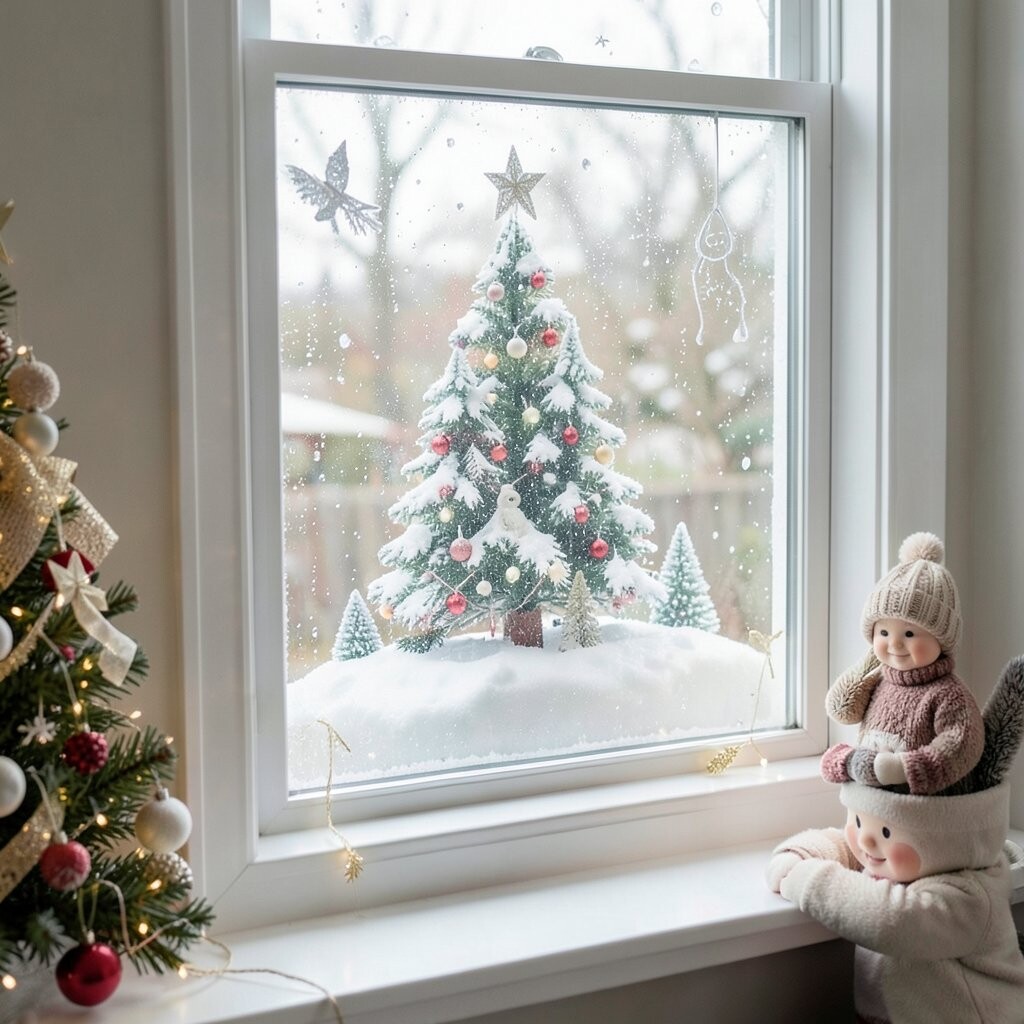
Window Jelly Snow Art with Cornstarch Mix a simple cornstarch gel, then draw snowflake lines on plastic wrap or a sealed sheet. Hang it on a window so the light makes the jelly art look icy and shiny.
This craft is unique because it looks like stained glass, but it’s made with kid-friendly materials. The benefit is that gel drawing encourages creativity while keeping mess contained when done with a cover sheet. For personalization, add dots, swirls, and even tiny stars inside the snowflake.
Cost is usually very low because cornstarch and water are common pantry items. A trend you’ll see in holiday decor is “glass-like” effects, and this gives that look without expensive supplies. Tip: Use food coloring in tiny amounts for soft pastel color, not too much dye at once.
Let it set, then carefully tape the plastic to a window for a temporary winter display. Kids will enjoy making a new design each night or each weekend.
-
12. Sock Snowmen with Buttons and Carrot Noses

Sock Snowmen with Buttons and Carrot Noses Stuff a clean sock with cotton or fabric scraps, then tie a knot to form a snowman shape. Glue or sew on buttons and create a carrot nose using felt or orange paper.
This craft is unique because it becomes a character you can place anywhere, from a mantel to a bookshelf. The benefit is that it teaches kids how to build a 3D shape from simple supplies. Personalize by adding a scarf in any color and drawing a smile with fabric paint.
Cost is friendly when you use old socks, and you can keep costs extra low by skipping store-bought eyes. A trend in kids’ holiday crafts is “story characters,” so make each snowman have a theme like “chef snowman” or “space snowman.” Tip: Let an adult supervise if sewing, but gluing is often enough for a sturdy result.
-
13. Ornament Wrapping Paper Rolling Stars
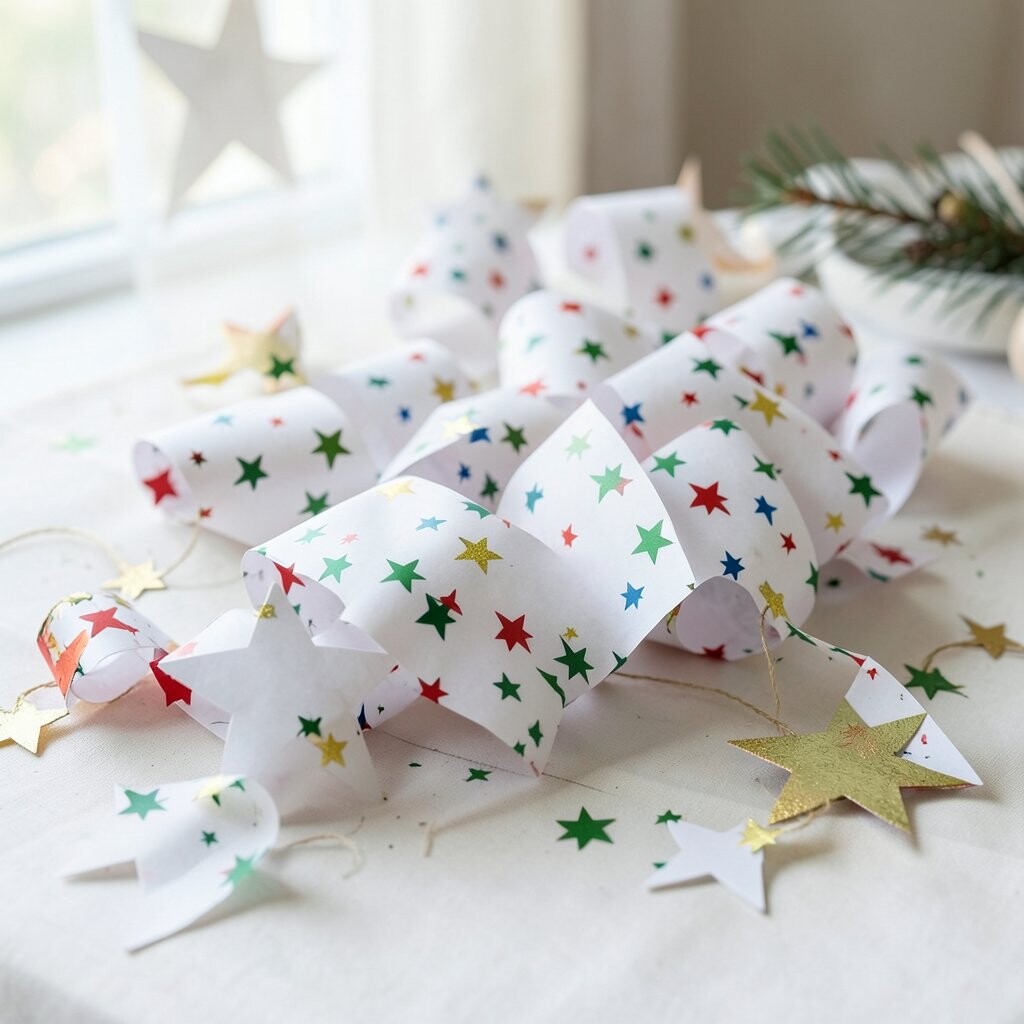
Ornament Wrapping Paper Rolling Stars Roll small strips of holiday wrapping paper into tight coils, then glue them into star shapes. Use a cardboard star base so the coils stay in place while drying.
This craft helps kids create texture that looks detailed even without fancy tools. It’s unique because it uses packaging patterns as decoration, so every star is different. Personalize by choosing only one color family or mixing patterns for a cheerful “confetti” style.
Cost considerations are great because you’re using leftover wrapping paper, which usually comes from past gifts. Current trends include “pattern-on-pattern” decor, and these stars deliver that look in a kid-safe way. Tip: Trim strips evenly so the coils match and the star looks clean.
For extra shine, brush a tiny amount of diluted glue over the top and sprinkle glitter lightly. Keep glitter minimal if you need easy cleanup.
-
14. Snow Globe Paper Cups (No Mess Version)
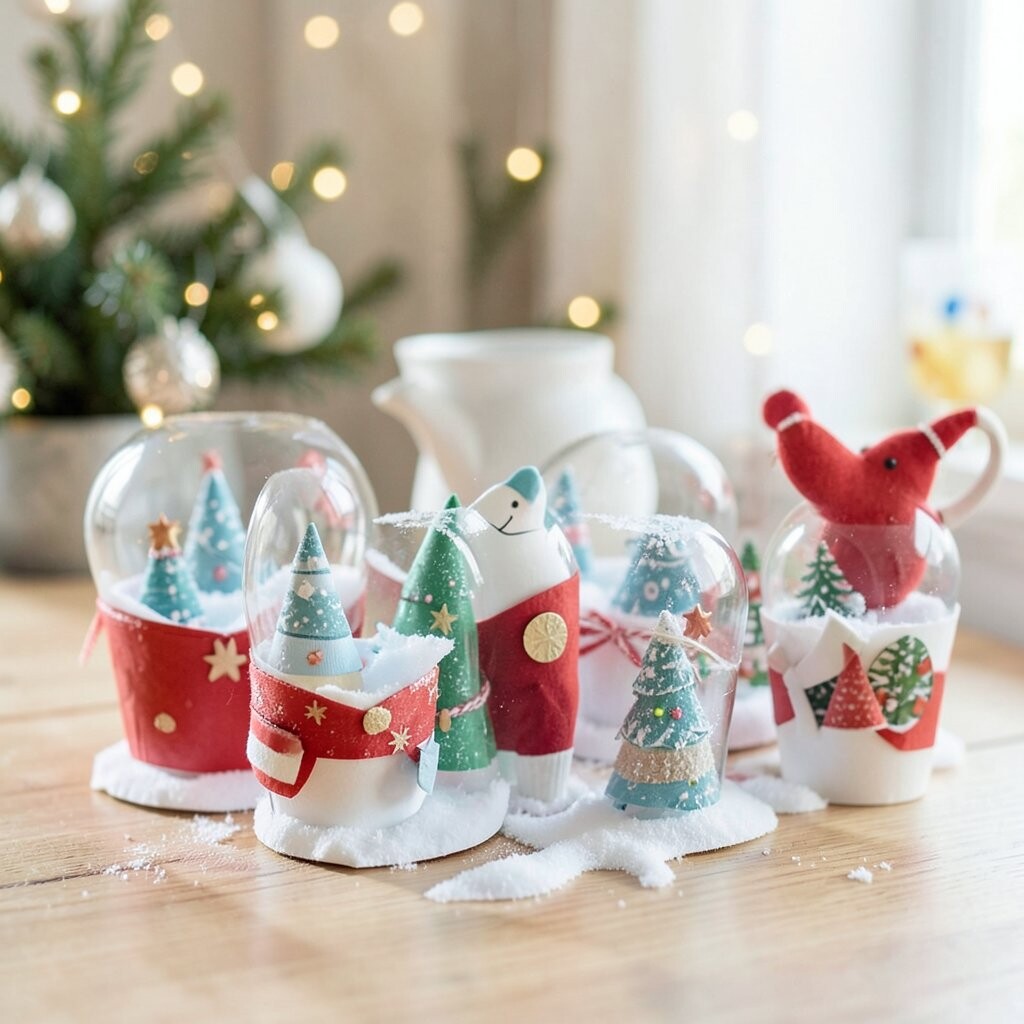
Snow Globe Paper Cups (No Mess Version) Decorate a clear cup with stickers, tiny drawings, and a paper winter scene background. Add a sealed pouch of “snow” inside using tissue paper bits or a small amount of foam flakes.
This craft is unique because it mimics a snow globe without shaking liquid. The benefit is that it stays safer for kids while still giving a magical effect. Personalize by choosing a favorite character outfit for a tiny figure or adding a skyline silhouette.
For cost, you can use clear cups and scrapbook paper, and stickers are optional. A trend right now is “kid-safe magic,” so this version fits families who want the look without the mess. Tip: Seal the top firmly with tape and ask an adult to check the seal before display.
-
15. Lined Paper Wreath with Handprint Centers
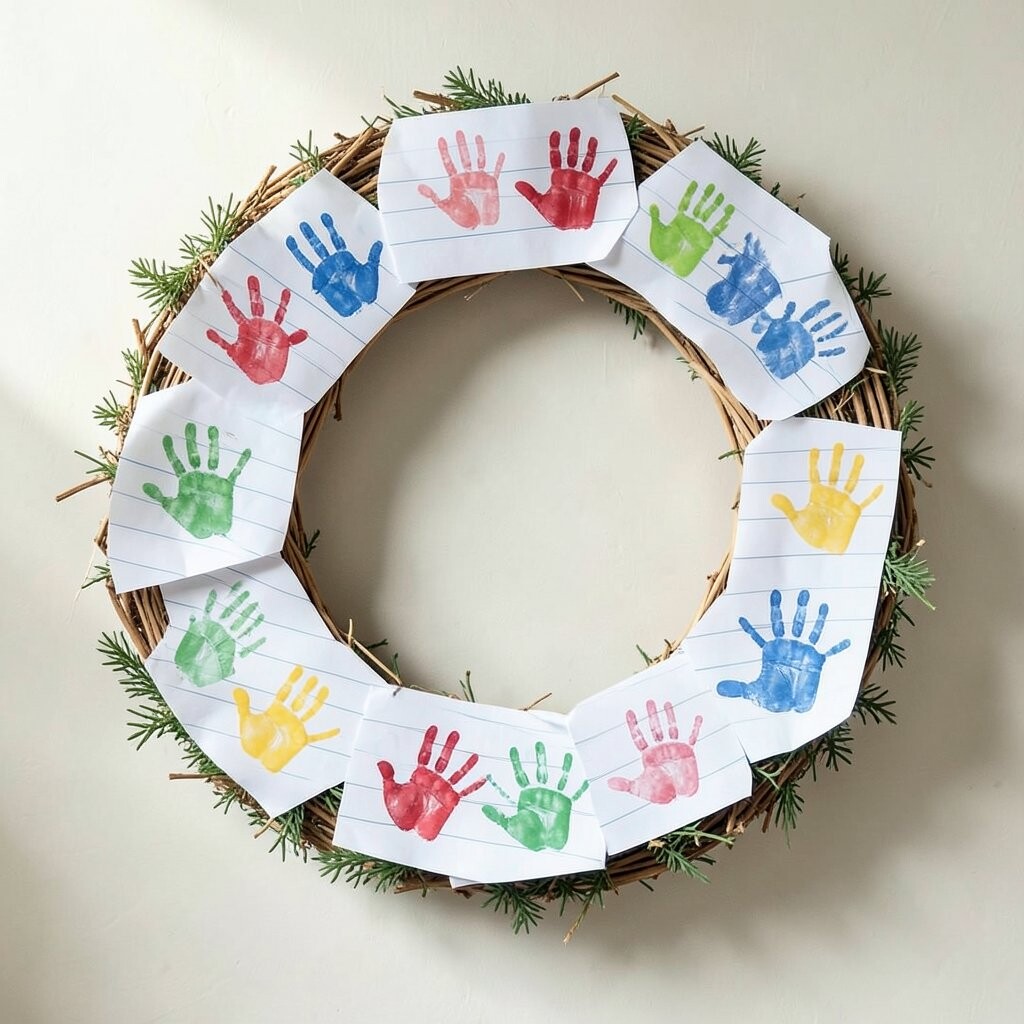
Lined Paper Wreath with Handprint Centers Trace and cut a big ring from cardboard, then glue strips of colored paper around the wreath edge. Place a kid handprint in the center using paint or a cut-out template.
Kids love the handprint part because it turns their bodies into decor, and that makes the project feel special. This craft is unique because it blends a classic wreath shape with a personal stamp. Personalize with glitter along the paper edges and a bow made from ribbon.
Cost stays reasonable since cardboard and paper scraps are usually free or cheap. A trend you may notice is “handmade family decor,” and handprint centers are a top favorite. Tip: Use a light coating of glue on the back of each strip so it sticks without soaking through.
-
16. Holiday Lanterns from Mason Jar Lids

Holiday Lanterns from Mason Jar Lids Paint jar lids or thick paper circles and glue them onto small tea-light lantern holders made from cups. Add cut paper shapes for windows, like snowflakes or stars, then place a light inside.
This craft is unique because the lantern glow makes even simple shapes look fancy. The benefit is that kids can design patterns they enjoy seeing at night. For personalization, let them choose a “story theme” such as woodland, ocean, or candy land by selecting window shapes and colors.
Cost is moderate if you need jar supplies, but lids and scrap paper can keep it low. A current trend is warm, cozy lighting, so lantern crafts are very in right now. Tip: Cut paper shapes slowly, and handle small pieces carefully to avoid tears.
-
17. Reindeer Nose Coffee Filter Pom-Poms
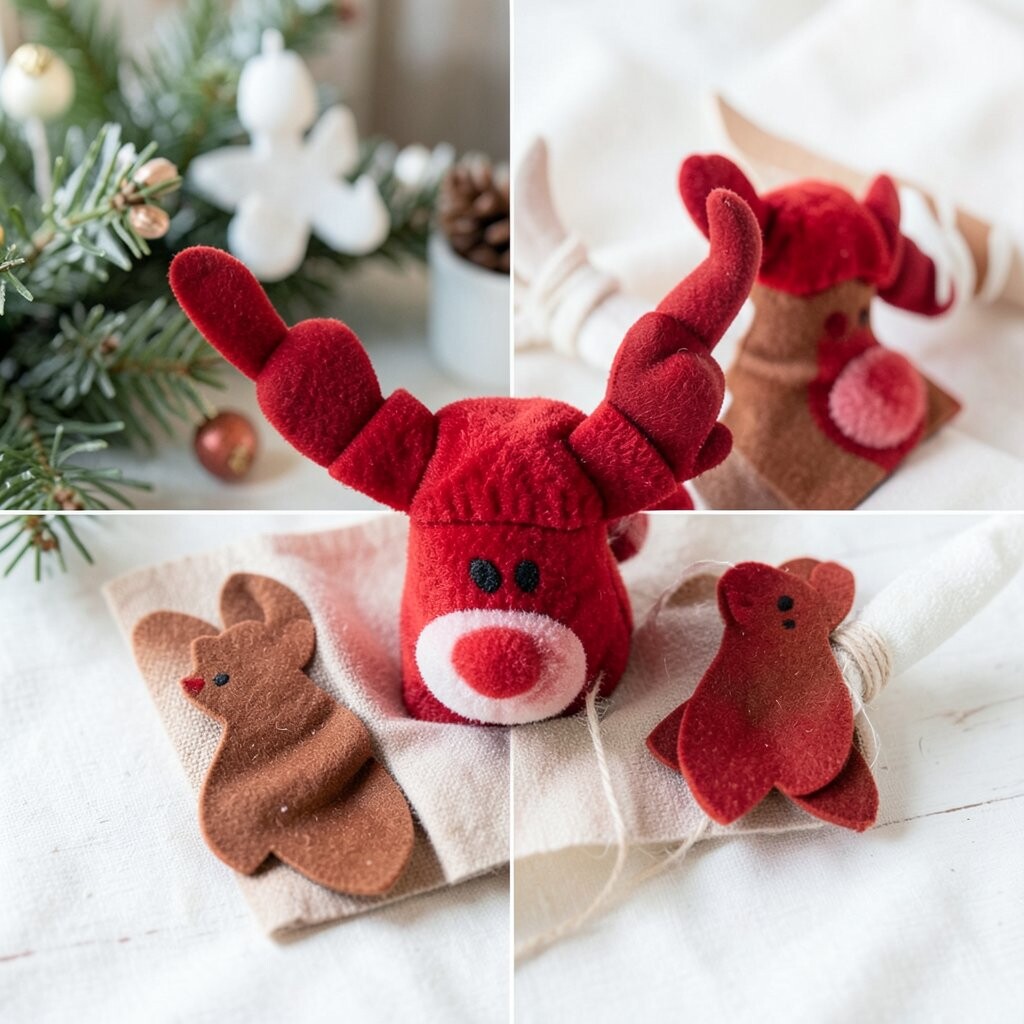
Reindeer Nose Coffee Filter Pom-Poms Layer coffee filters and twist them into a pom-pom, then add a red felt circle nose. Glue on small antlers made from pipe cleaners or folded paper.
The pom-pom look is super soft and fluffy, which makes kids want to touch the decor. This craft is unique because it uses everyday filters to create a reindeer shape. Personalize by drawing freckles, adding a scarf, or using gold pipe cleaner for antlers.
Cost considerations are great since coffee filters are usually affordable and can be used up fast. A trend is “soft texture decor,” and fluffy reindeer fit that style perfectly. Tip: Let the glue set before hanging, and use a sturdy string so the pom-pom doesn’t pull loose.
If you want a budget hack, make a set of three reindeer with matching colors so you can decorate a whole shelf area.
-
18. Popsicle Stick Winter Scene Ornaments
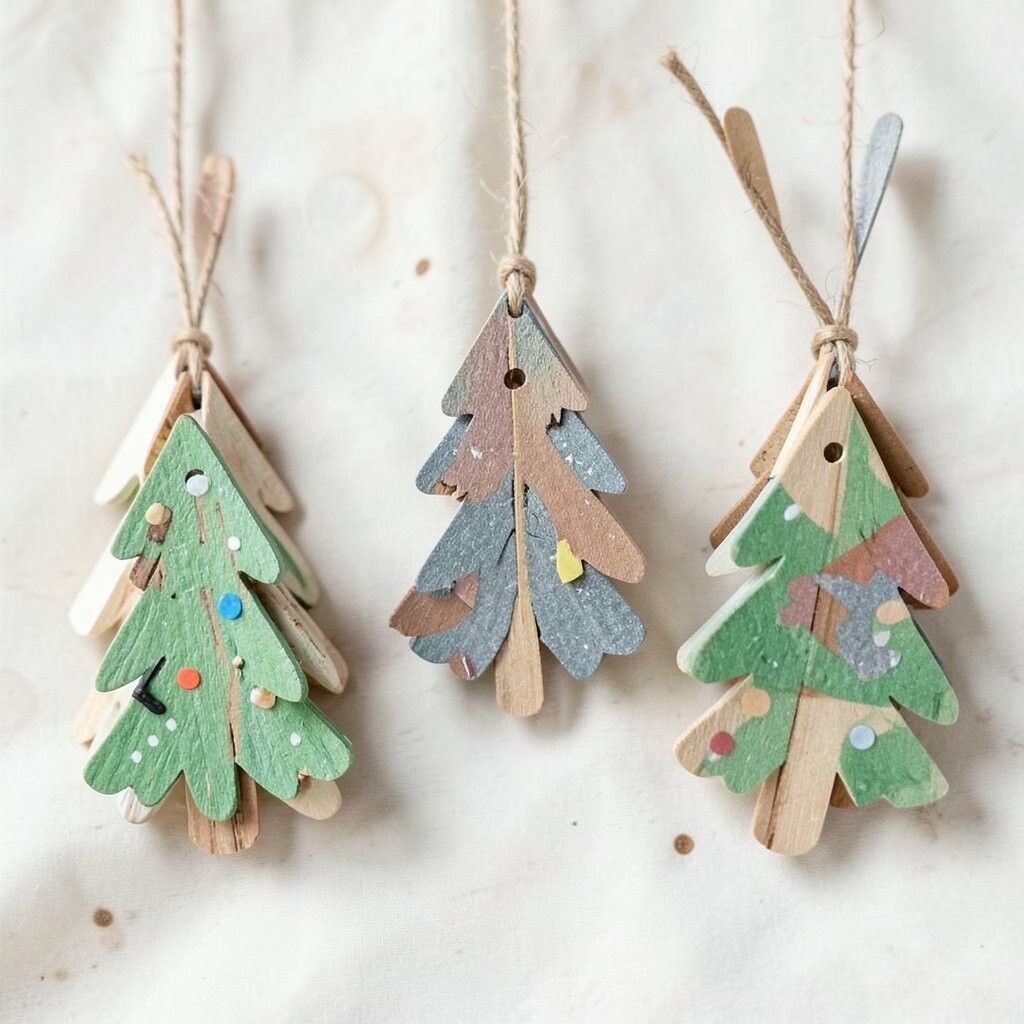
Popsicle Stick Winter Scene Ornaments Build a tiny scene by gluing popsicle sticks into a frame and adding paper cut trees. Let kids draw a snow path and stick tiny cotton “snow” on top.
This craft is unique because it’s like a miniature diorama you can hang. The benefit is that it helps kids practice planning layers, from background to foreground. Personalize by choosing a favorite animal, like a fox or owl, and adding it as a paper figure.
Cost stays low because popsicle sticks are cheap, and paper is easy to find. A trend is “miniature scenes,” and these ornaments bring that look to holiday decor in a kid-friendly way. Tip: Use low-odor glue and let everything dry fully before you attach a ribbon loop.