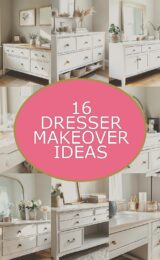
Cut peel-and-stick wallpaper into neat panels and place them on the center of the dresser front. Pick a pattern that matches your room, like soft florals or simple stripes.
For a clean finish, measure your drawers and leave a tiny gap for alignment. Press firmly, smooth from the middle outward, and use a craft knife for sharp edges.
This project looks unique because the pattern becomes the “main character” of the furniture. It’s also great for renters since you can remove it later without major damage. Keep extra matching scraps for drawer fronts or small accent spots.
2. Paint the Handles, Keep the Rest Calm
Paint the Handles, Keep the Rest Calm
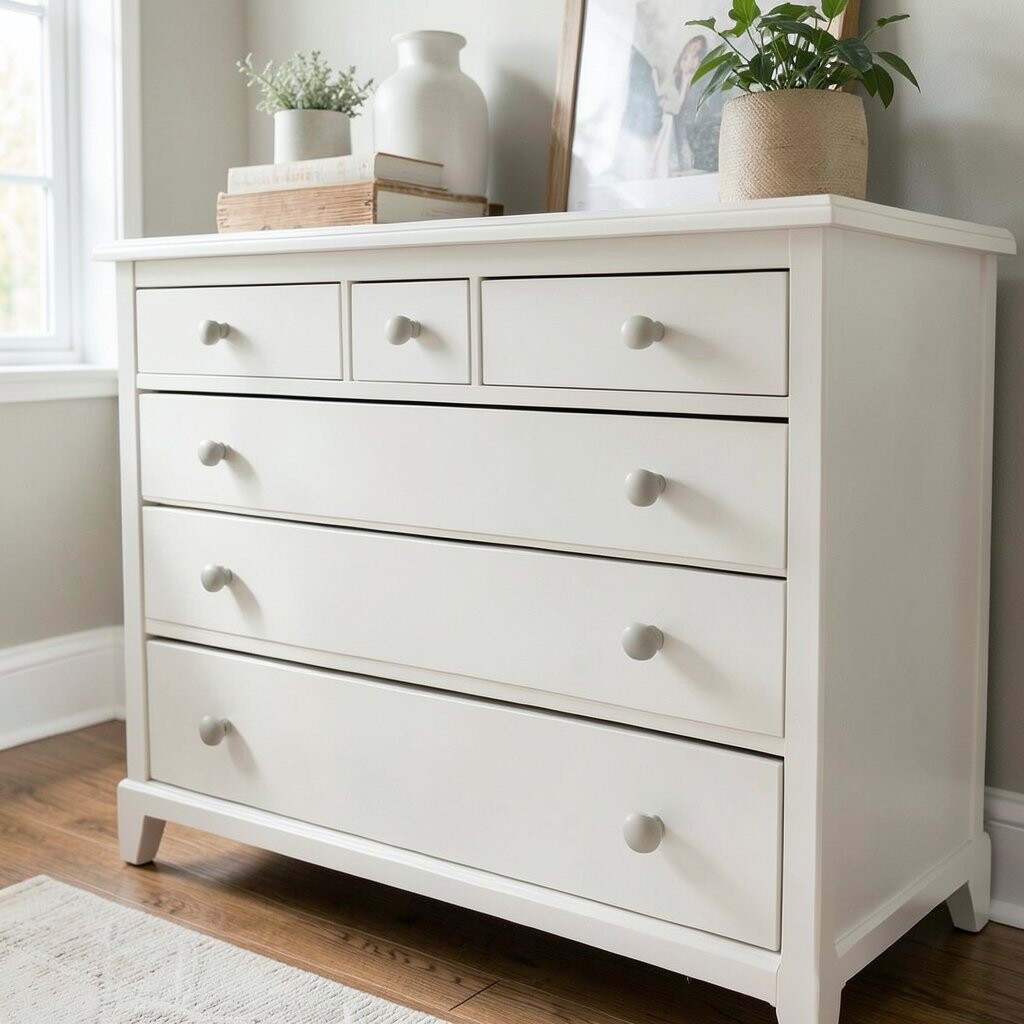
Skip repainting everything and just upgrade the hardware. A couple coats of bright paint on handles can make the whole dresser feel newer.
Choose a trendy color like sage green, creamy matte white, or brushed gold style. Let the paint cure fully before you pull and push the drawers often.
If you want extra style, line up the handle colors with your room decor. This is a low-cost win that still feels special. Use a small foam brush for smooth lines and to avoid drips.
3. Fabric Tuck Drawer Liners for Instant Cozy
Fabric Tuck Drawer Liners for Instant Cozy
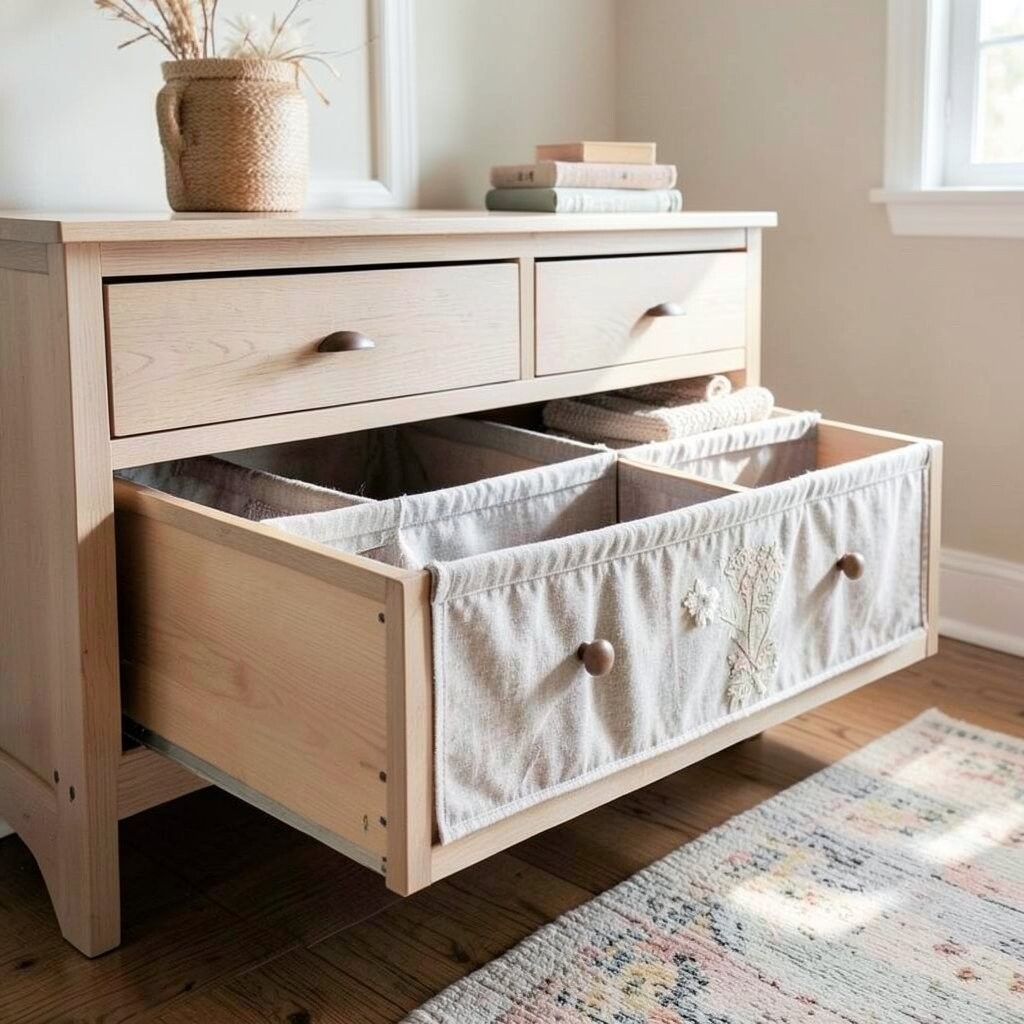
Use leftover fabric to line the inside of the drawers. When you open them, you’ll see pretty color and texture right away.
Try cotton, denim, or even a patterned curtain remnant. Measure the inside length and width, then cut with a little extra for fitting.
Glue the edges with fabric glue or use a thin layer of spray adhesive if the surface allows it. This makes the dresser feel warmer and helps protect items from scratches.
Personalize it by using your favorite colors or a theme like beachy blues. If you’re into current looks, mix soft neutrals with one bold pattern. It’s a budget-friendly way to add “designer” vibes.
4. Stencil a Small Crest on One Drawer
Stencil a Small Crest on One Drawer
Pick one drawer front and add a tiny stencil design at the center. Think of a little crown, leaf, or heart shape for a sweet touch.
Use painter’s tape to hold the stencil in place and apply paint with a sponge. Keep coats thin so the stencil edges stay crisp.
5. Chalk Paint Wash for Soft Color Depth
Chalk Paint Wash for Soft Color Depth
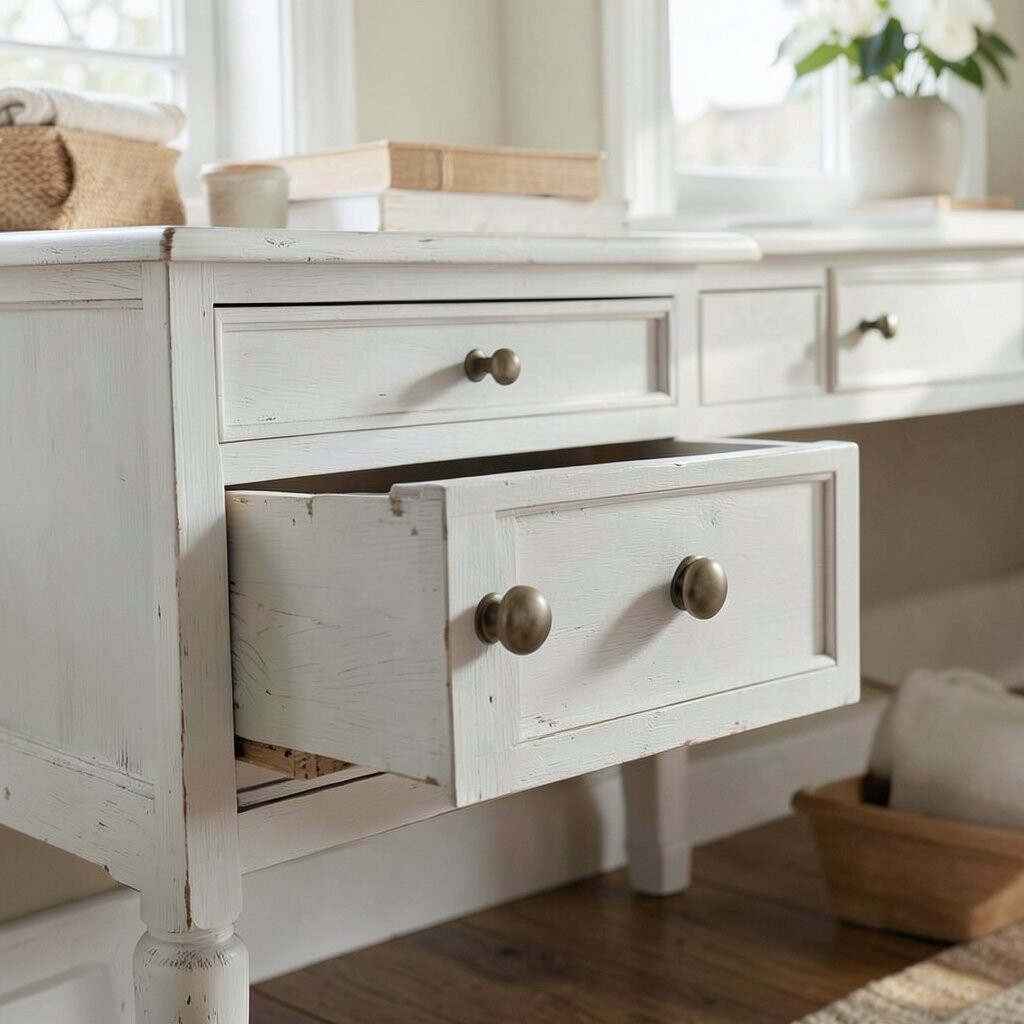
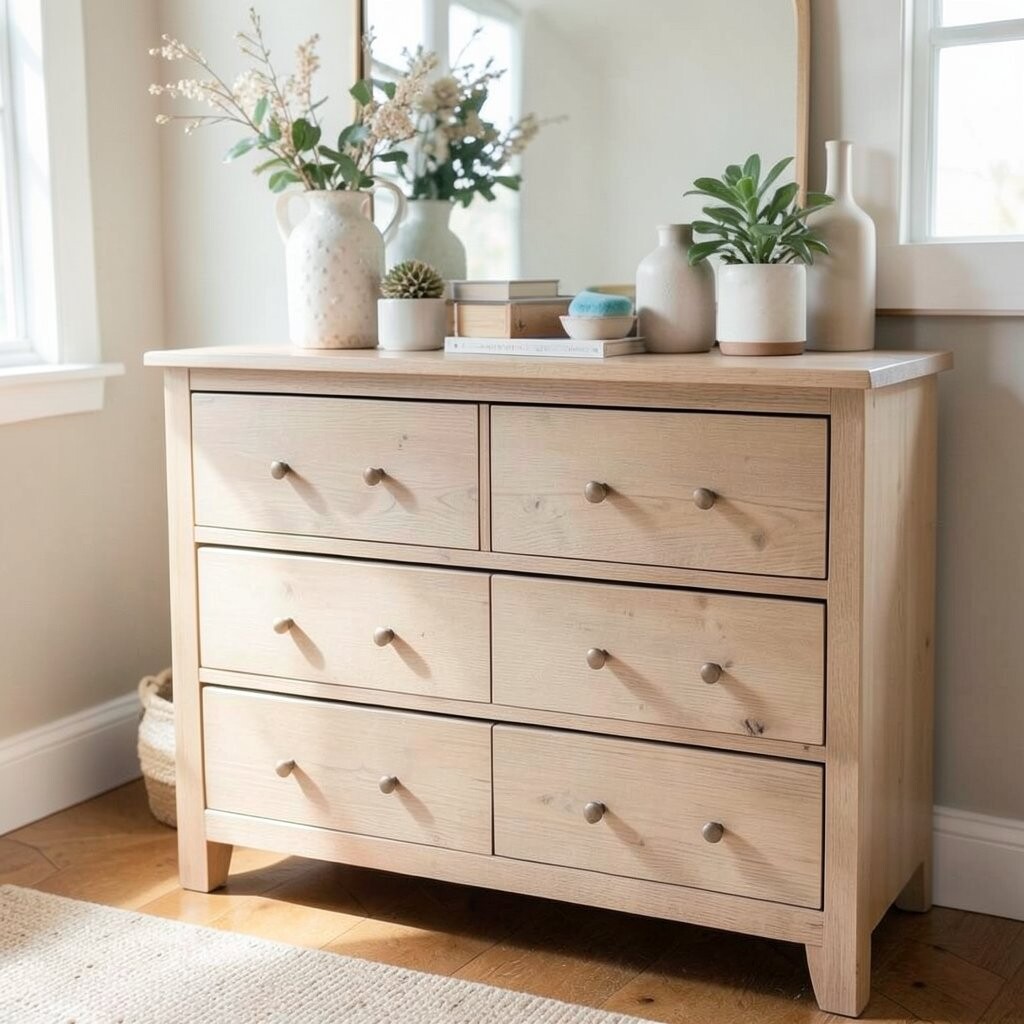
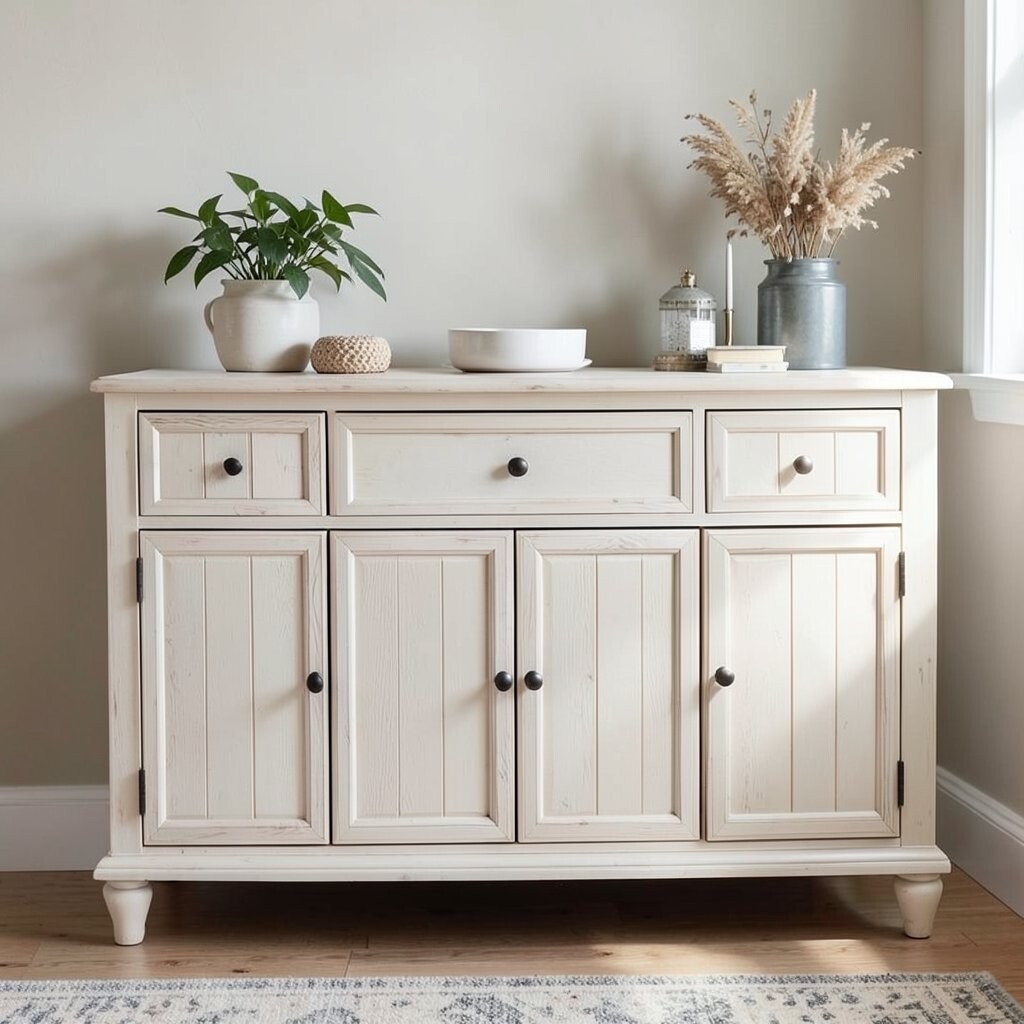
Brush on a chalk paint wash to turn plain wood into a gentle, lived-in look. You can see the wood grain underneath for a cozy style.
Try a light white wash, a warm gray, or a dusty blue. This works especially well on dressers that already have some texture.
Seal with a clear top coat so it wipes clean. The benefit is that you don’t need perfect coverage, which makes it easier and cheaper. Personalize it by layering two similar tones for a subtle color gradient.
6. Two-Tone Drawers with a Simple Color Block
Two-Tone Drawers with a Simple Color Block
Paint the top half of the dresser one color and the bottom half another. Even a basic two-tone block can look modern and tidy.
Use painter’s tape to mark a straight line where the colors meet. Let each color dry fully before you remove the tape.
This makeover looks unique because it feels intentional, not random. It can also match current home styles, like clean neutrals with one earthy accent. Keep costs low by using sample-size paint or leftover cans.
7. Rope or Vinyl Edge Trim for a Custom Border
Rope or Vinyl Edge Trim for a Custom Border
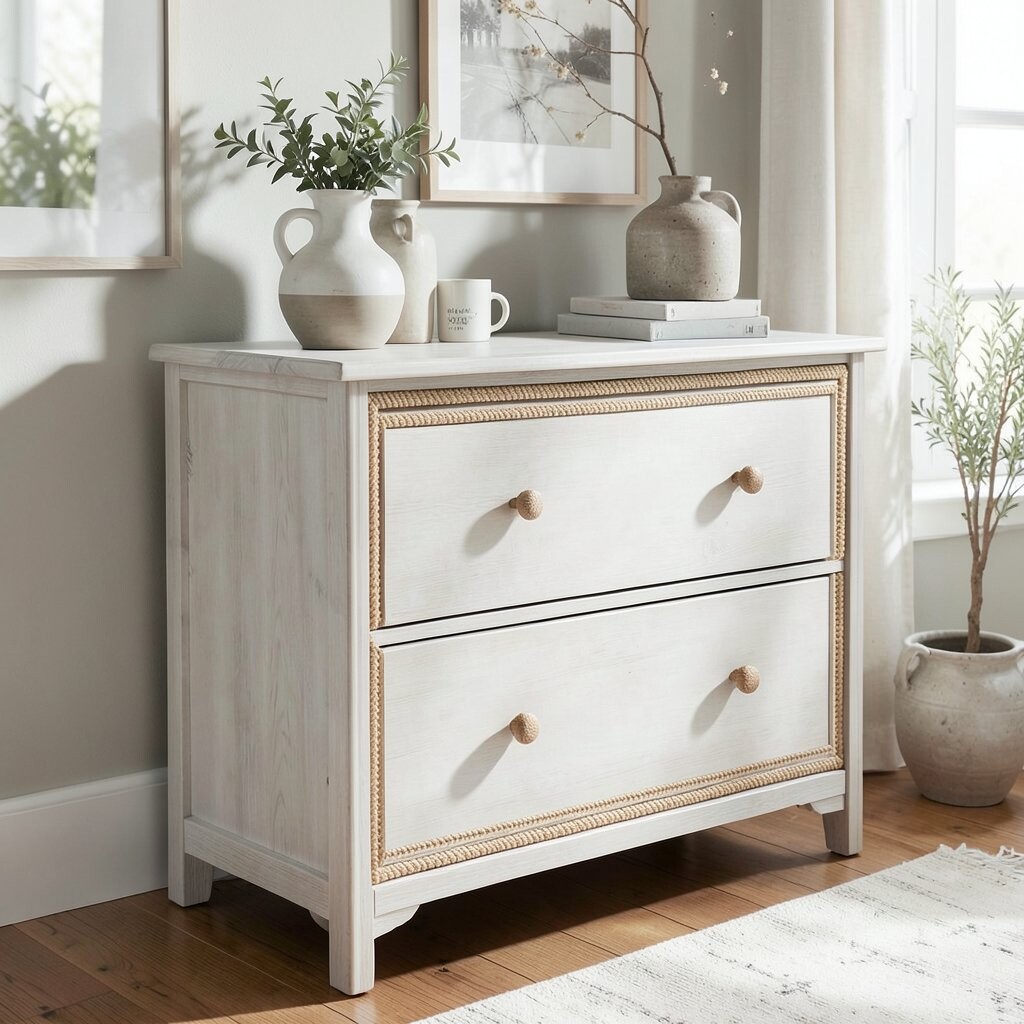
Add trim around drawer edges using rope, vinyl cording, or faux leather strip. The dresser front will suddenly look handmade and fancy.
Use hot glue or a strong fabric adhesive for the trim. Press the trim in place and hold it gently while it sets.
For personalization, choose trim colors that match your room, like black for a modern look or natural tan for a rustic feel. This gives a strong “frame” effect without repainting. Cost stays low because trim can go a long way for small borders.
8. Quick Floral Decoupage on Drawer Faces
Quick Floral Decoupage on Drawer Faces
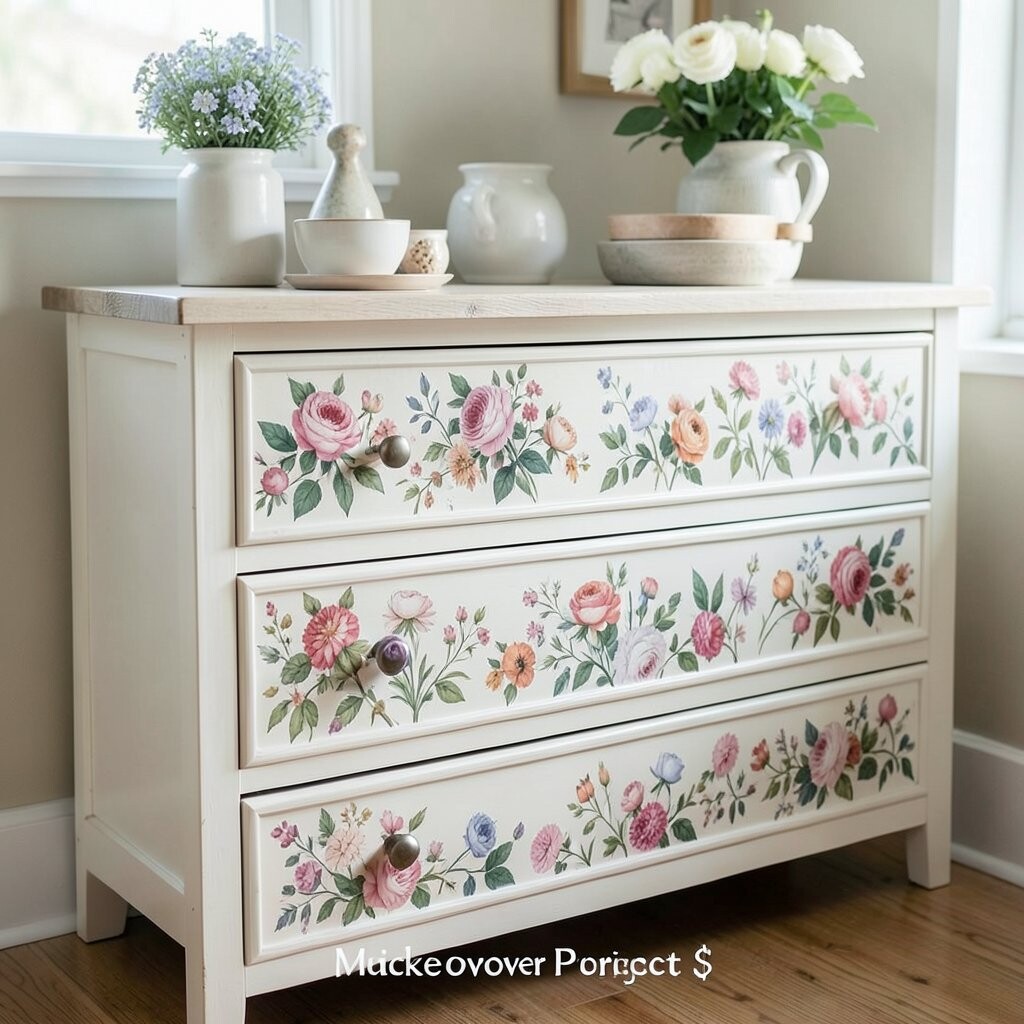
Use napkins, tissue paper, or collage sheets to decoupage floral shapes onto drawers. The front will look like art you can open and close.
Apply decoupage medium in thin layers over your cut pieces. Smooth gently so you don’t get bubbles.
Seal everything with a protective top coat so it stays durable. This benefits you because it hides small scratches and makes the wood look fresh.
For uniqueness, choose one big focal flower per drawer instead of covering every inch. Current trends love soft botanicals and layered paper textures. Add a matching pattern to the inside liners to tie it all together.
9. Replace One Drawer Pull with a Knob Feature
Replace One Drawer Pull with a Knob Feature
Swap out one set of hardware for a different style knob. It creates a fun “accent” point that grabs attention.
Try a round knob, a star knob, or a simple glossy handle. Keep the rest consistent so the dresser still looks calm and neat.
10. Color-Blocked Corners with Painter’s Tape
Color-Blocked Corners with Painter’s Tape
Paint just the corners of each drawer face for a playful framed look. You’ll get a geometric vibe without covering the whole surface.
Use painter’s tape to form L-shapes and fill them with your chosen color. A small brush helps you stay inside the lines.
This looks unique because the design feels crisp and modern. It’s also cost-friendly since you use less paint. Personalize it with a theme like candy colors for a kids’ room or deep jewel tones for a bold style.
11. Magnetic Spice-Label Look for Drawers
Magnetic Spice-Label Look for Drawers
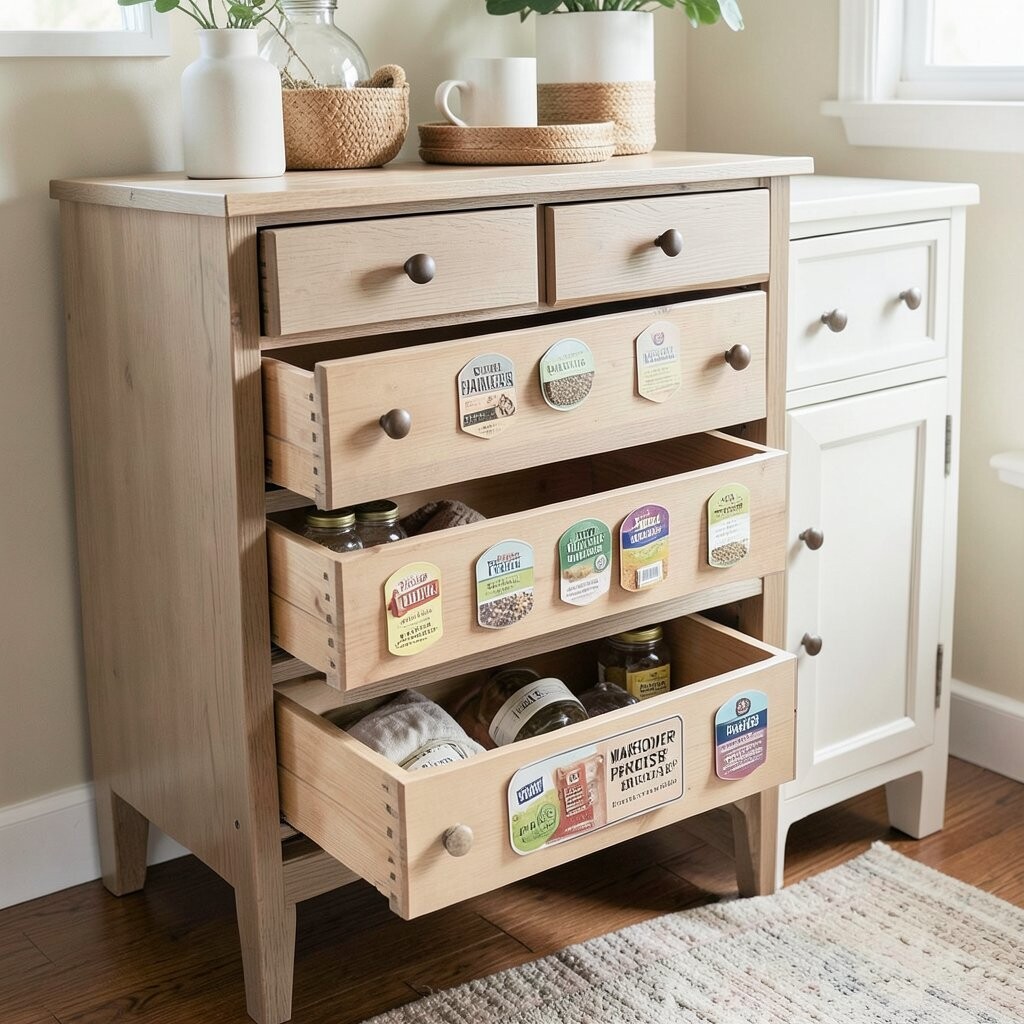
Create mini labels on drawer fronts that look like organization tags. You can use stickers, label tape, or printed paper sealed with clear coat.
Write cute category names like “Socks,” “Hair Clips,” or “Crafts.” A chalkboard marker label style also looks trendy and homey.
This project benefits daily life because you’ll find things faster. It also adds a personality touch that feels practical. For uniqueness, use different label shapes, like circles and rectangles, but keep the same font style.
12. Fake “Inset” Panels with Scrap Wood Strips
Fake “Inset” Panels with Scrap Wood Strips
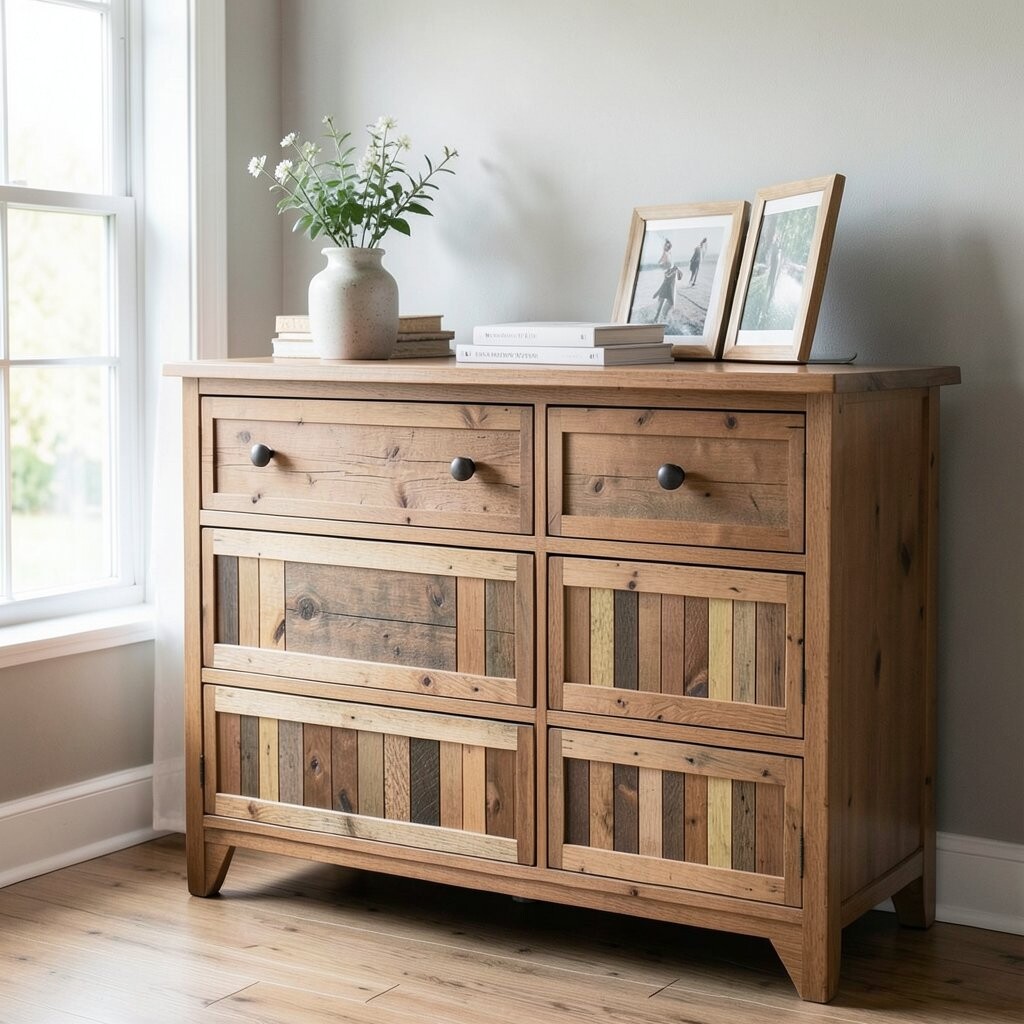
Attach thin wood strips to drawer fronts to make a fake inset pattern. It gives the dresser a built-in look without expensive carpentry.
Sand the strips lightly and paint or stain them to match or contrast. Use wood glue and small clamps if you have them, or tape while it dries.
That raised panel texture makes the dresser look higher-end in a snap. For personalization, choose a pattern like rectangles, squares, or even small arch shapes. Cost stays low because you can use scrap wood pieces from a repair bin.
13. Ombre Tip Using a Sponge for Soft Fade
Ombre Tip Using a Sponge for Soft Fade
Make an ombre effect by blending paint from darker at the bottom to lighter at the top. A sponge creates a soft, fuzzy edge that looks trendy.
Start with the darkest color near the base of each drawer, then gradually dab lighter paint upward. Keep your layers gentle so you don’t get harsh stripes.
Seal it with a top coat when dry. This benefits you because the ombre hides uneven brush strokes and small flaws.
For uniqueness, pair two colors you love, like terracotta to cream or navy to light blue. Ombre is still popular because it feels airy and modern. Add matching decor to the room so the dresser looks like part of a set.
14. Gold Accent Line with Metallic Paint Marker
Gold Accent Line with Metallic Paint Marker
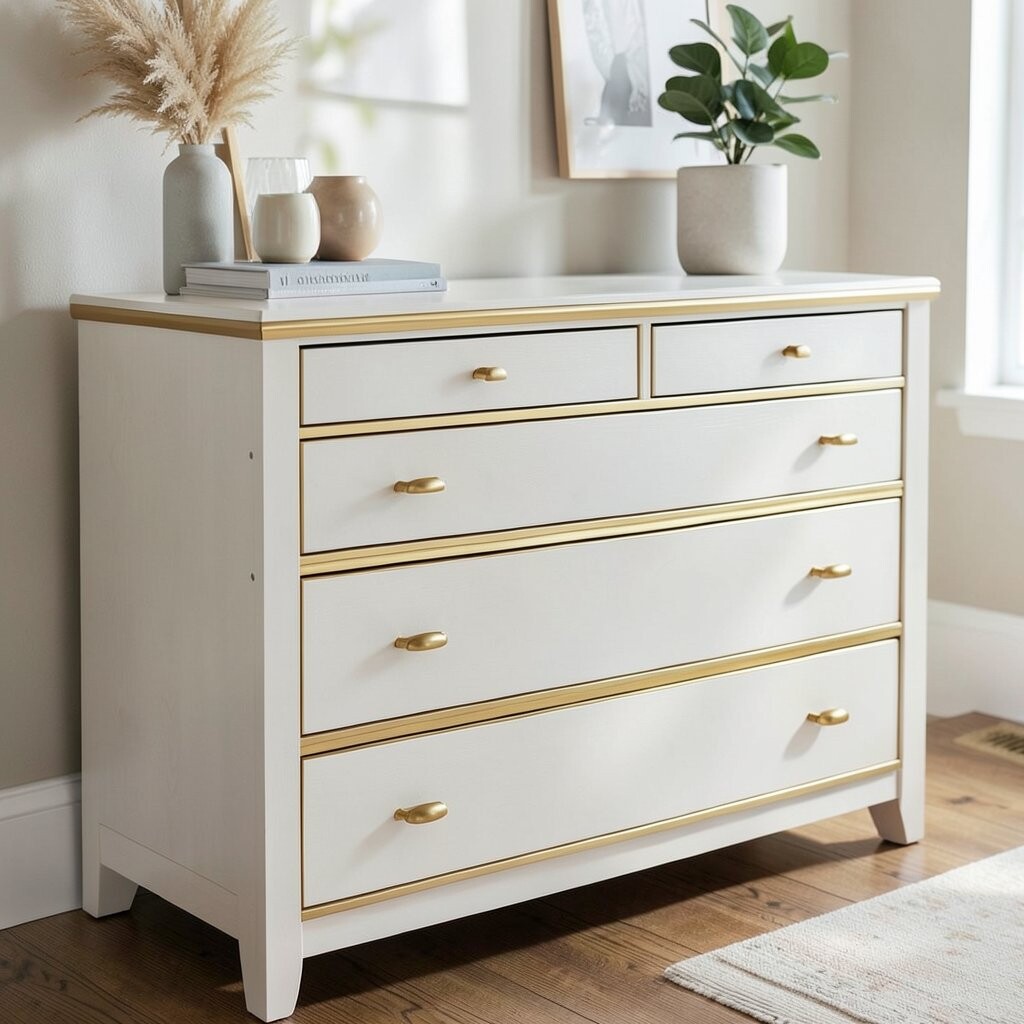
Draw one thin metallic line along the top edge of each drawer. A gold paint marker gives a clean shine without lots of work.
Use painter’s tape to guide your line for a straight look. Let it dry, then seal if your marker instructions recommend it.
15. Washi Tape Pop on the Edges and Frames
Washi Tape Pop on the Edges and Frames
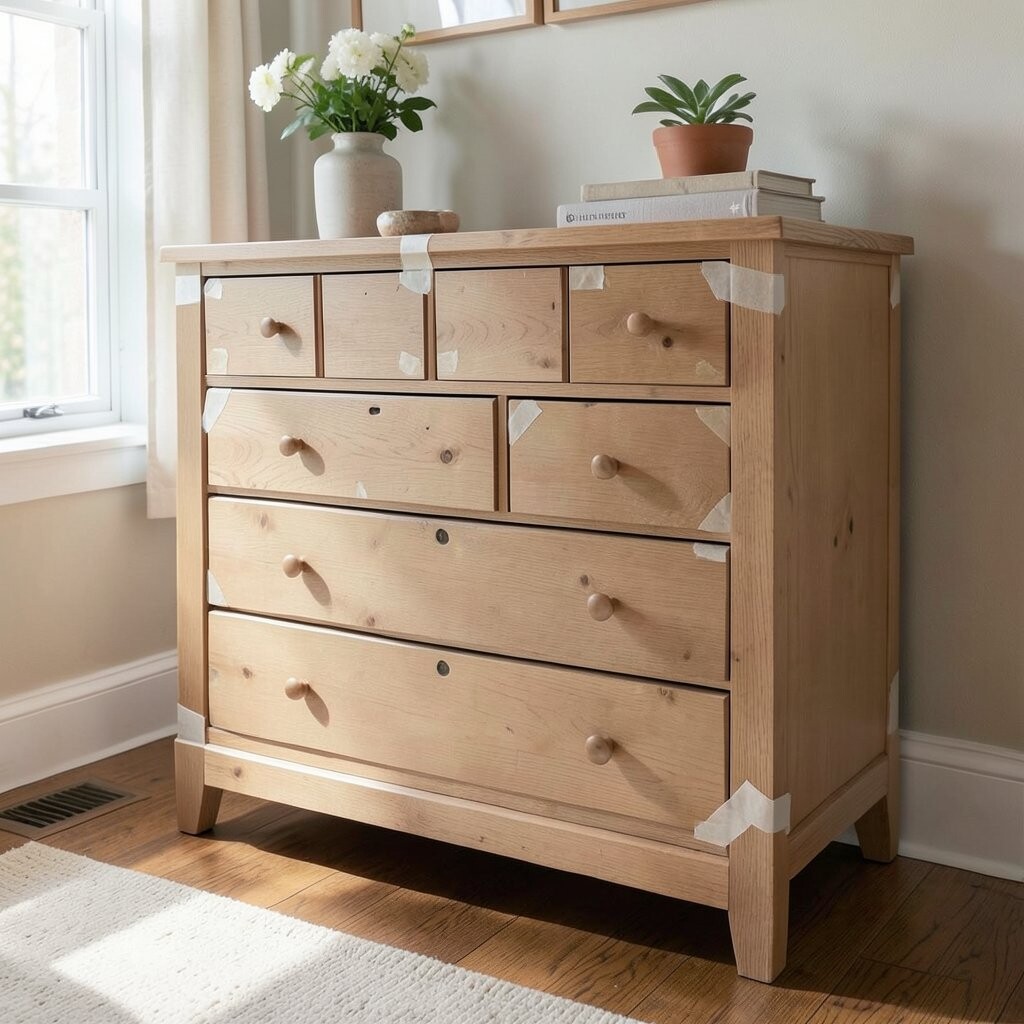
Use washi tape to create tiny stripes or frames around drawer fronts. It’s easy, reversible, and perfect for experimenting with style.
Press tape down smoothly and keep corners neat. You can remove it later if you want a new look for the next season.
This project is unique because it feels like “custom styling” every time you change the tape. It also keeps costs tiny since one roll can cover a lot. Personalize with themed patterns like stars, dots, or soft stripes.
16. Stain + Clear Coat for Warm Natural Revival
Stain + Clear Coat for Warm Natural Revival
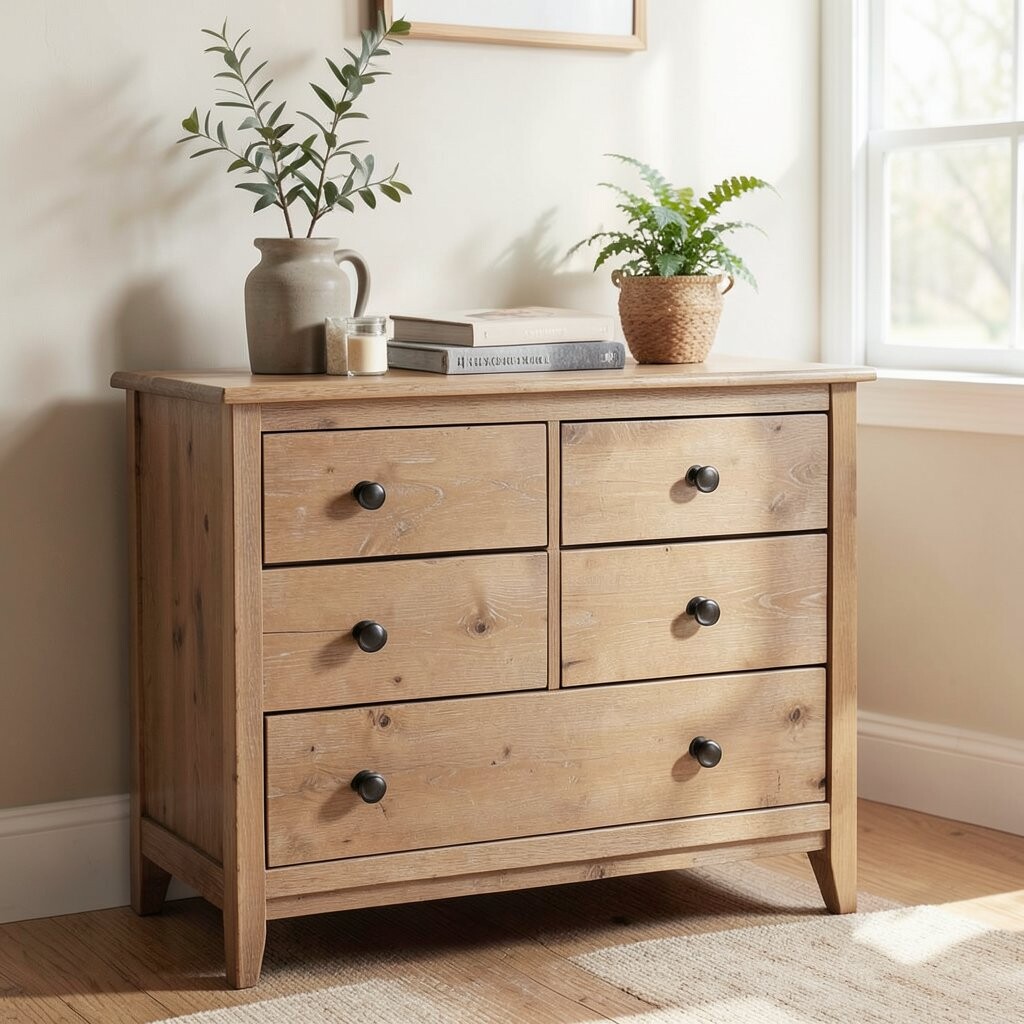
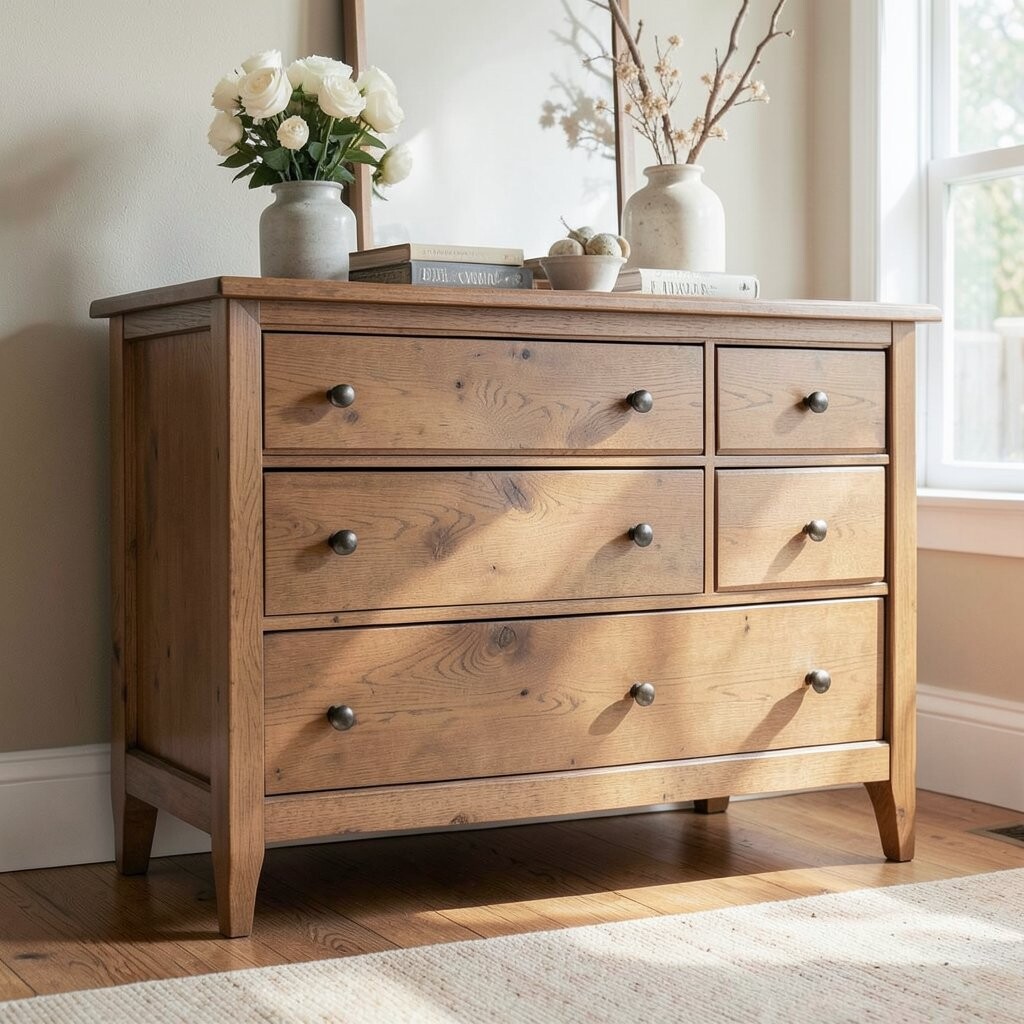
If your dresser is solid wood, try sanding lightly and then applying a stain. Finish with a clear coat for that warm, natural glow.
Use a tack cloth to remove dust before staining. Apply stain with a rag, then wipe off excess for even coverage.
The benefit is that you keep the wood’s original character, which looks timeless. It also works with many current styles, like farmhouse and modern rustic. Personalize by choosing a lighter stain for bright rooms or a darker stain for a richer look.
17. Cabinet Door Look: Add Faux Panels to the Front
Cabinet Door Look: Add Faux Panels to the Front
Create a faux cabinet-door design by adding simple panel lines to the front. You can use thin craft strips, foam board strips, or even trim pieces.
Mark where the panels should go using a level and pencil. Paint over everything so the new “lines” look seamless.
This makeover feels unique because it turns a plain dresser into something architectural. It also helps hide old scratches. For personalization, choose a grid pattern if you love modern style or a frame pattern if you like classic looks.
18. Marble-Look Drawer Tops with Dry-Brush Veins
Marble-Look Drawer Tops with Dry-Brush Veins
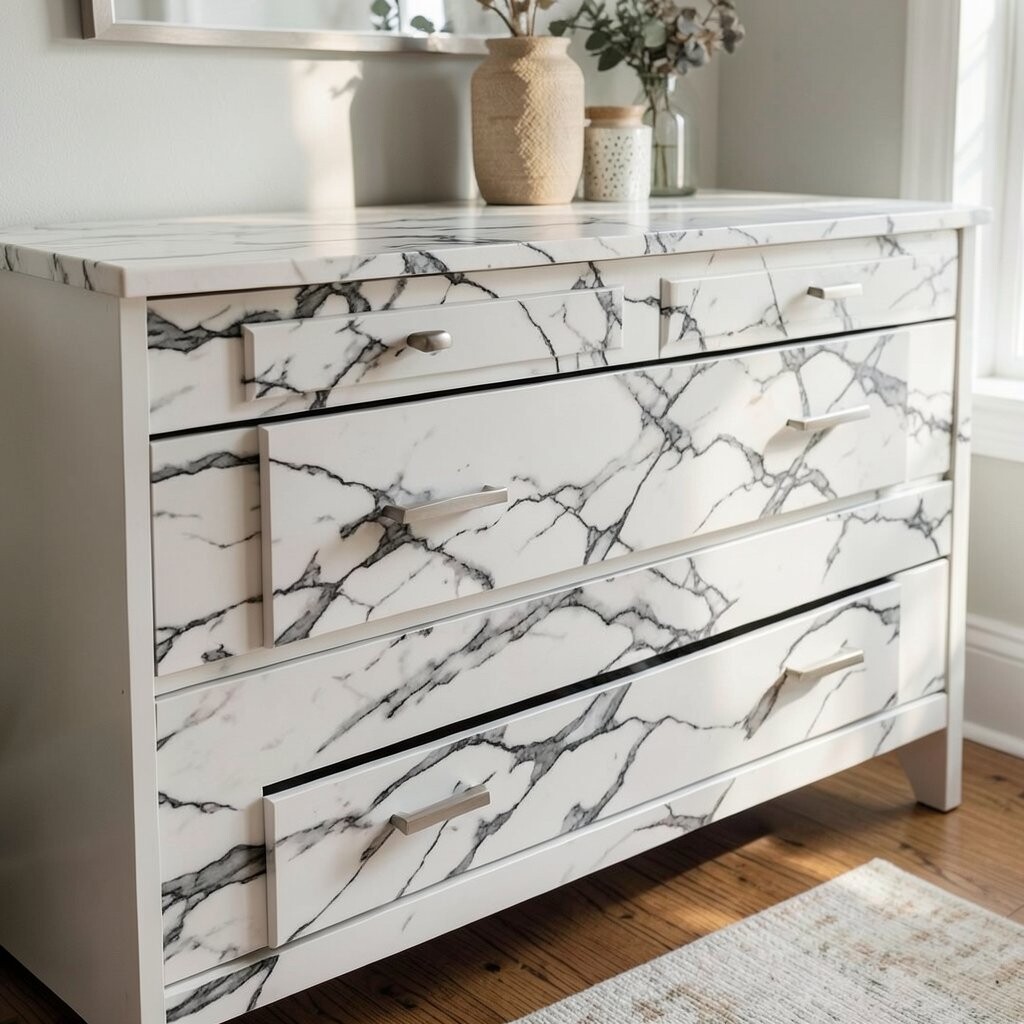
Paint drawer tops with a light base color, then add thin “veins” like marble. Use a fine brush or a toothpick for delicate lines.
Blend the veins gently with a dry brush so they don’t look too harsh. This creates a realistic marble-like effect with simple supplies.
The benefit is that you get a high-end look without expensive marble. It’s also fun because you can vary the veins on each drawer for a natural feel.
Personalize it with colors like cream and gray, or soft blush and white. This look matches current trends in luxe neutrals and textured surfaces. Seal with a protective coat to keep it easy to clean.
19. Replace Feet with Small Legs or Furniture Risers
Replace Feet with Small Legs or Furniture Risers
Give the dresser a fresh silhouette by changing the feet. Small furniture risers or stick-on legs can lift it and make it feel lighter.
Measure carefully before buying, then attach with the right screws or adhesive based on your riser type. After that, paint the legs if needed to match your new style.
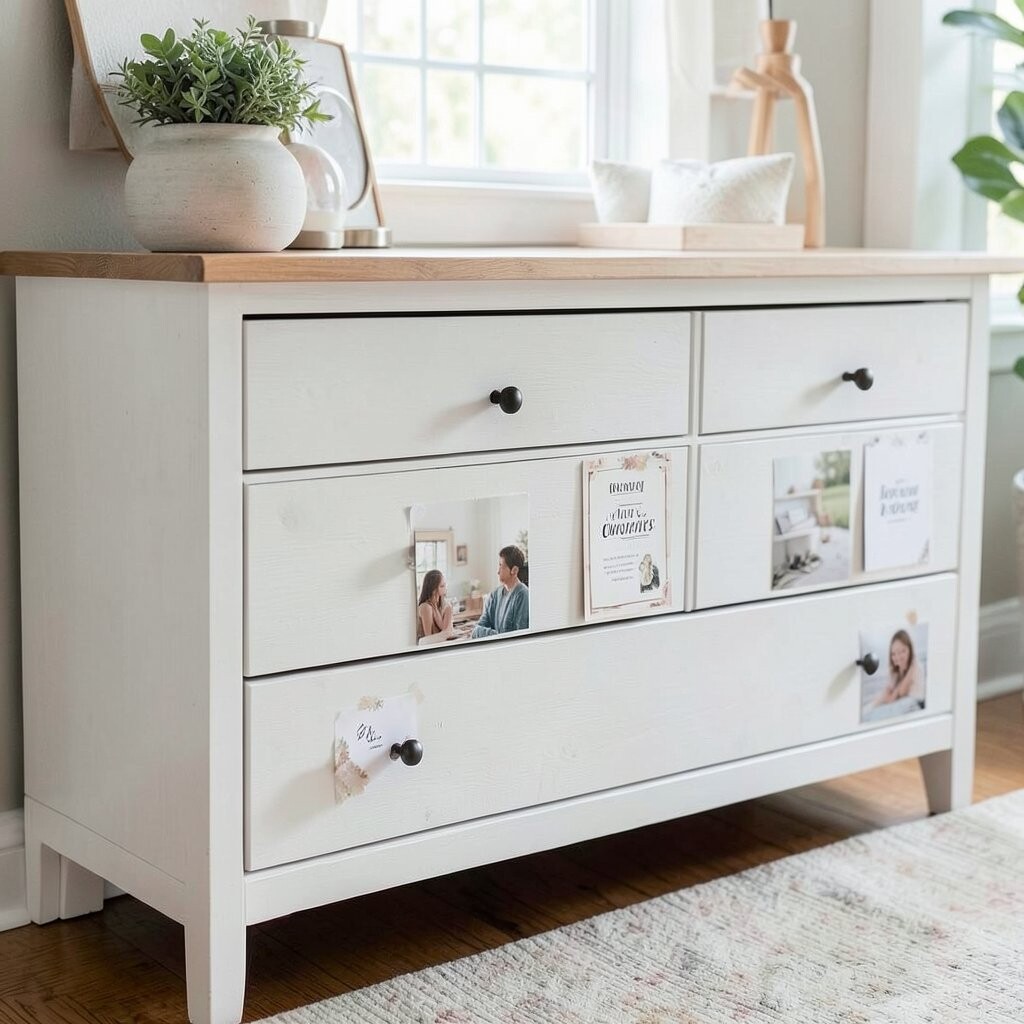
20. Photo Transfer or Quote Cards on Drawer Fronts
Photo Transfer or Quote Cards on Drawer Fronts
Use printed photos or favorite quotes and transfer them onto drawer fronts. The image becomes a personal “memory wall” you can open and close.
Use a photo transfer medium or decoupage method, then seal well. Choose images with bold contrast so the words and pictures show clearly.
This is unique because it’s truly yours, not a store-bought pattern. It also gives practical benefits since the design makes drawers easier to recognize. Personalize by using a theme, like family photos for a bedroom or simple inspirational lines for a craft area.
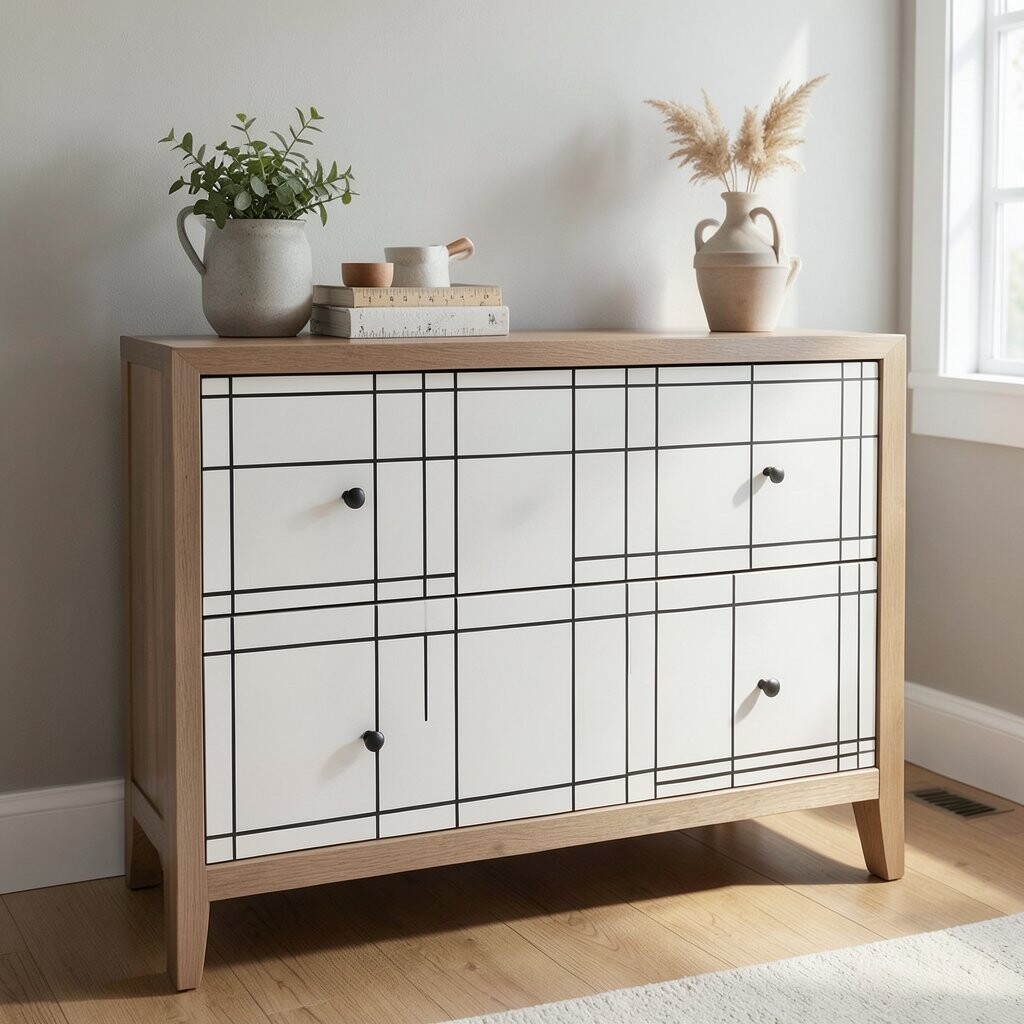
21. Modern Grid Lines with Paint and a Ruler
Modern Grid Lines with Paint and a Ruler
Make a modern grid design across the dresser front using a ruler. The clean lines create a structured, contemporary style.
Lightly pencil the grid, then tape it, and paint between the tape lines. Remove tape while the paint is slightly tacky for sharper edges.
This looks unique because it feels like a pattern you’d see in a design store. It also helps you use small amounts of paint because each section stays limited. Personalize with one bold color grid on a neutral base, which is a common trend right now.
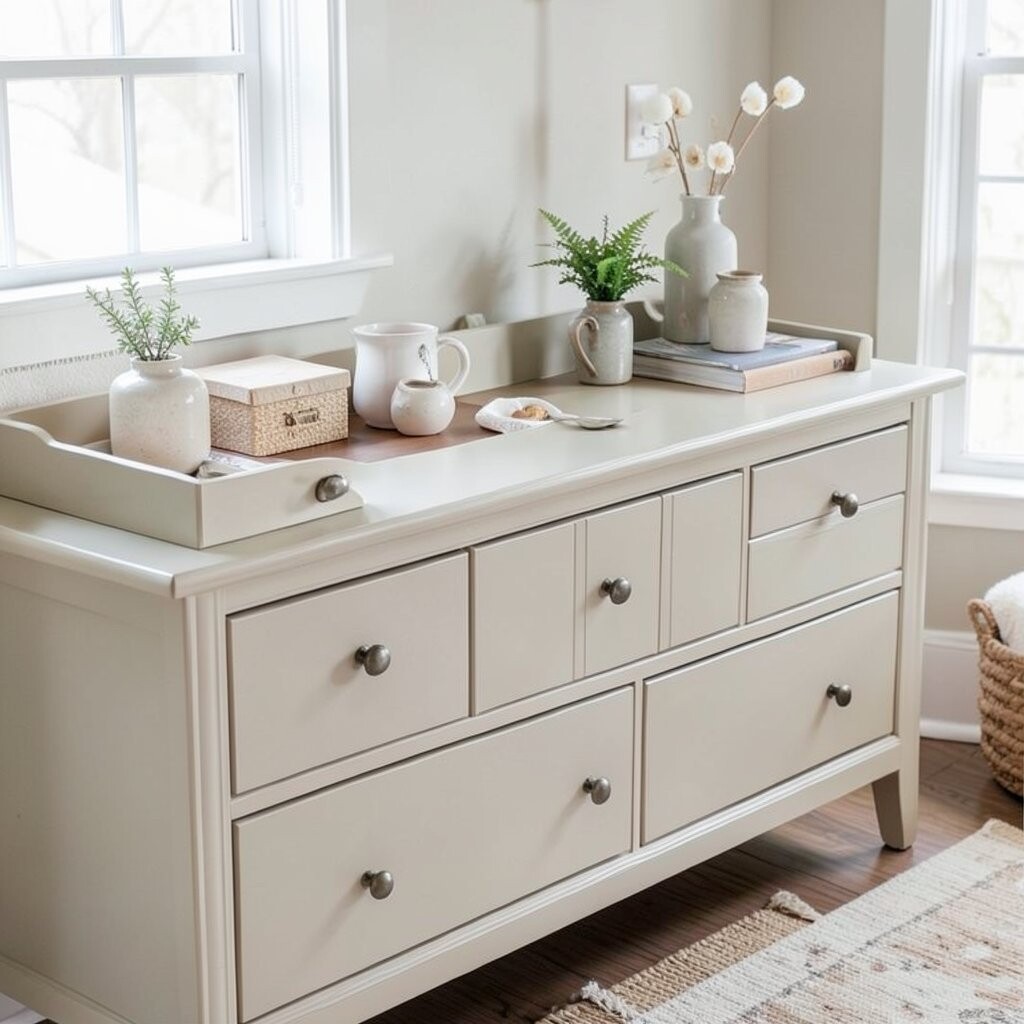
22. Seasonal Top Tray: Paint a “Landing Zone”
Seasonal Top Tray: Paint a “Landing Zone”
Paint a small area on top of the dresser to act like a “landing zone” for decor. Add a border or a simple shape like a circle or rectangle.
Use a contrasting color so it pops, then seal the top so it can handle everyday use. After that, place a tray, candles, or a small plant on top for a styled look.
This makeover benefits you because it helps your dresser stay tidy and coordinated. It’s unique because the design sets the mood for every season. Personalize by changing only the decor items while keeping the painted spot as your steady base.