16 Before And After Closet Organization Ideas To Inspire
Closets can feel like puzzle boxes when everything has to share the same space. With a few smart changes, the room starts working for you.
Below are practical before-and-after ideas that make mornings easier and weekends calmer. Each one includes visual details, benefits, and easy ways to make it yours.
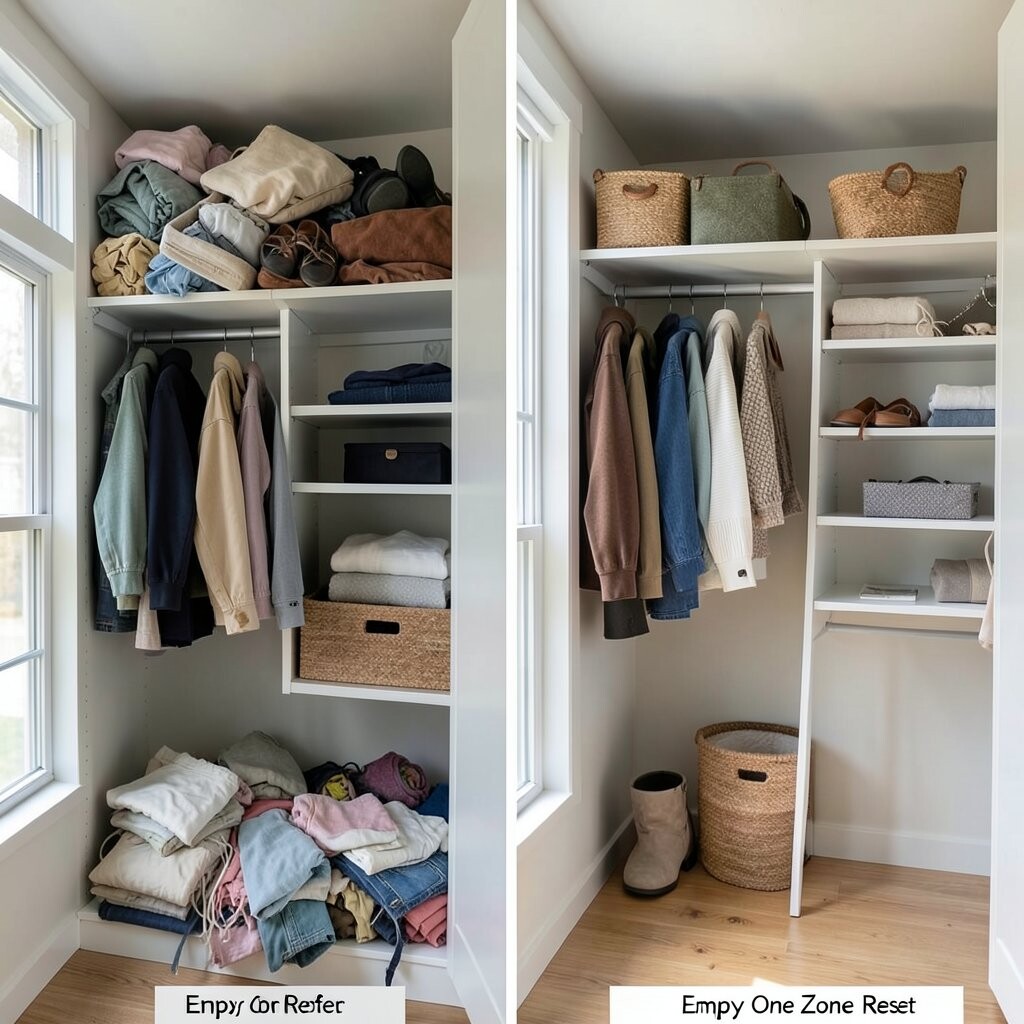
1. The “Empty One Zone” Reset (Before: chaotic pile, After: clear breathing room)
The “Empty One Zone” Reset (Before: chaotic pile, After: clear breathing room)
Start by pulling everything out of one small zone, like one shelf or one corner of hanging space. You will see what you actually own instead of guessing. Then place items into quick piles: keep, donate, and “not sure yet.”
Next, add a simple label for the keep pile and a basket for the not-sure pile so decisions feel lighter. You will probably find duplicates, forgotten favorites, and items that never get worn. After that, organize only the zone you cleared, not the whole closet at once. This makes the closet feel calmer right away.
Visualize the change: before, clothes and accessories look tangled and uneven like a messy nest. After, that same area looks neat, with items standing upright and easy to reach. The benefit is fast progress and less stress when you get dressed. Personalize by matching labels to your closet color theme, like soft beige, mint, or navy.
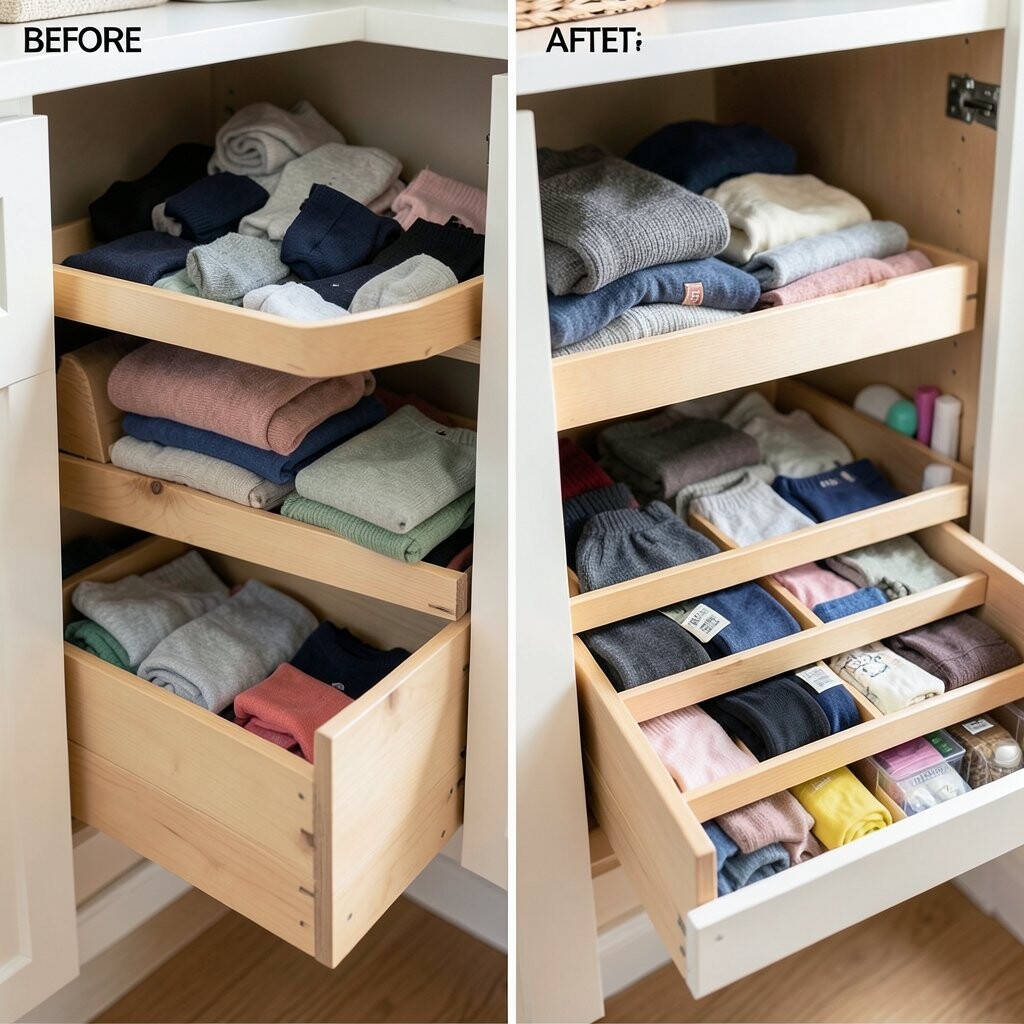
2. Drawer Dividers for Socks and Small Stuff (Before: mixed chaos, After: tidy pairs)
Drawer Dividers for Socks and Small Stuff (Before: mixed chaos, After: tidy pairs)
Put in drawer dividers that split the space into short lanes for socks, underwear, and small accessories. Before, everything slides together and pairs disappear into the mix. After, each category gets its own home and you can spot missing items instantly.
Use slide-out bins or low dividers so you do not have to rummage deeply. This helps you find things faster, which saves time during busy mornings. For personalization, choose dividers with colors or patterns that match your room.
Consider cost: basic plastic dividers are usually the cheapest, while adjustable wooden dividers feel more sturdy. If you hate measuring, pick “fits most” sizes and test them with a ruler first. A current trend is using uniform bins so the closet looks calm and coordinated, like a boutique shelf.
Two-Season Hanging System (Before: crowded hangers, After: smart seasonal rotation)
Separate your hanging clothes by season using a top-to-bottom layout. Put your current season in the easiest-to-reach middle section. Store the other season higher up or in labeled bins.
This makes the closet look visually cleaner because only relevant clothes fill the main space. You also stop the “everything is everywhere” feeling. If you like change, swap the seasons at the start of each new month so it stays manageable.
For a unique touch, add a small “season day” reminder on your phone and make it a quick weekend task. Use clear storage bins for lighter items and fabric storage bags for bulkier pieces. The benefit is fewer piles, fewer decisions, and a closet that matches your life right now.
Cost considerations are simple: you can buy a few labeled bins or reuse ones you already own. The trend is seasonal capsule style, where the closet works like a curated wardrobe rather than a storage area for everything.
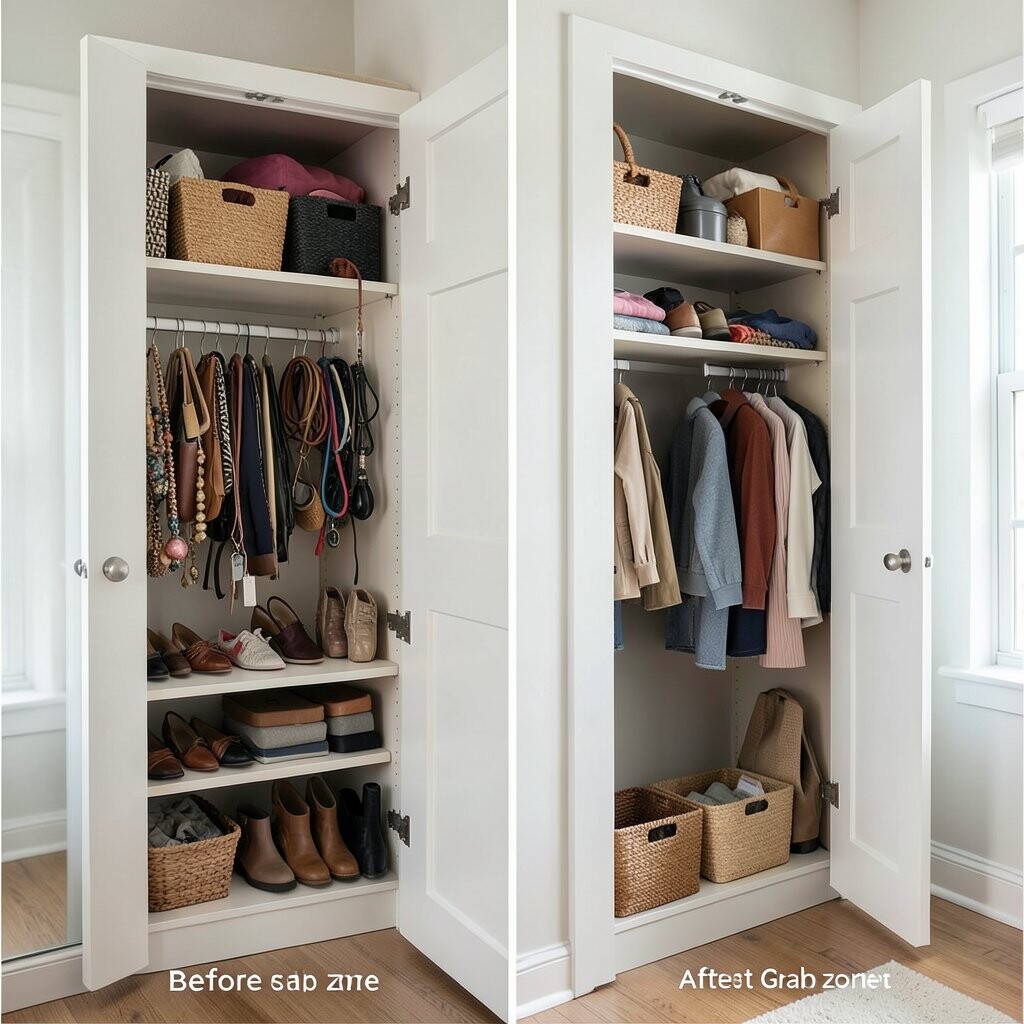
4. Hanging Shelf Inside the Closet Door (Before: lost accessories, After: instant grab zone)
Hanging Shelf Inside the Closet Door (Before: lost accessories, After: instant grab zone)
Add a hanging shelf or organizer that attaches to the inside of the closet door. Before, belts, scarves, and small bags end up tossed on the floor or forgotten on a hanger. After, they are lined up like a mini store display you can reach in seconds.
Keep categories simple: one row for belts, one for scarves, and one for hair items. This benefit is huge because it reduces floor clutter and keeps your outfit planning visible. Personalize by choosing a fabric organizer with your favorite color so opening the door feels fun.
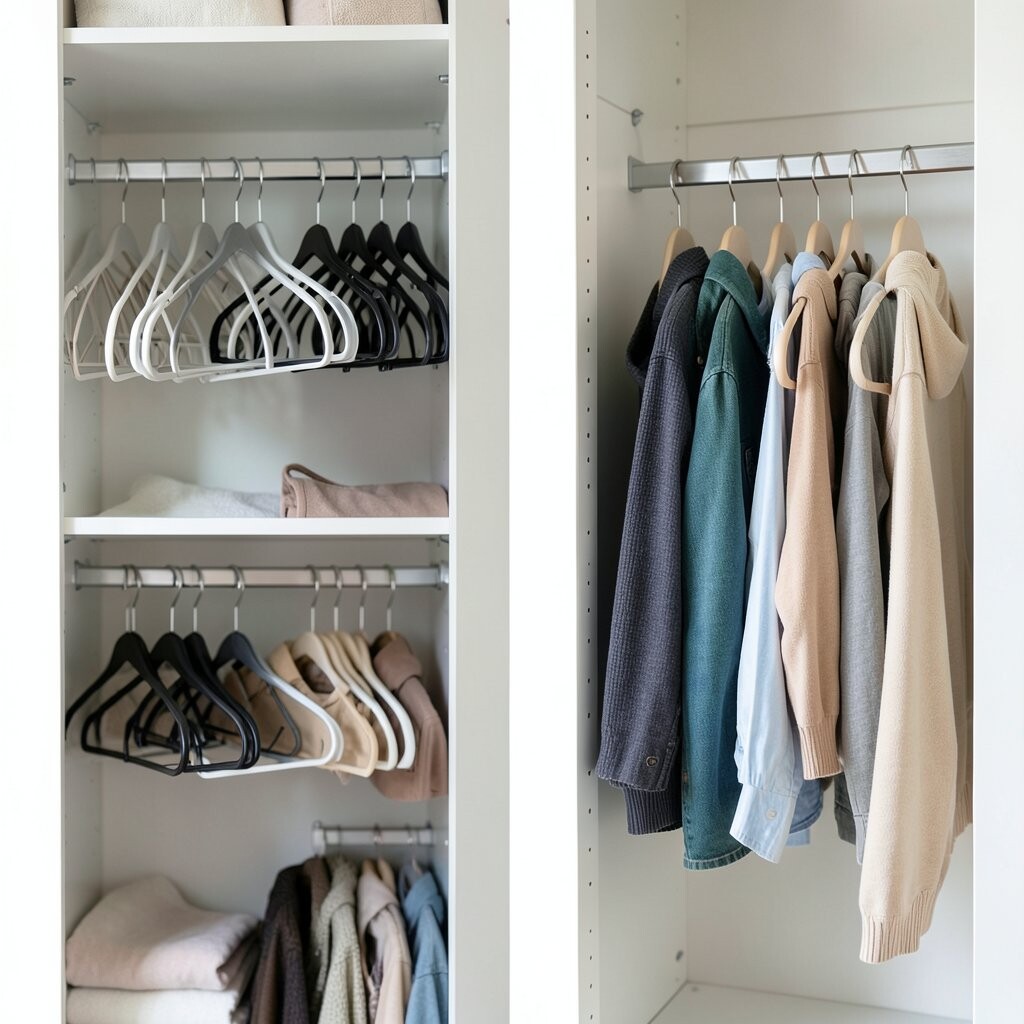
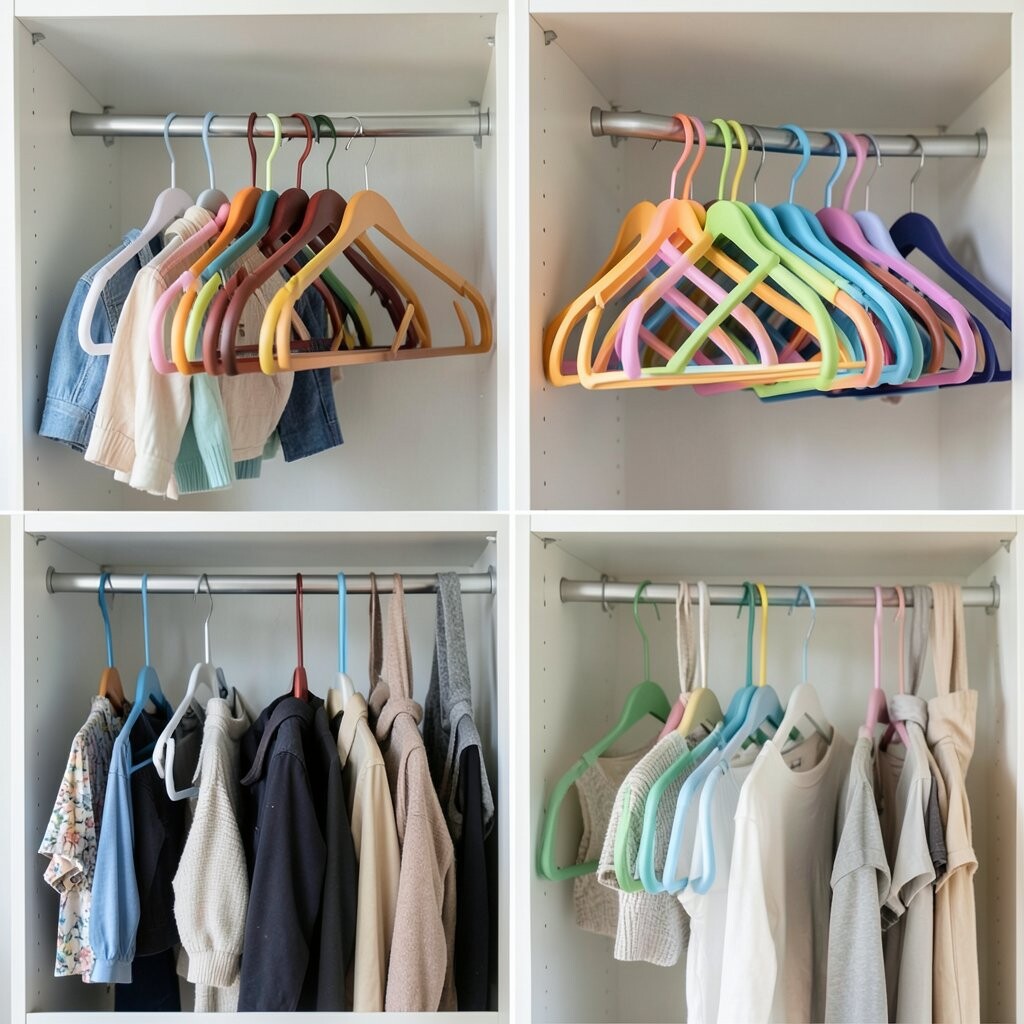
5. Color-Grouped Hangers (Before: random rainbow, After: gentle order)
Color-Grouped Hangers (Before: random rainbow, After: gentle order)
Switch to matching hangers and group colors by family. Before, shirts hang in mixed shades, making the closet look busy. After, your clothing looks like a calm gradient or a neat block of color.
Matching hangers also make the closet look “finished,” like a boutique closet photo. This is a visual win and it helps you find what you want faster. If you prefer less color, group by neutral tones first and bright colors second.
For personalization, add a few specialty hangers for strap tops or delicate items. Cost depends on how many hangers you replace, so start with the most-used section. A trend right now is using consistent hangers plus clear labels, because it looks clean and modern in photos.
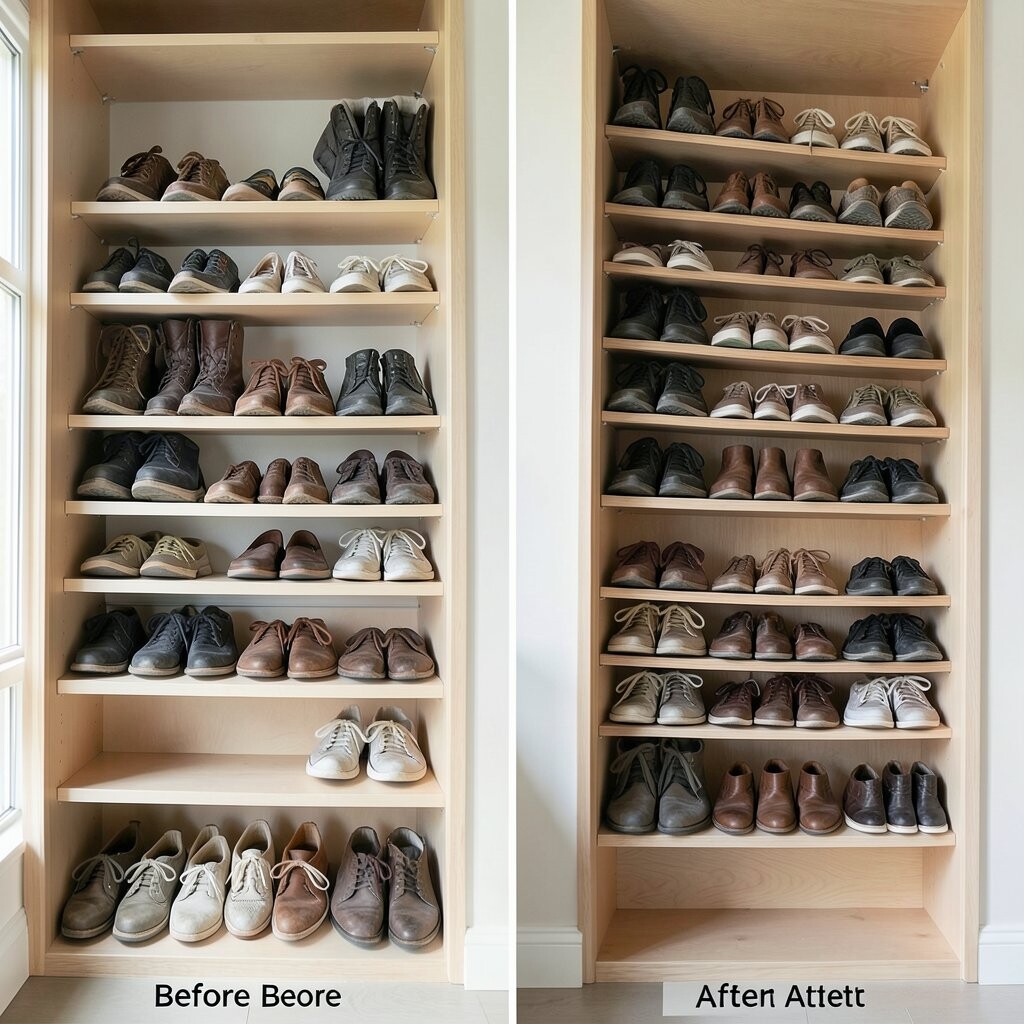
Use a vertical shoe rack or a shoe wall organizer so pairs stand upright. Before, shoes might sit in a pile by the door or flop into random corners. After, each pair gets a clear place, and you can see them without bending down.
Add a small tray near the entrance of the closet for shoe care items like polish, wipes, or insoles. This keeps everything related to shoes together. The benefit is fewer lost items and less mess on the floor.
Personalize by separating categories like daily sneakers, dress shoes, and outdoor boots. If you have limited depth, choose slim racks and keep taller shoes in a higher tier. For cost, you can start with one rack and build up as you find the right fit.
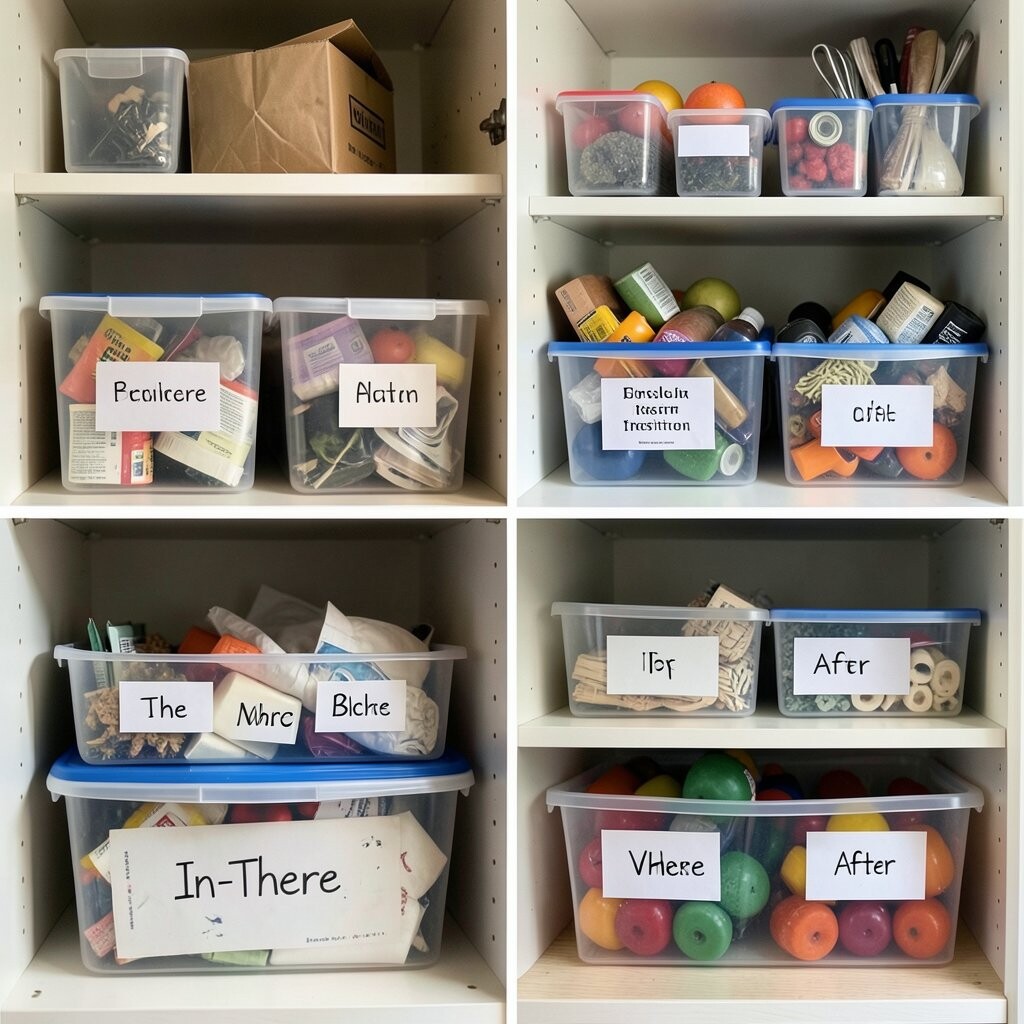
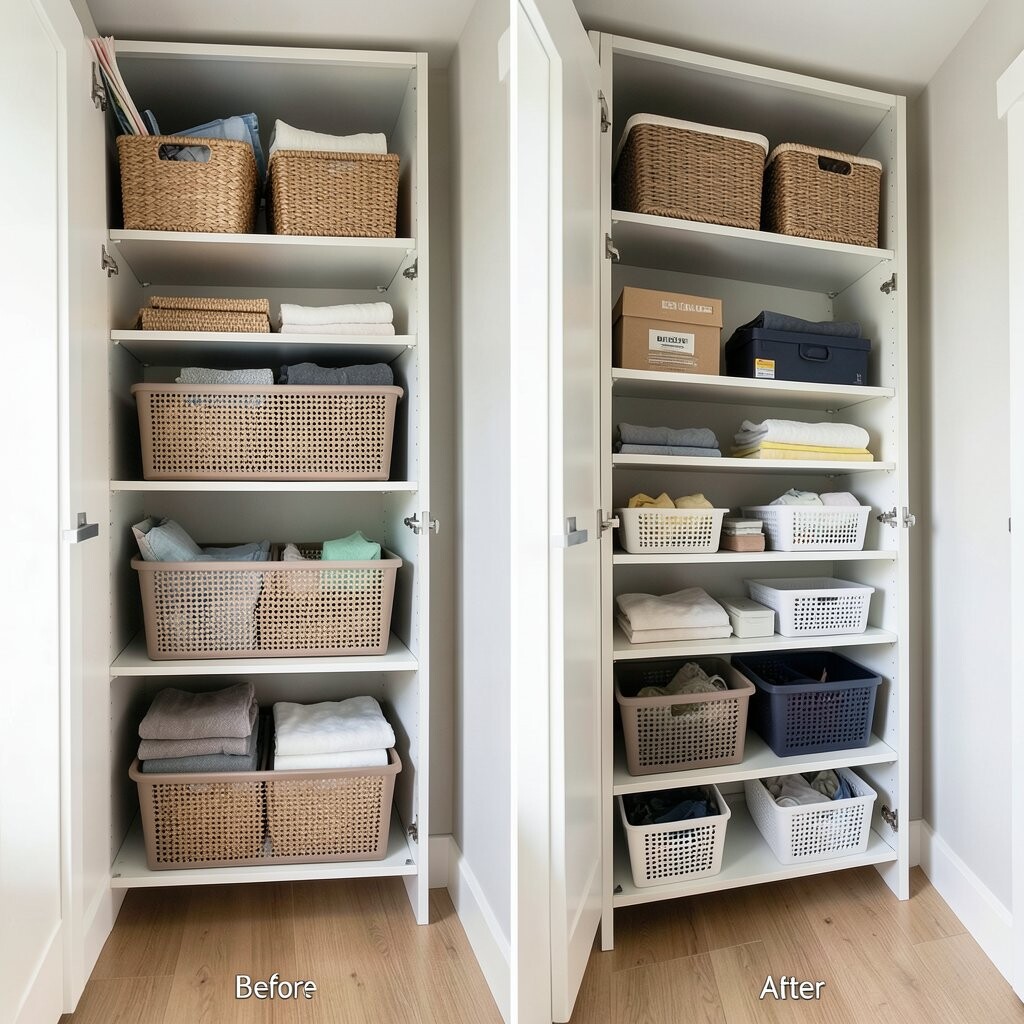
7. Clear Bins for “In-There” Items (Before: mystery boxes, After: labeled and visible)
Clear Bins for “In-There” Items (Before: mystery boxes, After: labeled and visible)
Place seasonal accessories, workout gear, or backup items into clear bins. Before, you might store these in bags or opaque boxes and forget what is inside. After, you can spot what you need without opening everything.
Add labels that are easy to read, like “Hats,” “Gym,” or “Holiday.” This reduces decision time when you are getting ready. A clear bin system also helps you notice when bins are full and need sorting again.
For personalization, pick bin sizes that match your shelves and group similar items together. Cost is flexible: you can buy a few clear bins to start, then add more during sales. A current trend is “see-through storage” paired with matching label tags for a modern look.
Visualize the after: clean shelves with evenly spaced bins and neat stacks. The benefit is a closet that feels calm, organized, and more like a system than a storage spot. You can even color-code labels if your brain likes patterns.
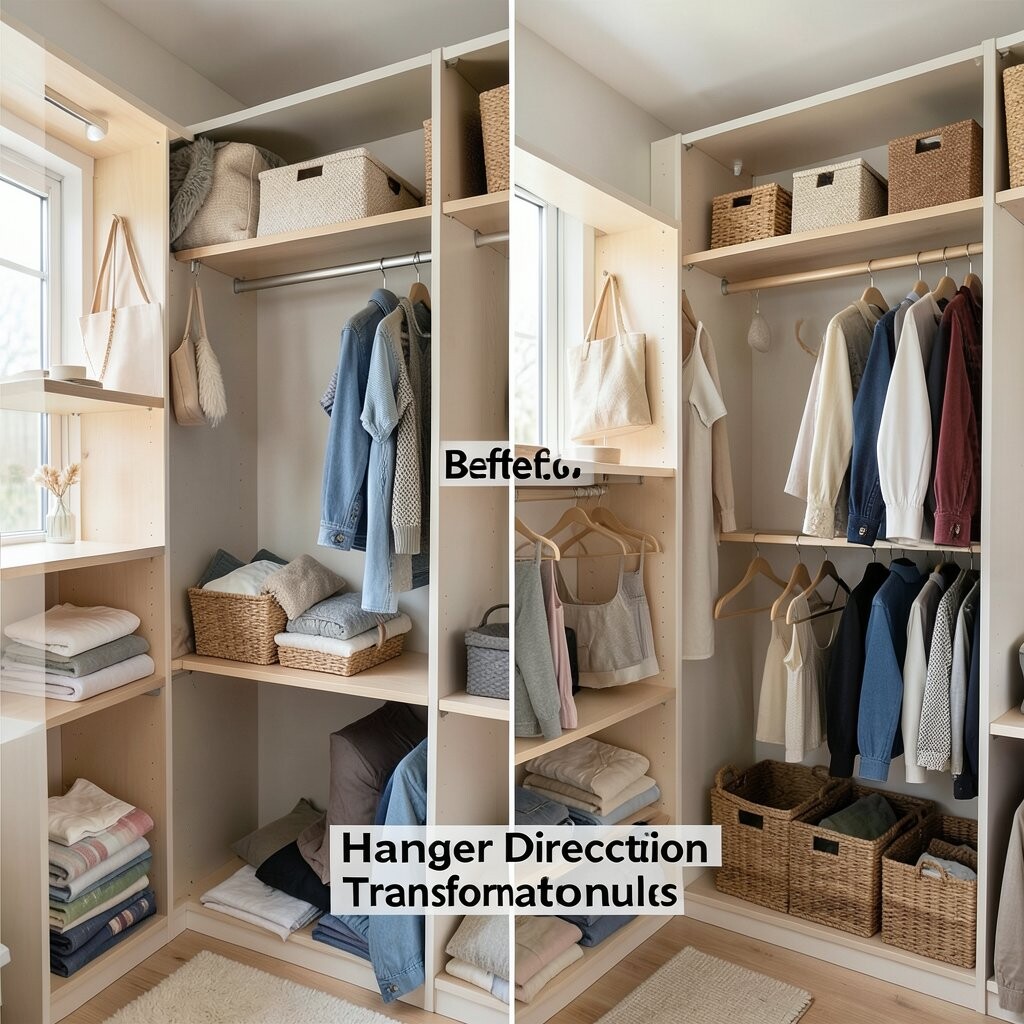
8. The “Hanger Direction” Rule (Before: rummage, After: quick returns)
The “Hanger Direction” Rule (Before: rummage, After: quick returns)
When you hang a piece of clothing, face the hanger hook in one direction. Every time you wear and rehang it, flip the direction. Before, items drift out of place because nothing stays consistent. After, you have a simple signal for what you reach for and what you ignore.
You can use this to plan what to donate or move to storage. The benefit is personal data without complicated tracking. Personalize by setting a time period that feels right for you, like a season or a couple of months.
9. Folded Items on a Shelf with “Row” Spacing (Before: stacks fall, After: standing folds)
Folded Items on a Shelf with “Row” Spacing (Before: stacks fall, After: standing folds)
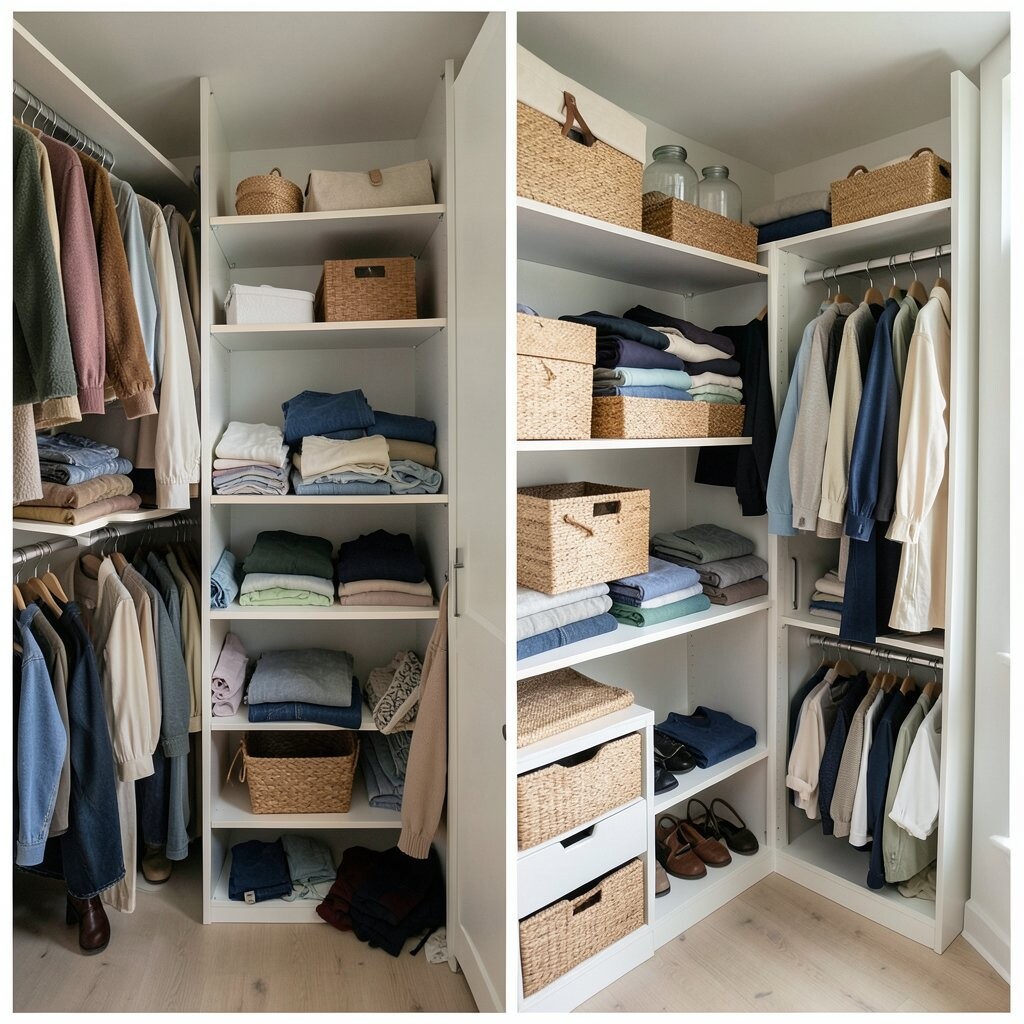
Fold items like jeans, sweaters, and tees into tidy rectangles and place them in vertical rows on shelves. Before, stacks slump and you pull one piece and knock over the rest. After, each item stands upright, so you only touch what you want.
This method is especially great for people who hate digging through drawers. The benefit is easy visibility and fewer wrinkles from constant restacking. For personalization, match fold styles to fabric type, like lighter tees for quick-grab rows and thicker knits for sturdier stacks.
Consider cost: you can do this with just shelves, but you may want small shelf boxes to keep edges neat. If you want a trend-friendly look, add slim bins with neutral tones so the whole shelf looks cohesive. This style also makes your closet feel more “designed” and less like storage.
10. Vertical Space with Slim Baskets (Before: clutter in corners, After: orderly height)
Vertical Space with Slim Baskets (Before: clutter in corners, After: orderly height)
Add slim vertical baskets on the sides of shelves or the back wall. Before, corners hold random items like cleaning tools, hangers, or spare fabric. After, those same areas become structured storage you can reach easily.
Use baskets for small, low-frequency items like extra buttons, sewing kits, seasonal ties, or travel accessories. The benefit is better use of space and fewer piles on the floor. Personalize by choosing basket colors that match your closet vibe.
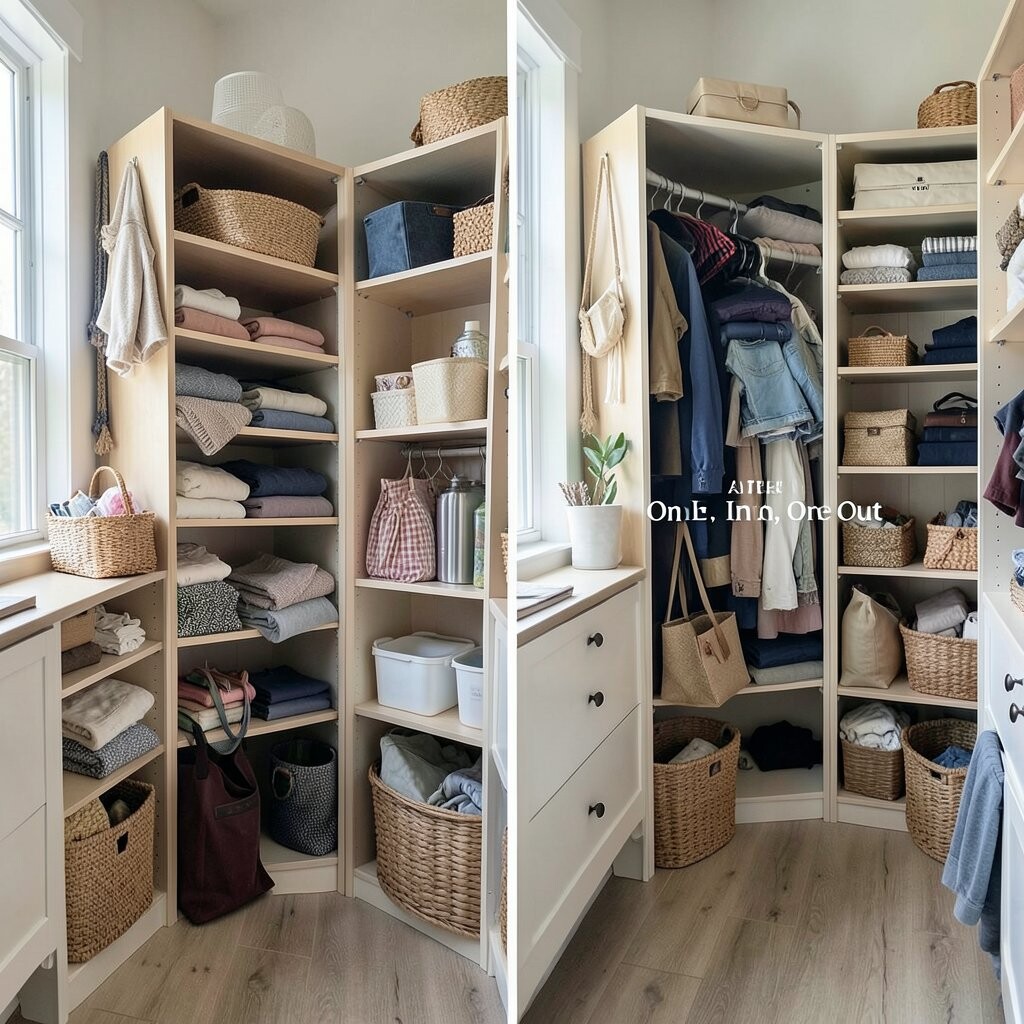
11. “One In, One Out” Donation Lane (Before: closet grows, After: steady balance)
“One In, One Out” Donation Lane (Before: closet grows, After: steady balance)
Create a small bin or tote labeled “donation lane” and keep it in the closet. Before, new items join the pile while older ones stay. After, each time you buy or add something, you choose something to send away.
This keeps the closet from creeping back into chaos. The benefit is long-term peace because you maintain the system instead of restarting it later. For personalization, decorate the tote with a fun sticker or name it something playful.
Cost considerations are easy: a simple tote or laundry basket works. If you want a cleaner look, use a lidded bin so the closet stays tidy. A trend right now is “wardrobe stewardship,” where people keep their closets small and intentional for easier decisions.
Visualize the after effect: a closet that stays airy, with space to breathe and clothes that feel more curated. You also save time because you are not constantly searching for the “right” item. It is like giving your closet a gentle rule it can follow.
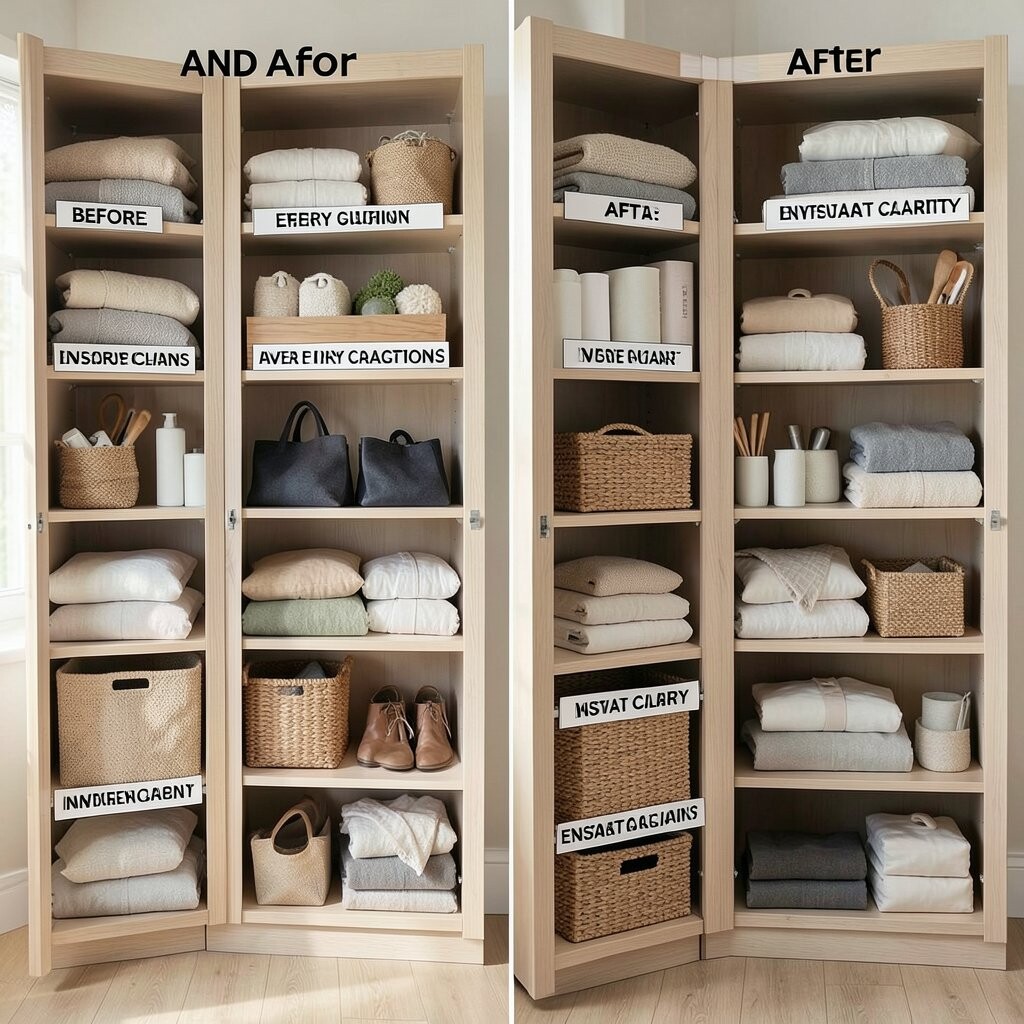
12. Label Every Category (Before: guessing, After: instant clarity)
Label Every Category (Before: guessing, After: instant clarity)
Add labels to bins, drawers, and shelves so the closet has clear instructions. Before, you open containers and play guessing games. After, everything is visible and your brain can move faster.
Keep labels short and friendly, like “Gym,” “Socks,” “Belts,” or “Off-Season.” This improves everyday flow because you never wonder where something goes. Personalize by using your preferred font style or color, such as pastel tags or black text on white.
13. Matching Storage for Bags and Hats (Before: squished items, After: upright structure)
Matching Storage for Bags and Hats (Before: squished items, After: upright structure)
Use bag stands, hat boxes, or a dedicated shelf for purses and headwear. Before, hats get flattened and bags slide around. After, everything sits upright so shapes stay neat and items do not get crushed.
A benefit is protection too, especially for straw hats or structured bags. You also reduce time spent searching through layers. Personalize by sorting by use, such as “work,” “weekend,” and “special events.”
For cost, start with the items you care about most, like a hat box for your favorite cap collection. Clear storage is helpful for bags you switch seasonally. This aligns with current trends in “styled storage,” where organizers look intentional instead of purely practical.
Visualize the after: the closet shelf looks like a display, with hats sitting tall and bags lined up neatly. It feels satisfying to open the door because your accessories are not hidden or tangled. That satisfaction helps you keep the habit going.
14. Drawer “Capsule” Sections by Outfit Use (Before: random mix, After: ready-to-wear bundles)
Drawer “Capsule” Sections by Outfit Use (Before: random mix, After: ready-to-wear bundles)
Divide drawers into small sections based on outfit use, like “weekdays,” “work,” “sleep,” or “casual.” Before, socks, tees, and accessories all mix together. After, each drawer part feels like a mini wardrobe you can build quickly.
Keep one section for items you wear often so it stays easy and uncluttered. The benefit is speed, because you stop thinking and start getting dressed. Personalize by matching sections to your real life schedule, like “school days” or “night shift.”
15. Under-Shelf Baskets for Tangles and Extras (Before: cords and extras roam, After: hidden order)
Under-Shelf Baskets for Tangles and Extras (Before: cords and extras roam, After: hidden order)
Install or place under-shelf baskets for items that usually end up in awkward places. Before, you might store hangers, small tools, or charging cords in random spots. After, they slip into a hidden basket and stay out of sight.
This helps your closet look clean even when you have “extra” items. The benefit is less visual clutter, which makes the whole space feel bigger. Personalize by using baskets that match your shelf color or style.
Cost considerations depend on whether you add hardware. If you already have shelves, you can start with freestanding baskets that slide in place. A current trend is using “hidden storage moments,” where the closet stays tidy because small things are tucked away neatly.
16. Before-and-After Photo Plan (Before: repeat mess, After: visible progress)
Before-and-After Photo Plan (Before: repeat mess, After: visible progress)
Take a photo of your closet before you change anything, then take another photo after each mini improvement. Before, you may forget how messy it was and feel like progress is slow. After, you can actually see changes that make you proud.
This method is great for staying motivated because it turns organizing into a real project. You can also spot what still needs help by comparing the photos. Personalize by keeping the photos on your phone as a “closet progress album.”
Cost is basically free since you only need your phone camera. For best results, photograph at the same angle and light level so the comparison feels fair. A trendy idea is using a monthly “reset day” with quick updates, and the photos help you stick to the plan.
Visualize the after: shelves look sharper, hangers line up, and bins sit evenly spaced. The benefit is a system you can maintain because you can measure improvement. It also helps you tailor future changes to your own habits and clothing life.