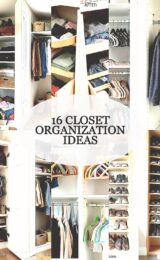
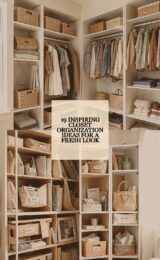
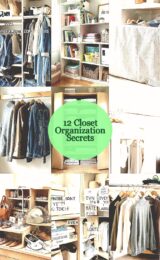
14 Before And After Closet Organization Projects Ideas For A Fresh Look
Staring at a messy closet can feel like a tiny storm every morning. A few smart changes can make your space feel calm, bright, and ready.
When you picture the before and after, you start to see how much easier daily life can get. Let’s talk about closet projects you can actually do, step by step.
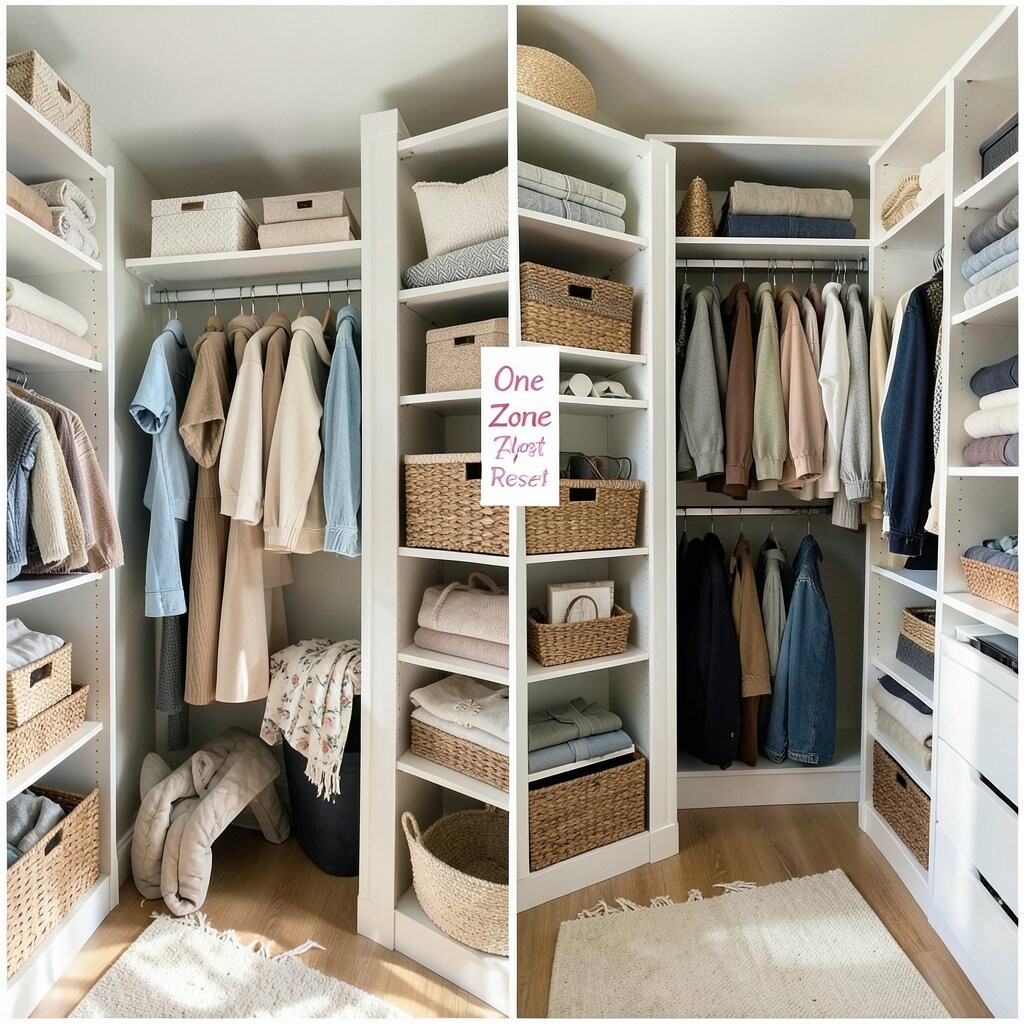
Before, your shirts may be piled in the same area as scarves and random socks. You might open the closet and feel like everything is mixed together.
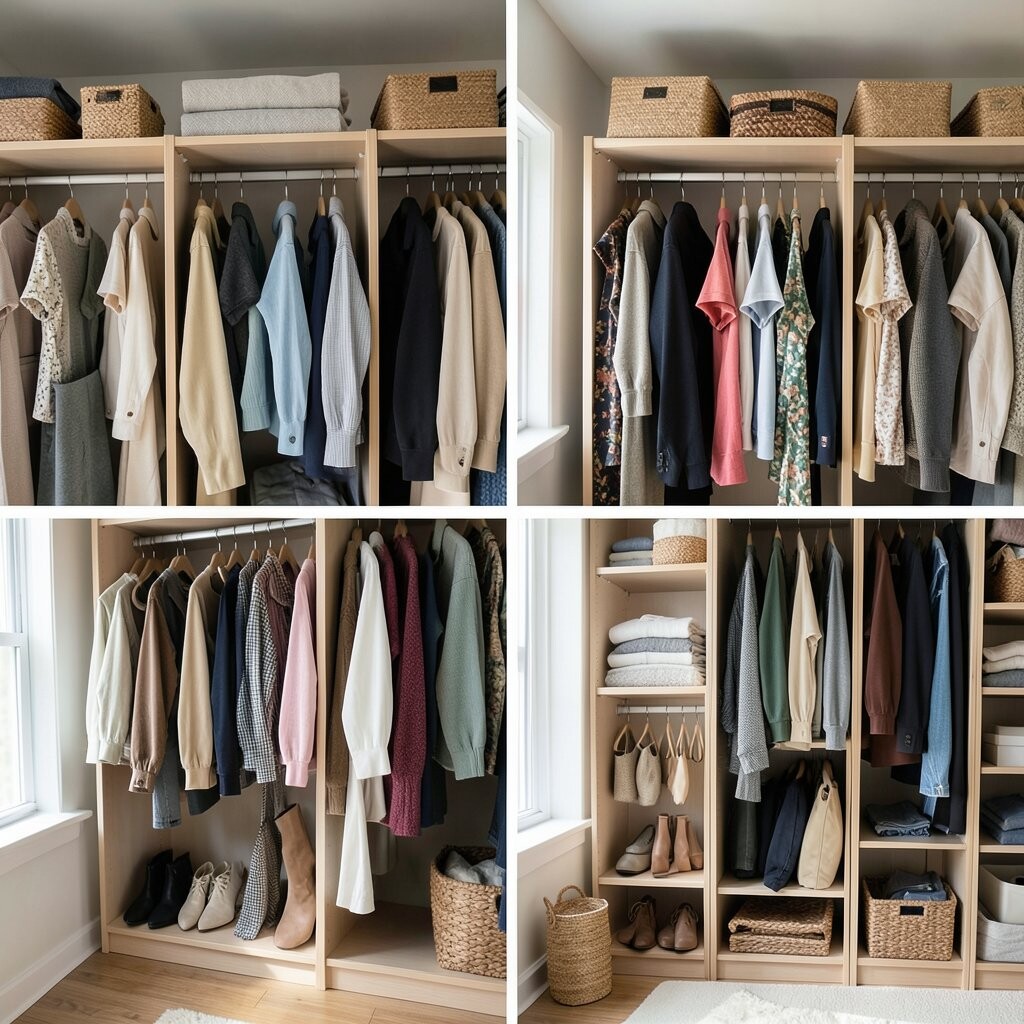
After, you’ll see clear lanes: one zone for tops, one zone for bottoms, and one zone for accessories. Hanging items look more even, like they’re lined up for a photo. This setup makes choosing outfits faster because your brain knows where things live.
Create zones using shelf dividers, hanging labels, or even painter’s tape on the closet floor. Keep similar colors or styles together so the closet looks neat and “put together.” If you have a small closet, use vertical space with slim hangers to save room.
Tips: Start with the items you reach for most. Personalize your zones by creating a “work outfits” strip if that fits your life.
Cost: Low-cost options include tape labels and cardboard dividers. Higher-cost upgrades include modular shelving systems.
2. Drawer Color Coding With Photo Labels
Drawer Color Coding With Photo Labels
Maybe your drawers look fine at first, but you still end up digging for the right item. Socks, workout gear, and accessories can blur together fast.
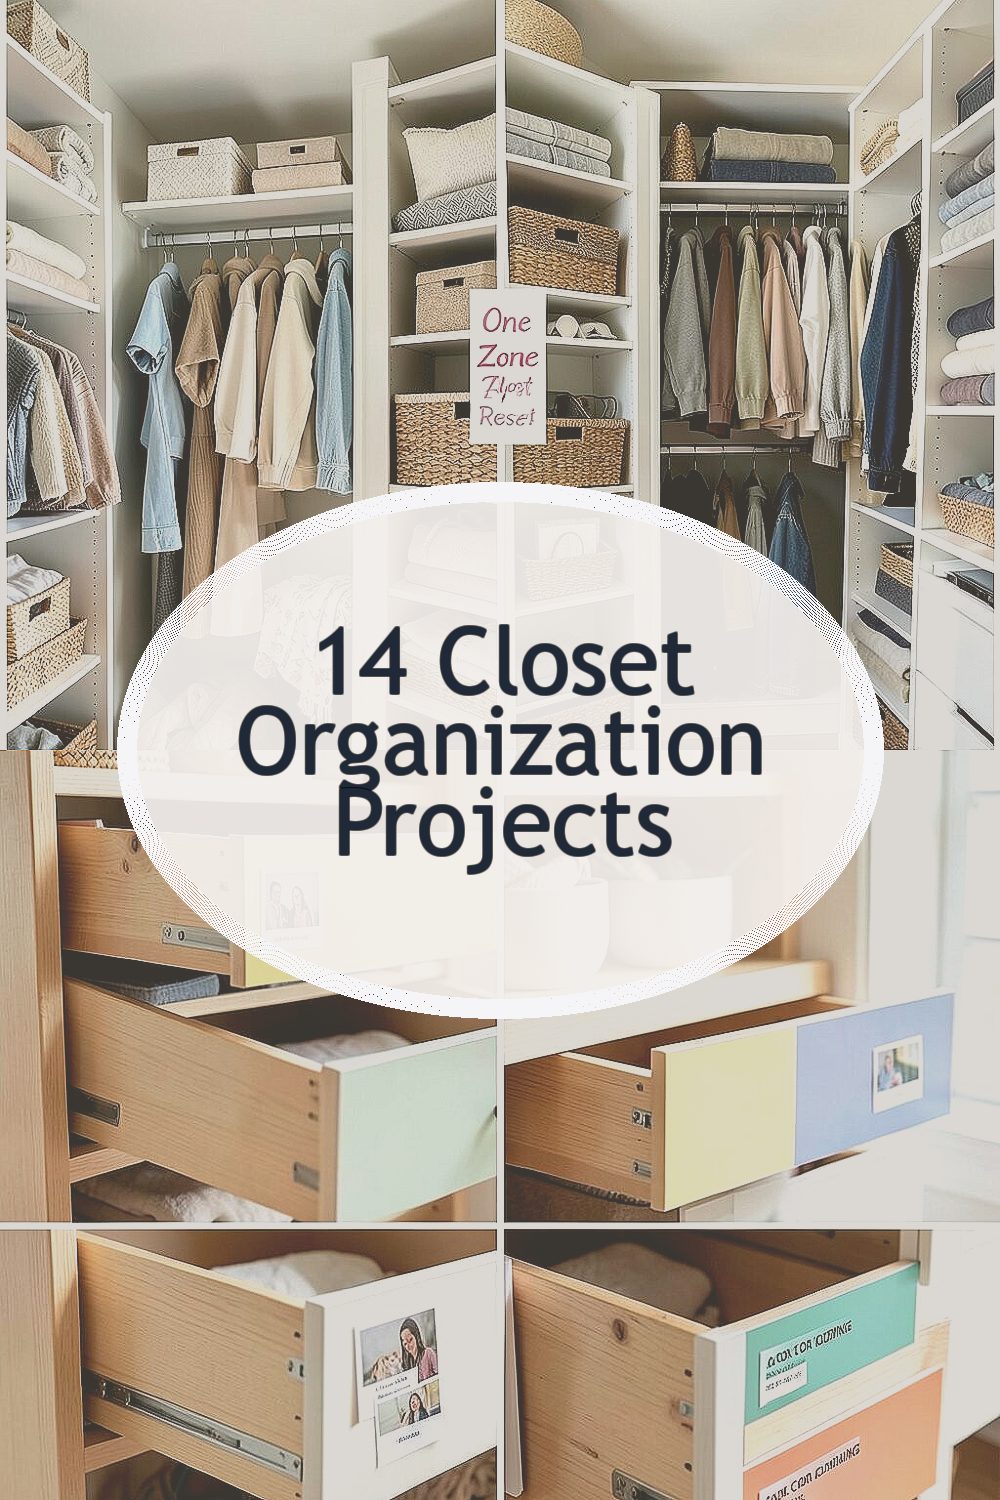
After, each drawer has a clear label with a small picture, like a quick map. You’ll love how calm it feels to open a drawer and see exactly what belongs there. It also helps kids or roommates use the closet without asking for help.
Choose categories that match your habits, such as “daily socks” and “gym extras.” Use a label maker or printable label cards, and cover them with clear tape so they last. For personalization, add a tiny icon that makes you smile, like a star for “favorites.”
3. The “Fold-Then-Stand” Shirt and Sweater Method
The “Fold-Then-Stand” Shirt and Sweater Method
Before, folded items may slump forward and tumble into a messy stack. When you pull one piece, the whole pile can shift.
After, you’ll stand folded shirts like books, so each one faces you. The closet looks tidy because you can see the colors and textures at a glance. This also keeps knits and sweaters from getting crushed in deep stacks.
To do this, fold using a consistent method and store in a tray or on a shelf divider. Keep the most-worn items at eye level for easy grabbing. For personalization, group by season or by outfit “mood,” such as cozy, casual, and dressy.
If you’re worried about cost, start with simple cardboard trays or inexpensive shelf risers. You can upgrade later with acrylic bins if you want a cleaner look. This method fits current trends like “visible storage” that turns function into decor.
4. Hanging “Tray Lines” for Small Accessories
Hanging “Tray Lines” for Small Accessories
Before, belts and small accessories might sit in a drawer, then disappear into the bottom. You probably spend extra time searching when you’re getting ready.
After, you’ll have hanging trays or small bins mounted inside the closet door area or along a side rail. Everything stays visible, so you can spot what you need without rummaging. The closet feels organized even before you start planning outfits.
Try a system like one tray for belts, one for hats, and one for jewelry. Use clear bins if you like an “organized museum” look. If you prefer a softer vibe, choose fabric organizers that hide clutter while still staying easy to reach.
Tips: Add a “no-mess” rule: when you finish a day, everything returns to its tray. Personalize by dedicating a tray to special occasions, like holidays or weddings.
Cost: Most hanging organizers are affordable, and you can find budget-friendly sets. A DIY option uses repurposed containers mounted to a peg rail.
5. Under-Shelf Storage With Clear Front Bins
Under-Shelf Storage With Clear Front Bins
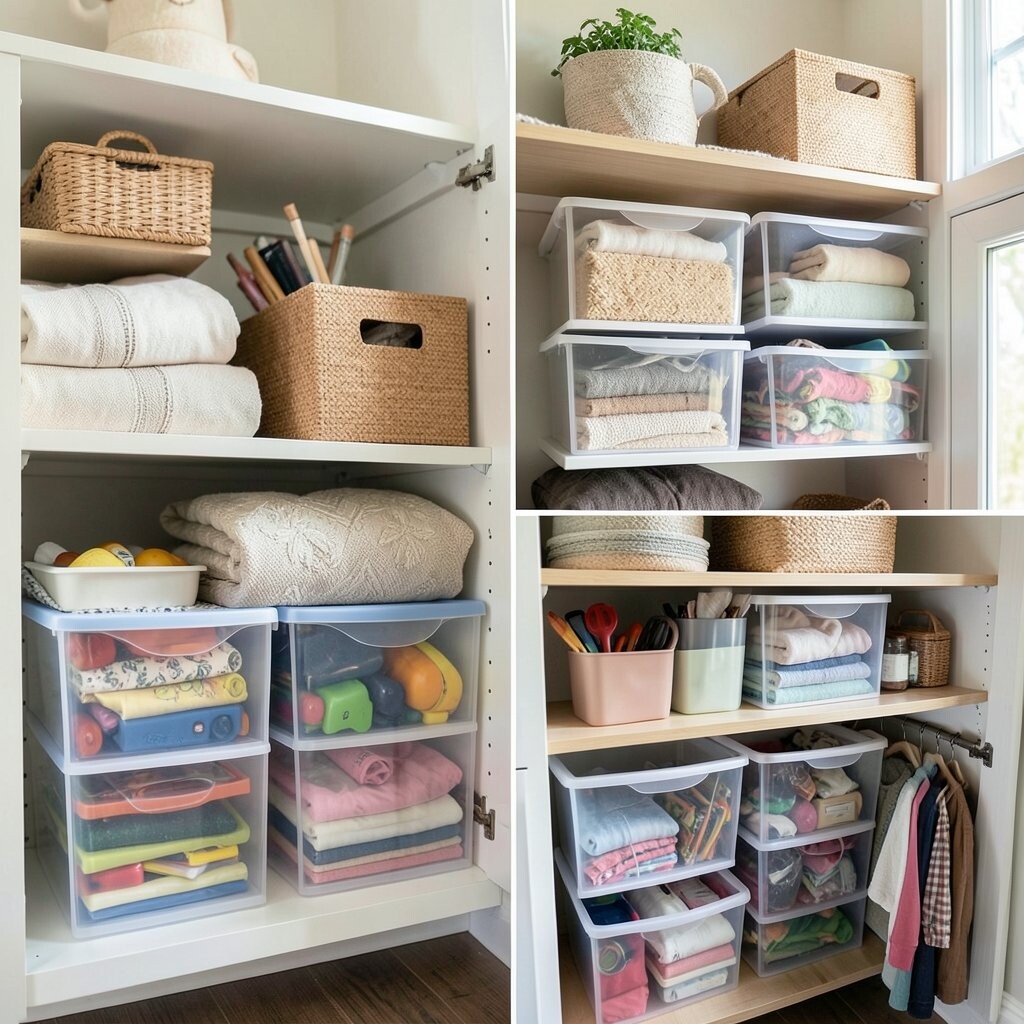
Before, the space above your floor might be unused, or it might be stuffed with bags you don’t use often. That can make the closet feel cramped and heavy.
After, you’ll see clear bins sliding neatly under shelves, holding shoes, seasonal items, or spare hangers. The closet looks lighter because you’re not stacking random things in a pile. Clear fronts also help you find items faster, which saves time and reduces frustration.
Choose bins that fit your shelf width so they don’t wobble. Add a simple label for each bin, like “winter hats” or “travel.” For personalization, keep one bin for “quick grab” items, such as a small umbrella or tote bags.
6. A Mirror-Backed Closet Door for Daily Motivation
A Mirror-Backed Closet Door for Daily Motivation
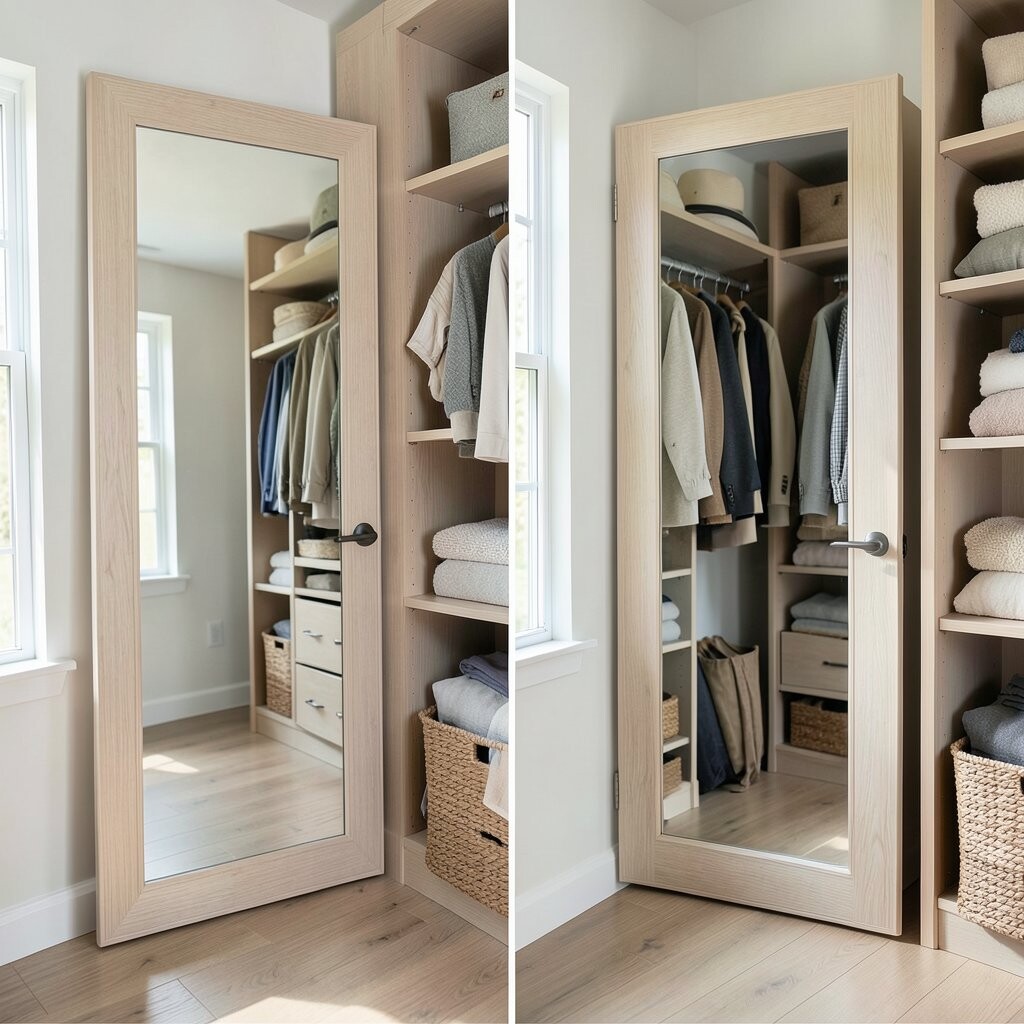
Before, you might check your outfit in a hallway mirror, which can make getting ready feel slower. The closet area may also look dull because it lacks light and reflection.
After, adding a mirror-backed door or a mounted mirror creates a bright “ready” spot. You’ll see your clothes more clearly, and the whole space feels more open. This makes even a small closet feel like a mini dressing room.
Pick a mirror size that fits your layout and make sure it’s securely mounted. If you don’t want a full mirror, use a mirrored panel or a lightweight frame. Personalize by placing your favorite small jewelry organizer right next to it for a “styled” look.
Tips: Pair the mirror with warm lighting or a small LED strip for a modern feel. Keep the closet floor clear so the reflection looks clean.
Cost: Low-cost options include adding a small mirror. Higher-cost options include professional installation or upgraded closet doors.
For trends, this matches the current love for “light and airy” spaces and reflective details that make rooms feel bigger.
7. The “Capsule Week” Rotation for Clothes
The “Capsule Week” Rotation for Clothes
Before, your closet may hold clothes you rarely wear, so your daily choices feel crowded. You end up staring at items that don’t match your actual routine.
After, you’ll keep a rotating set of “this week” outfits visible, while the rest sits away neatly. The closet looks calmer because your eye sees fewer items at once. It also helps you style faster because every piece feels relevant.
Start by selecting pieces that you love and wear often, then store the rest in labeled bins. Rotate weekly or seasonally, depending on your comfort level. Personalize it by planning around your schedule, like work days, school days, or weekend plans.
8. Shoe Wall With Paired-Spot Racks
Shoe Wall With Paired-Spot Racks
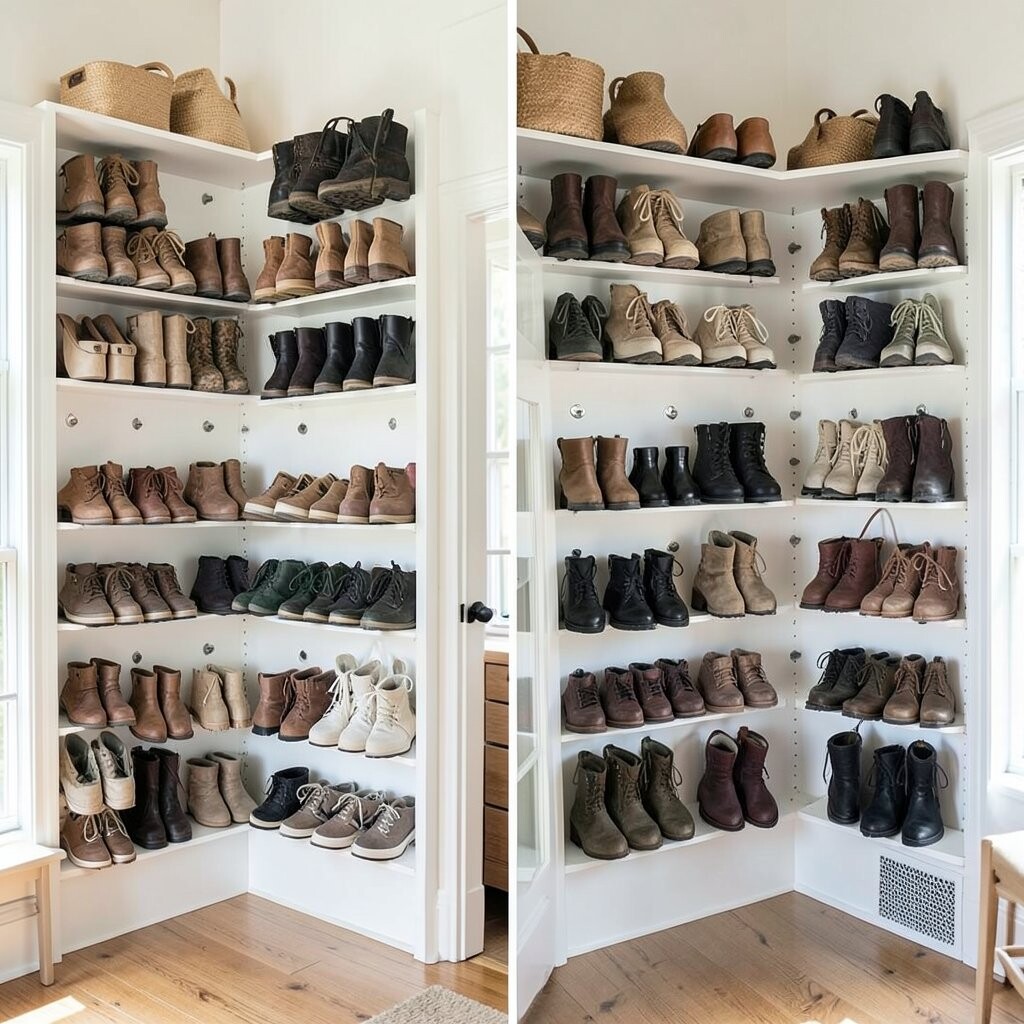
Before, shoes might be stacked randomly, with pairs turned at different angles. When you need one pair, you have to move multiple items.
After, you’ll see a shoe wall with paired spots for each set of shoes. The closet becomes visual and organized, and you can spot sizes and styles quickly. This also reduces scuffs because shoes are stored with care.
Choose a rack that fits your space, like tiered shelves or a vertical rack system. For personalization, arrange by lifestyle: “work,” “everyday,” and “special.” Keep the shoes you wear most near the front for quick access.
For cost, you can start with a simple shelf organizer and upgrade later. If you prefer a neat aesthetic, use matching bins or matching rack tones. This project fits the trend of “statement storage,” where organization looks like design.
9. Matching Hangers Upgrade for Instant Uniformity
Matching Hangers Upgrade for Instant Uniformity
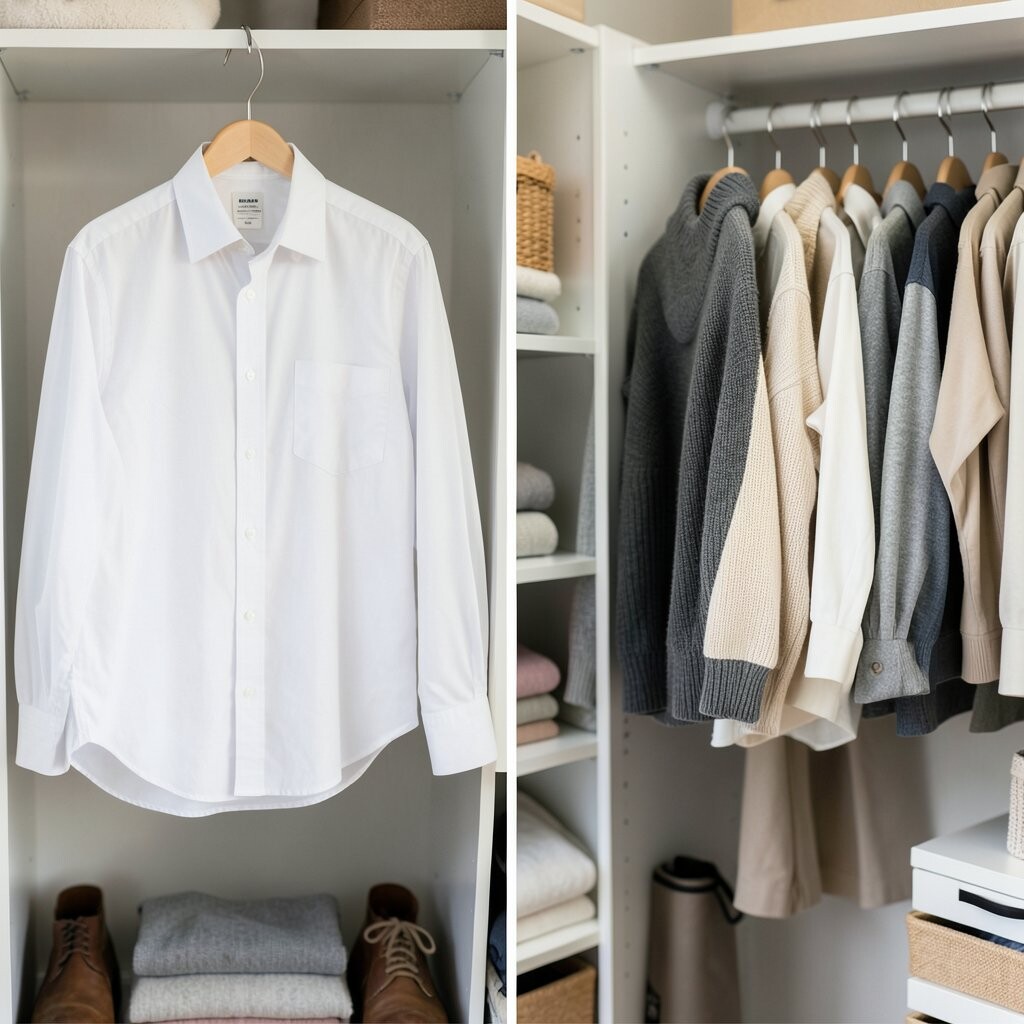
Before, your hangers may be a mix of different colors, shapes, and thicknesses. That creates visual clutter even when the clothes are folded neatly.
After, everything looks consistent because your hangers match and hang at the same height. The closet gains a clean, designer feel that’s surprisingly satisfying. It also helps clothes glide better on hangers and can reduce stretching.
Pick one hanger type for your closet, such as slim felt, wood, or velvet. For clothes that slip, velvet hangers are a great personalization fit. Make sure you keep hooks facing the same direction for a crisp look.
10. The “Laundry-Safe” Sorting Station Inside the Closet
The “Laundry-Safe” Sorting Station Inside the Closet
Before, clean clothes might mingle with “almost clean” items in the same space. That can make mornings feel messy, even if you tried your best.
After, you’ll have a small sorting station with labeled spots for clean, ready-to-wash, and hanging-to-dry. The closet becomes a place that handles clothing tasks, not just storage. It also cuts down on laundry piles that take over floors.
Use hampers or baskets with lids if you want the closet to stay neat. Personalize by labeling with simple icons, like a light for “ready to wear” and a droplet for “needs washing.” Place the station near the door or near a laundry pathway for convenience.
Tips: Add a small bag for “donate” items so you can clear space while sorting. Consider a washable liner if your station gets a lot of daily use.
Cost: Affordable options include collapsible bins and basic hampers. Premium options include built-in cabinetry-style systems.
This matches current habits of “small daily systems,” where you organize actions, not just objects.
11. Closet Door Command Center for “Grab and Go” Gear
Closet Door Command Center for “Grab and Go” Gear
Before, you might hunt for keys, sunglasses, or a charging cable right before leaving. That habit turns the closet into a storage maze.
After, the closet door holds a neat command center with hooks, a small tray, and pocket organizers. You’ll see items in a tidy row, so grabbing feels quick and stress-free. This also keeps surfaces clear, which makes the whole closet look better.
Use a combination of hooks for items like bags and lanyards, plus pockets for small essentials. Personalize with your routine, such as a pocket for “appointments” or a tray for “gym day.” Keep charging cords in one place with a small cable organizer.
If you want a budget approach, repurpose an old organizer board or pegboard. If you want a sleek look, buy a modern door organizer kit that matches your closet color. Either way, it’s a high-impact project.
12. Color-By-Space Shelf Styling With Coordinated Bins
Color-By-Space Shelf Styling With Coordinated Bins
Before, shelves might hold a mix of mismatched boxes, bottles, and random bags. The closet can look busy, even when it isn’t truly messy.
After, shelves look styled because storage bins match in color or shape. You’ll notice how your eyes glide across neat sections instead of bouncing around. The closet becomes a calm visual space, almost like a boutique aisle.
Choose a color rule, such as “white bins for accessories” and “neutral bins for shoes.” Use labeled stickers so you can keep the system going. Personalize by adding a bin for seasonal decor, like scarves or a hat for special events.
Tips: Keep one shelf for “daily basics,” and keep the rest for less-frequent items. Add a small scent pouch in a drawer if you like your closet to smell fresh.
Cost: Low-cost options include thrifted bins and simple labels. Higher-cost options include uniform storage sets and stackable systems.
This project fits the trend of “aesthetic organization,” where functionality and style work together.
13. Clear the Clutter With a Donation + Repair + Keep Pile Plan
Clear the Clutter With a Donation + Repair + Keep Pile Plan
Before, your closet may feel full, but you might not actually enjoy wearing most of what’s inside. That makes your closet feel heavy and unhelpful.
After, you’ll see more breathing room because items move into clear categories. Clothes you keep feel more intentional, and the closet looks less crowded. You may even spot gaps that help you plan future purchases.
Set up three piles: donate, repair, and keep, then handle them one by one. Personalize this step by making “repair” include tailoring, button fixes, or zipper replacements you’ve been avoiding. Keep a small checklist so you don’t get lost in decision-making.
For cost, this is one of the best projects because it’s mostly time and planning. If repair costs feel high, prioritize small fixes first. This kind of cleaning also matches current “slow fashion” habits and smart reuse goals.
14. A Closet “Before and After” Wall Calendar for Maintenance
A Closet “Before and After” Wall Calendar for Maintenance
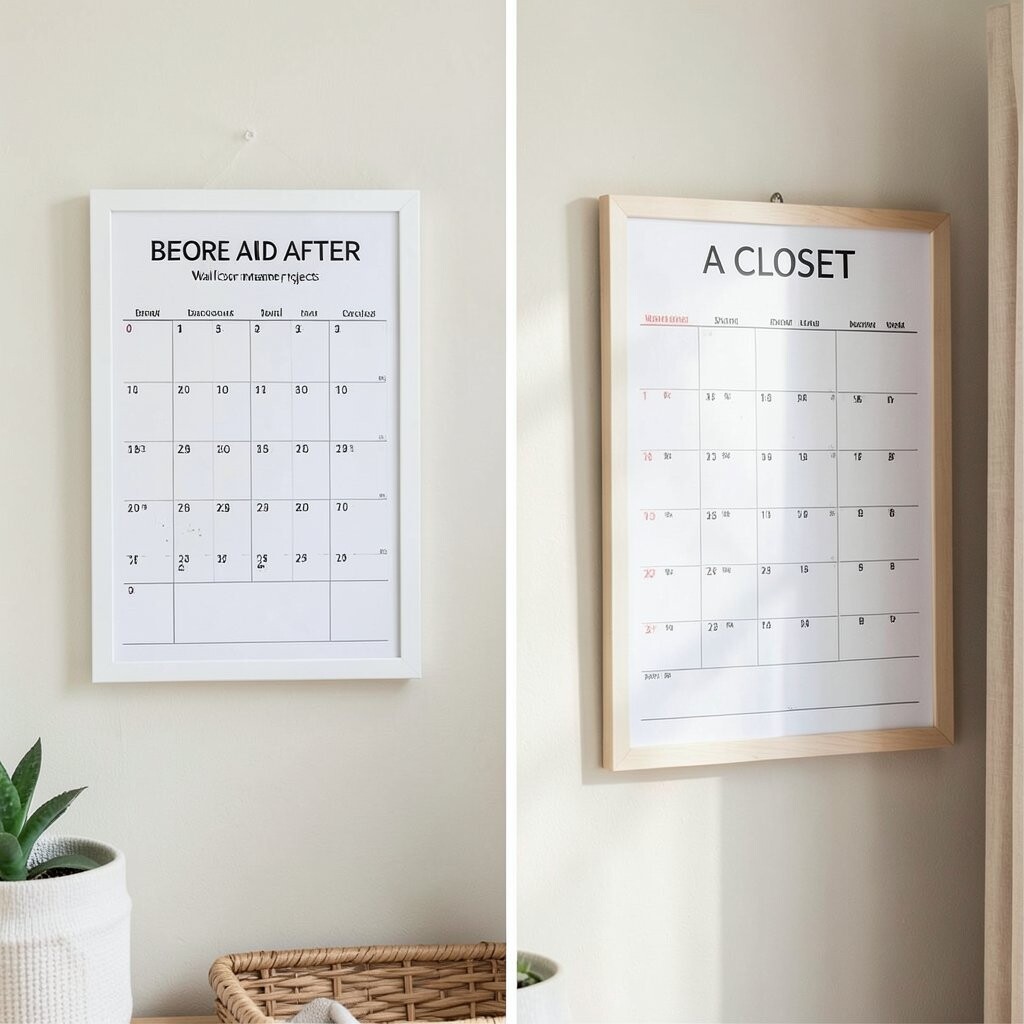
Before, your closet may stay organized for a short time, then slide back into chaos. Without a plan, small messes grow quickly.
After, you’ll have a simple maintenance rhythm because you track closet check-ins. You’ll see your progress as the space stays neat longer and longer. This makes organizing feel like a game, not a big chore.
Create a wall calendar or a checklist inside the closet area with tasks like “fold day” or “donate sweep.” Personalize it by matching it to your season, like “summer rotation” or “school outfit prep.” Add a tiny note section where you write what you need to restock, such as hangers or extra labels.
Tips: Use a pen color that cheers you on, then reward yourself with a small treat after each check-in. If you share the home, set one reminder per person so it feels fair.
Cost: This costs almost nothing. You can upgrade with a printable tracker, a cork board, or a magnet set.
Maintenance is a current trend because people want systems that last, not just quick fixes.