Christmas decorations can feel fancy without much work. Ribbon can turn plain ornaments into eye-catching little scenes.
Below are ribbon ideas for Christmas balls that are easy, budget-friendly, and fun to personalize. Each one includes tips, cost notes, and ways to make it yours.
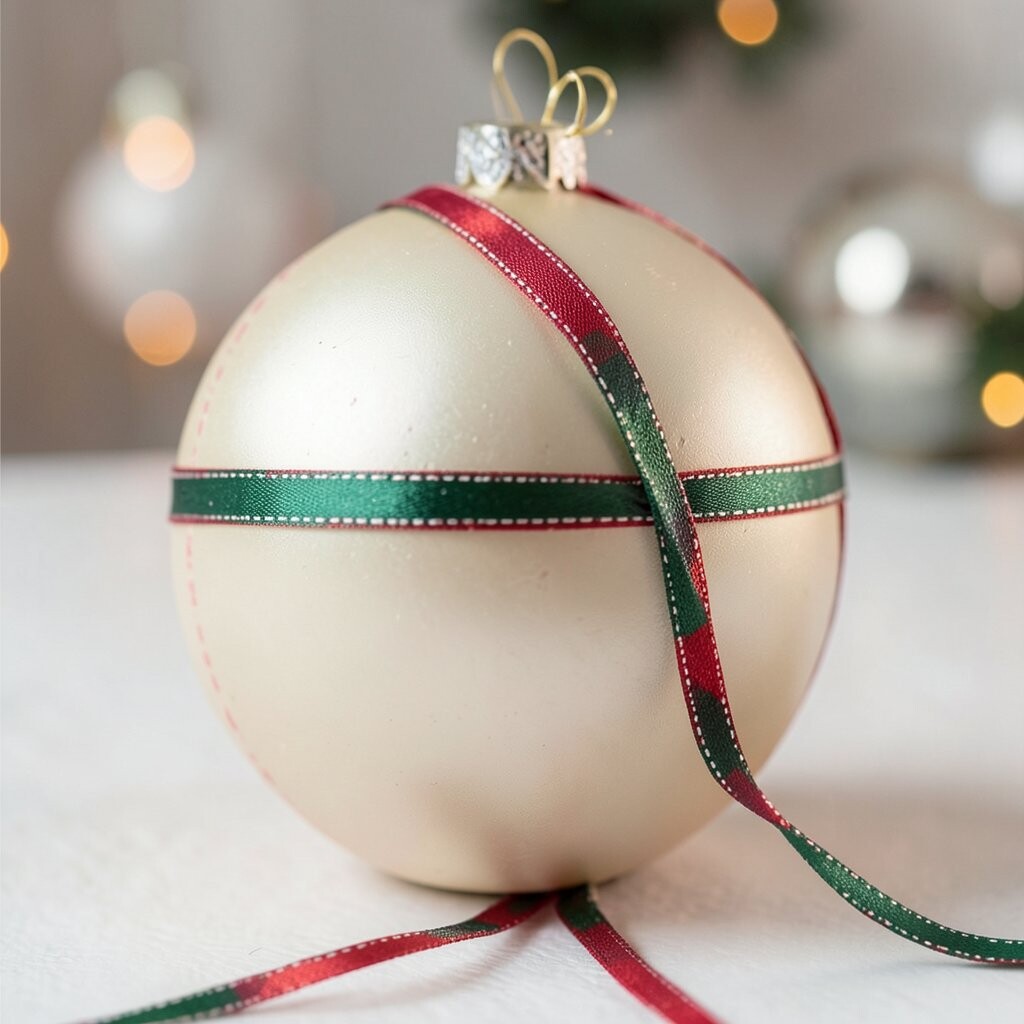
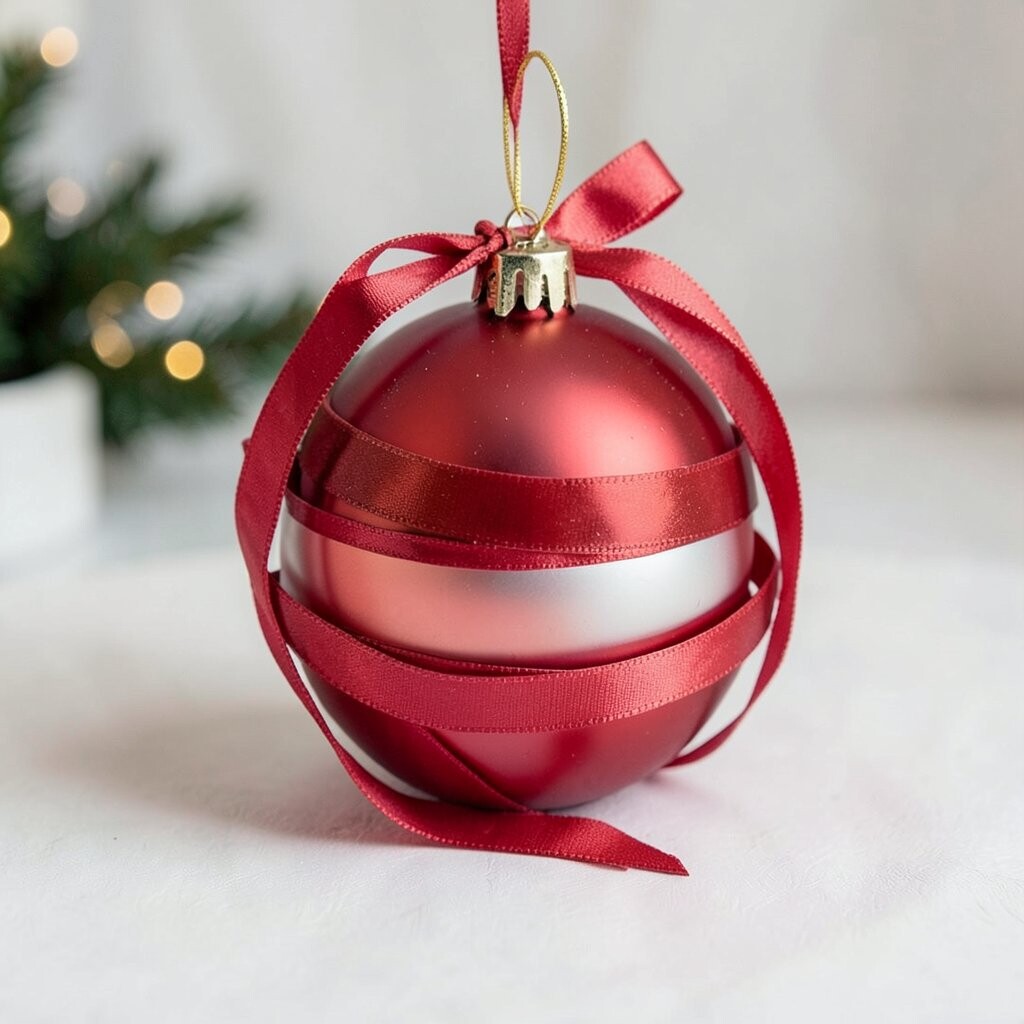
Start with a simple Christmas ball ornament. Wrap ribbon around it in a neat spiral from top cap to the bottom curve.
Choose a color that matches your lights, like red, green, or gold. Keep the ribbon slightly tight so it lies smooth and shiny. If you want a clean look, use hot glue just at the top and a few spots in the middle.
This idea is great because it makes even a basic ball look styled. It also saves money, since you can buy inexpensive ribbon and reuse it every year. For personalization, add a tiny charm at the center, like a star or snowflake.
Current trend lovers often mix classic stripes with modern shine, so try a satin ribbon with a subtle sheen. If you’re on a budget, choose wider ribbon for fewer wraps and less glue.
2) Velvet Ribbon Bow at the Top
) Velvet Ribbon Bow at the Top
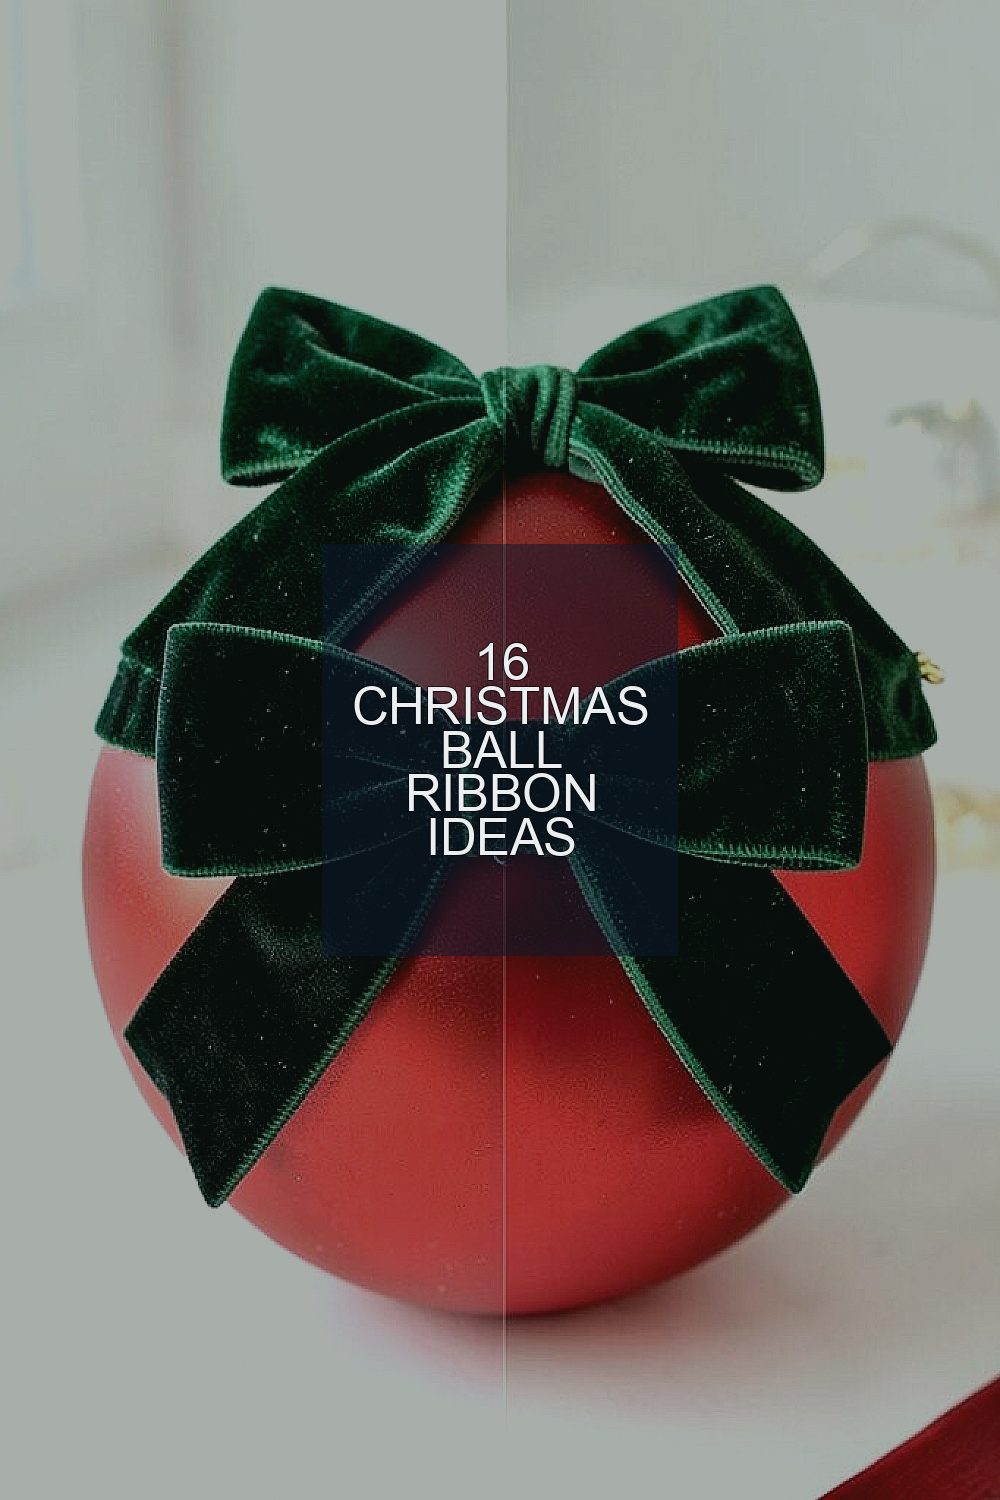
Make the ornament feel “store-bought” by adding a velvet ribbon bow. Tie it at the hanger loop so the bow becomes the focal point.
Use a thick velvet ribbon for a soft, cozy look that matches winter décor. If your ornament is glossy, the velvet will contrast beautifully and look rich.
For an extra touch, tuck a second thin ribbon behind the bow so it peeks out. This gives layered style without much extra cost. You can also personalize by choosing a bow color that matches your tree theme.
This is easy and quick, so it’s perfect when you’re short on time. It also works with matte or glitter balls since the bow adds texture. If you find velvet ribbon on sale, grab a few widths and mix them across ornaments for variety.
Trend note: many people now like “quiet luxury” colors like cream, deep burgundy, and forest green. Those soft tones look great on both modern and traditional trees.
3) Ribbon Ombre Fade (From Dark to Light)
) Ribbon Ombre Fade (From Dark to Light)
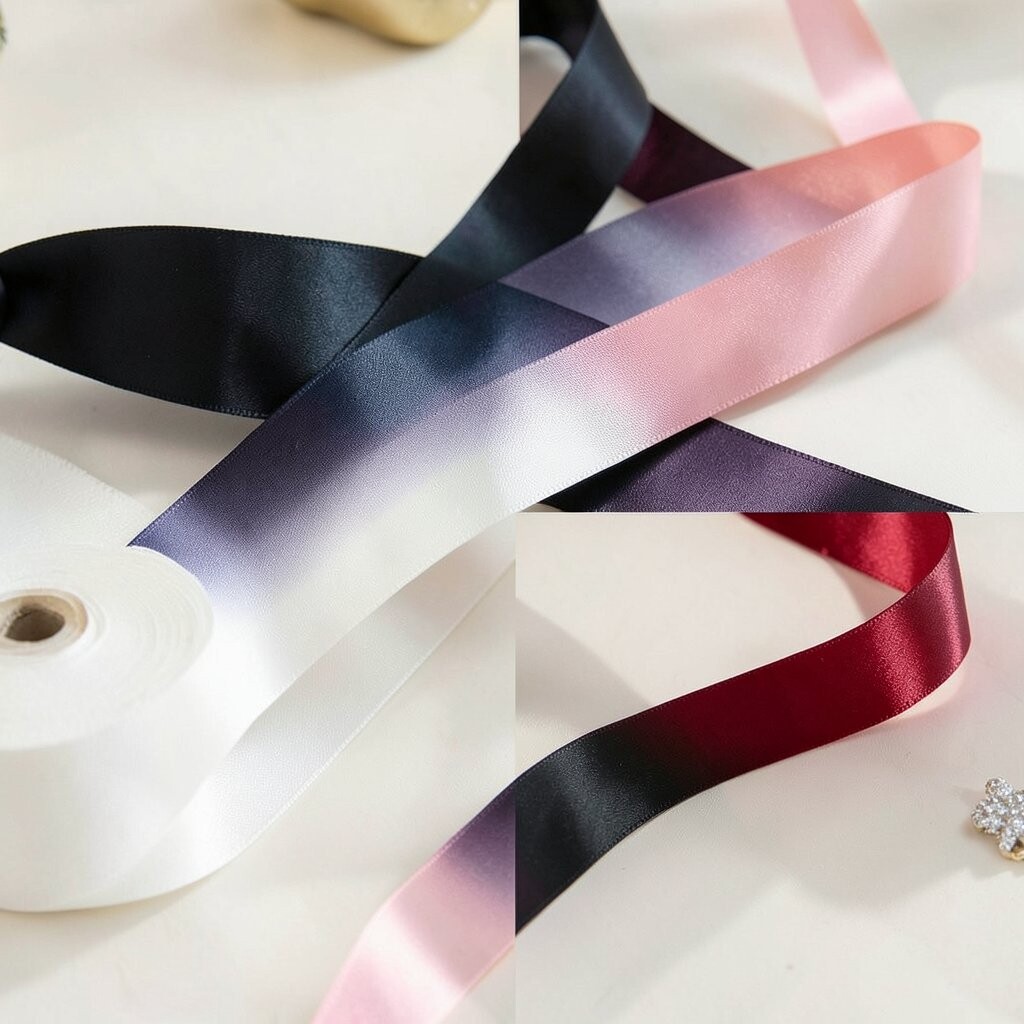
Try an ombre ribbon effect for a gentle, gradient look. You can do this with one ribbon that already fades, or by using two ribbons and blending them together.
Wrap the darker shade near the top and transition to lighter color as you reach the bottom. The result looks like a soft winter sunset on your ornament.
Use small bits of glue at the overlap so the join stays hidden. Keep the overlap wider near the middle for a smoother blend.
This idea stands out because it doesn’t look repetitive like basic stripes. It also feels creative while still being simple to make. Personalize it by matching the ombre to your room colors—think icy blue to white, or pine green to silver.
For cost, ombre ribbon might cost a little more, but you can use shorter pieces and still get the full effect. A budget trick is to buy two coordinating ribbons and overlap them carefully. Current trend: ombre details are popular in holiday and winter crafts because they look modern and calming.
4) Polka Dot Ribbon Accents
) Polka Dot Ribbon Accents
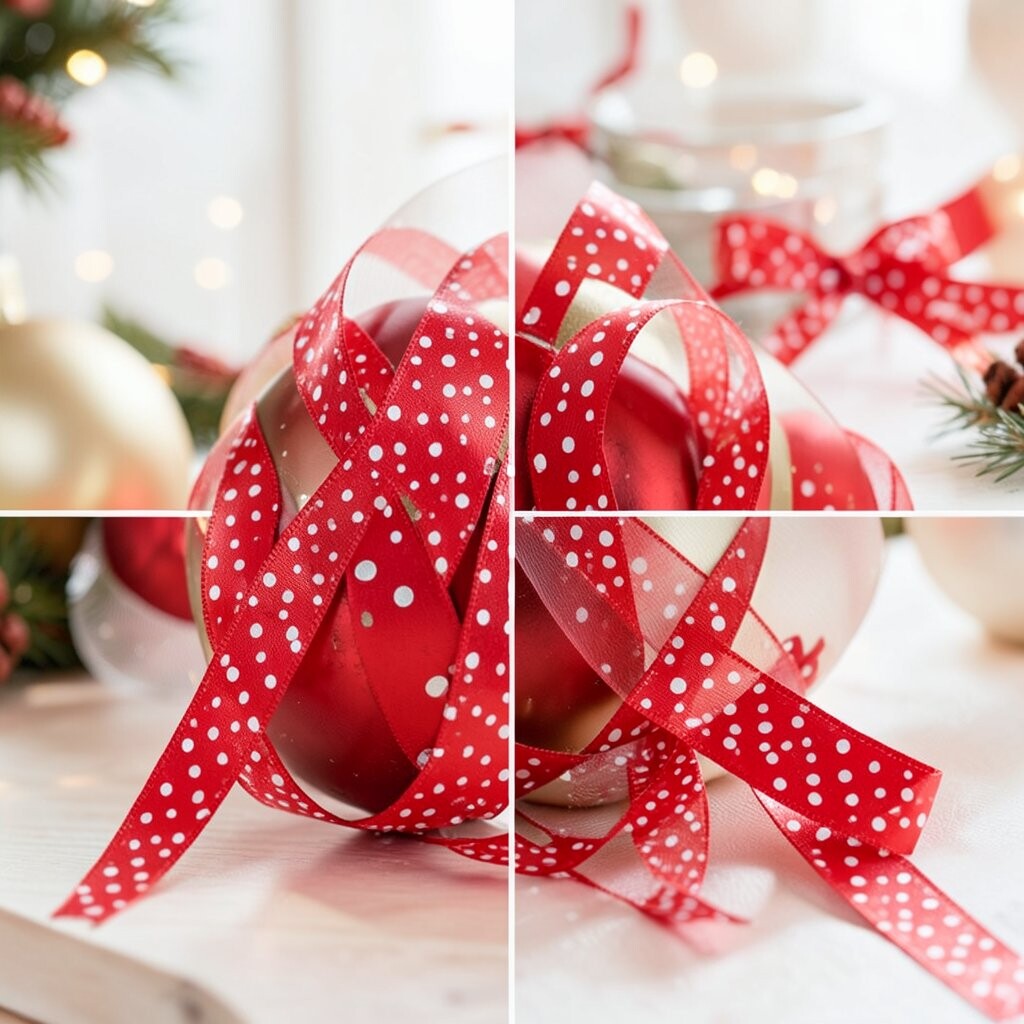
Add a playful pop by using polka dot ribbon. Wrap it around a shiny or solid-color ball so the dots show up clearly.
Keep the dots aligned by making one full loop, then wrap the next pass without twisting. That helps the pattern look neat instead of messy.
You can also cut a short strip and tie it like a mini sash. This makes a fun “center belt” look that’s cute from every angle.
This idea is unique because it brings a cheerful vibe that feels kid-friendly and cozy. It’s also great if you like mixing colors, since dots naturally blend well.
For personalization, choose dots that match your tree ornaments or wrapping paper. If you’re watching spending, pick one dot ribbon and use it across multiple balls so you don’t need many different rolls.
5) Mini “Lattice” Weave with Two Ribbons
) Mini “Lattice” Weave with Two Ribbons
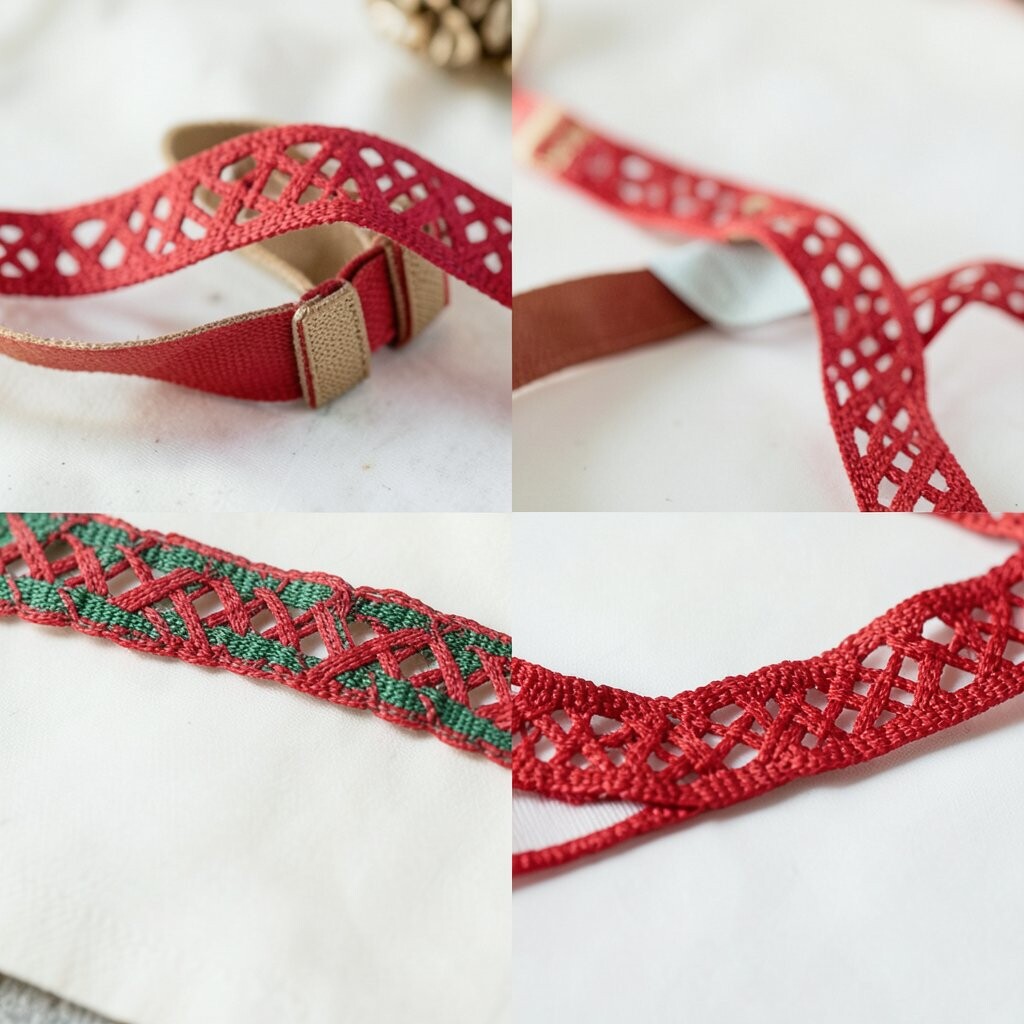
Give your ornament a woven, lattice look using two ribbons. Start by wrapping one ribbon vertically around the ball, leaving small gaps.
Then weave the second ribbon across those gaps like you’re making a tiny basket. Press gently so the pattern sits evenly.
This creates a detailed look without needing fancy tools. It’s also a great way to use leftover ribbon bits from past crafts.
You can personalize the vibe by picking contrasting colors, like black and gold or red and cream. For a trendier style, use metallic ribbon for one of the two colors. Budget tip: buy thinner ribbons for weaving since they use less material.
For best results, keep the tension light so the ribbons don’t warp the ball. Finish by tying the ends behind the hanger so they stay hidden.
6) Scalloped Ribbon Edge Detail
) Scalloped Ribbon Edge Detail
Pick ribbon with a scalloped edge or create one using ribbon with a zigzag print. The scallops make the ornament look like it has fancy trim.
Wrap the ribbon around the ball so the scalloped edge faces outward. That creates a “ruffle” effect even though you’re using ribbon.
This works well on plain matte balls because the trim adds shape and movement. It also feels unique because scallops look like classic holiday clothing trim.
To personalize, choose scalloped ribbon in holiday colors or in a seasonal palette like silver and icy blue. If cost matters, look for discount craft trim that comes in longer rolls.
7) Ribbon-Tied “Wrapped Candy” Look
) Ribbon-Tied “Wrapped Candy” Look
Create a candy wrap style by twisting ribbon around the ball in small sections. Think of how a wrapped candy looks: narrow at the center, a bit wider in other spots.
Secure with glue at the top, then gently fan the ribbon so it forms soft ridges. Add another strip across the center for that classic wrapped feel.
This idea is fun and instantly recognizable, which makes your ornaments look playful and charming. It also hides small scuffs on older balls.
For personalization, use two ribbons—one solid and one patterned—so the candy vibe pops more. Budget note: thinner ribbon is cheaper and easier to twist tightly. Current trend: many people enjoy “nostalgia” looks in holiday décor, and candy-style wraps fit that vibe.
8) Glitter Ribbon Over a Satin Base
) Glitter Ribbon Over a Satin Base
Layer ribbon textures by starting with a smooth satin wrap and then adding glitter ribbon on top. The base helps your ornament look clean, while the glitter ribbon adds sparkle at just the right places.
Wrap the satin ribbon first, then place glitter ribbon in a diagonal or vertical line. Leave small gaps so the satin shows through like a highlight.
Use sparingly if you want a subtle shimmer. Or go bolder by covering more area if your décor is already sparkly.
This is a great option because it blends elegance with a party-ready glow. It also saves money compared to fully glitter-coated ornaments, since you only need glitter ribbon.
To personalize, match glitter ribbon color to your ornaments—gold with warm lights, silver with cool lights. Look for glitter ribbon that’s “lightweight” or “low shedding” if you want less mess on the tree.
Trend note: mixed textures—smooth plus glitter—are very popular right now, especially in cozy modern holiday homes.
9) Washi Tape Ribbon Strip with Bow
) Washi Tape Ribbon Strip with Bow
If you want a super budget idea, use washi tape to make ribbon stripes on the ball. Cut narrow strips, press them down, and then add a small bow at the top.
This makes the ball look like it’s decorated with ribbon even if you don’t have much ribbon at all. It’s also easy to fix, since washi tape can be repositioned before it fully sticks.
Use tape patterns like thin gold lines or tiny snowflakes for a festive look. For personalization, alternate two colors to match your theme, such as white and red or green and cream.
This idea is unique because it combines craft tape with classic holiday styling. It also works on old ornaments that need a quick refresh without heavy supplies.
10) Ribbon “Rings” Around the Ornament
) Ribbon “Rings” Around the Ornament
Create a stacked ring look by wrapping short bands of ribbon around the ball. Think of several thin circles, evenly spaced across the surface.
Secure each ring with a small dot of glue so it stays flat. Keep spacing consistent for a polished, modern feel.
Rings look especially good on glass or metallic balls because they reflect light. They also help you use very small ribbon lengths, which saves money.
For personalization, use ring colors that gradually get brighter as you go down. You can also add one tiny ribbon bow between rings for extra charm.
Trend note: ring-style décor is popular in modern design because it looks tidy and intentional. If you want a quick upgrade, choose a metallic ribbon for one or two rings.
11) Ribbon Tassel Tail for a Fancy Finish
) Ribbon Tassel Tail for a Fancy Finish
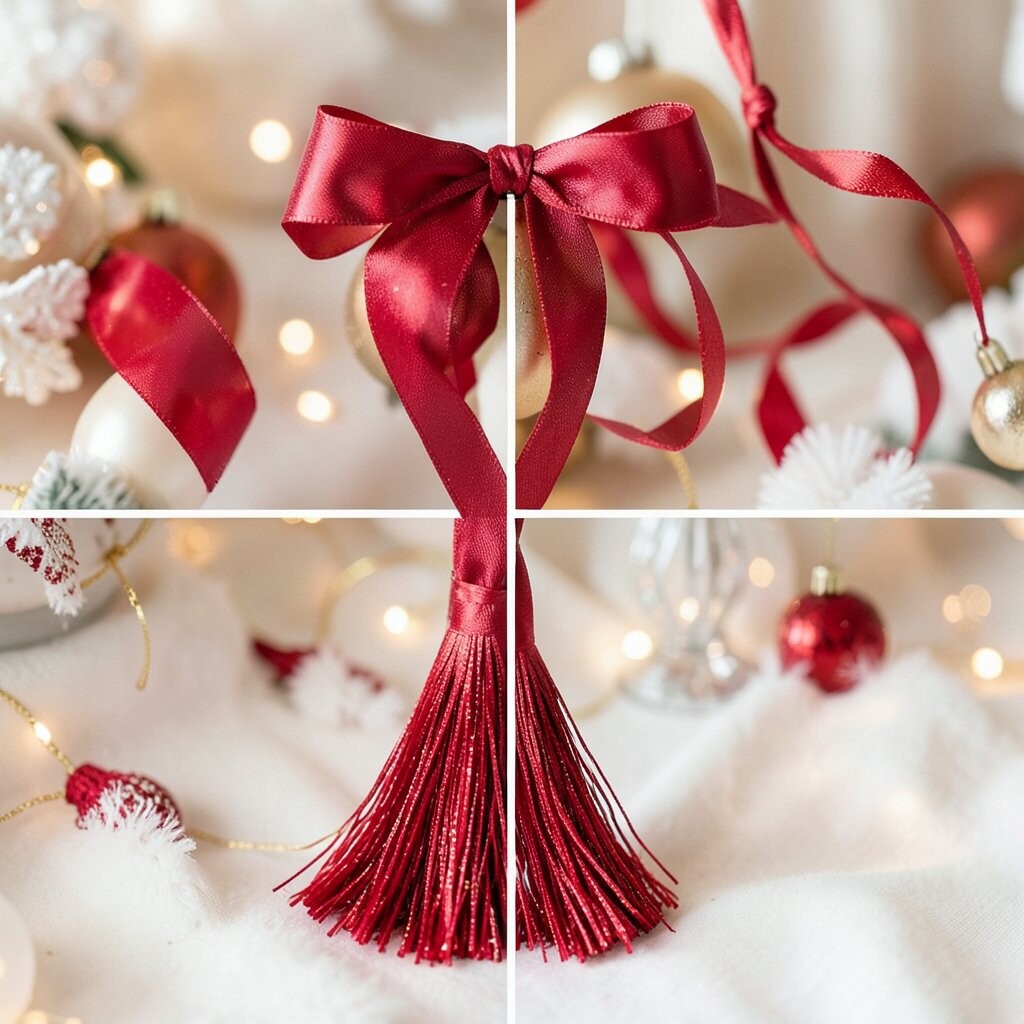
Add movement by turning one ribbon end into a tassel. Leave a ribbon tail hanging down slightly from the hanger loop, then cut tiny slits along the end.
Fan the tassel out so it looks fluffy and neat. If you’re using thin ribbon, twist it gently after cutting to keep the tassel shape.
This style feels unique because it adds a soft “dancing” detail when the ornament moves. It also makes your tree look lively even if the ornament itself is simple.
Personalize it by matching the tassel color to your lights. For budget, use one ribbon and only make tassels on a few statement ornaments, like the largest balls.
Current trend: many holiday décor styles now include fringe and soft tassels, inspired by fashion accessories. This is an easy way to bring that look to your tree.
For a tidy finish, hide knots behind a small rosette or tiny bow at the top.
12) Faux “Bowtie” Ribbon Bands
) Faux “Bowtie” Ribbon Bands
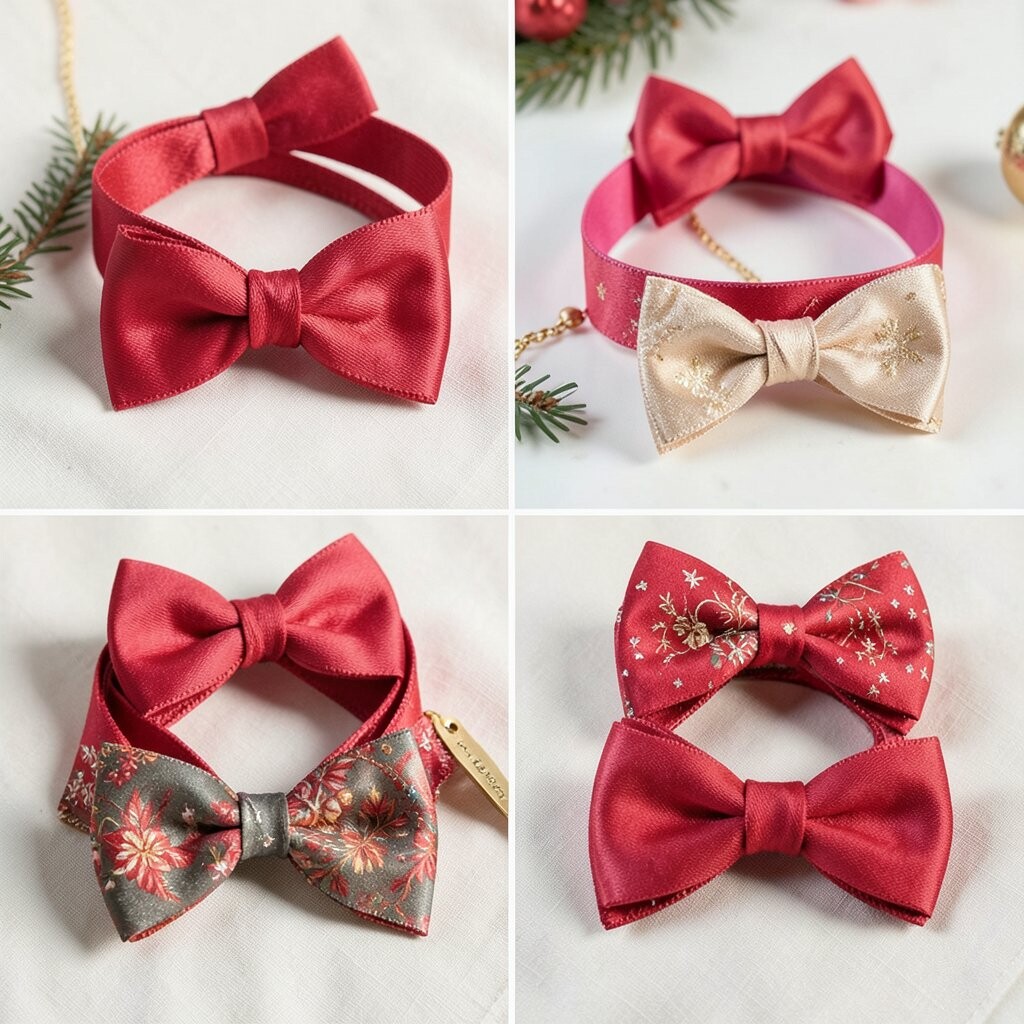
Make a bowtie effect by folding ribbon into two short loops on opposite sides of the ball. Secure the center with a tiny glue dot or a small bead.
Then wrap the ribbon around the ornament’s middle so the loops sit like a bowtie. Add another ribbon band below if you want extra structure.
This idea looks adorable on both matte and shiny balls. It also helps you use patterned ribbon in a controlled way, so the pattern looks intentional.
For personalization, choose bowtie loops in your favorite color and add a mini charm at the center, like a heart, star, or berry. Cost-wise, you can use scraps and still get great results.
13) Ribbon Flowers Rolled from Strips
) Ribbon Flowers Rolled from Strips
Turn ribbon strips into tiny rolled flowers and attach them to the ball. Start with a short strip, fold the end, and roll it tight like a rose bud.
Secure with glue at the bottom and repeat to make a few blooms. Place the flowers in a cluster near the top or spread them around the ball like a garden.
This is a standout option because it adds a three-dimensional look. It also feels very personal, since you can decide the colors and the number of blooms.
For cost, use wide ribbon only where needed, and make flowers from shorter scraps. If you want a trendy look, use muted colors like dusty rose, cream, or sage green along with classic holiday shades.
Personalization tips: mix one solid ribbon with one patterned ribbon for variety. You can also add a tiny pearl or rhinestone in the center of each rose to make them sparkle.
14) Horizontal Pinstripe Ribbon with Hidden Knot
) Horizontal Pinstripe Ribbon with Hidden Knot
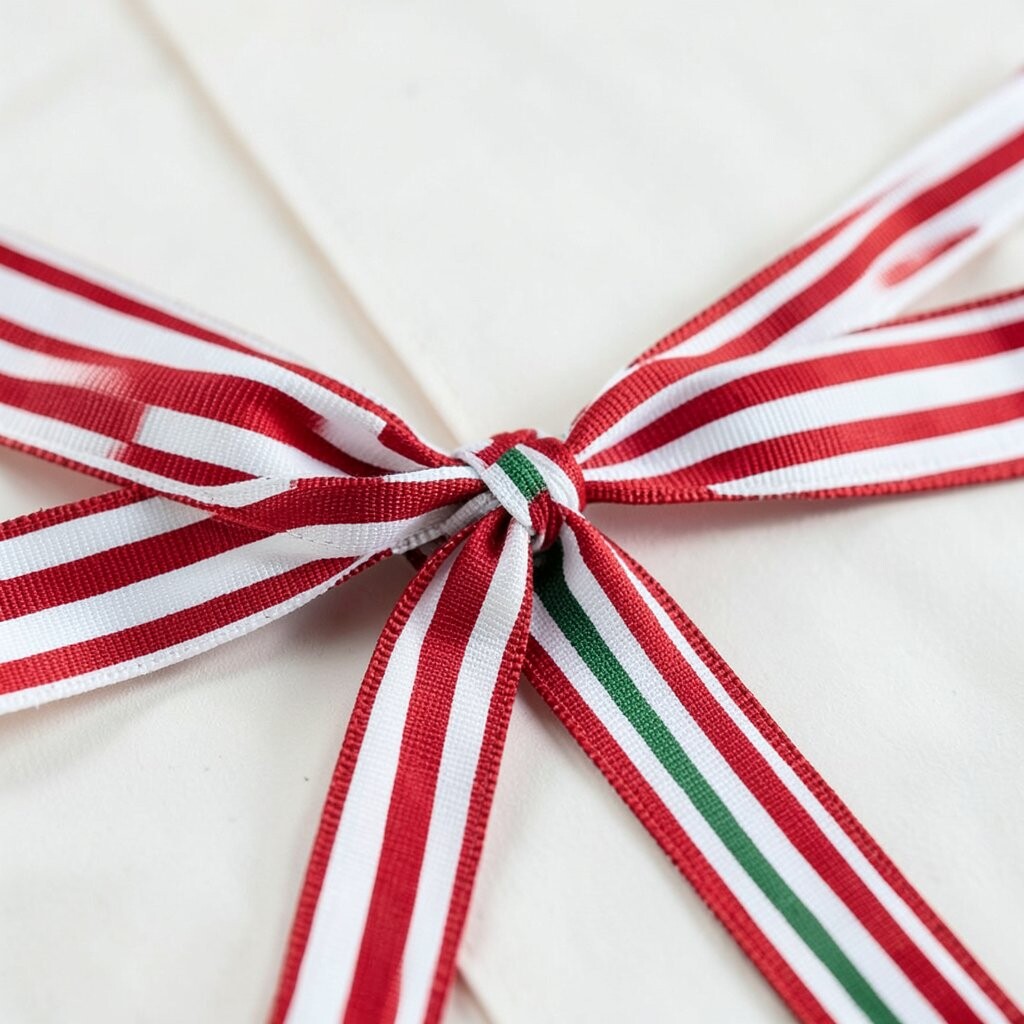
Pinstripe style looks sharp and clean. Wrap narrow ribbon bands horizontally across the ball so they create tidy lines.
To keep things neat, tuck the ribbon ends under the hanger cap or behind a small strip. That way the knot stays hidden.
This is a great choice for modern décor because it feels structured and not too busy. It also works with almost any ball color, especially white, black, silver, and deep red.
For personalization, try alternating ribbon colors—like silver and green—or add one thin accent ribbon in gold. Budget tip: narrower ribbon costs less and still looks bold when lined up neatly.
Current trend: clean holiday styling is popular, and pinstripes give that “elegant” vibe without heavy decoration.
15) Ribbon “Planet” Swirls with Dots
) Ribbon “Planet” Swirls with Dots
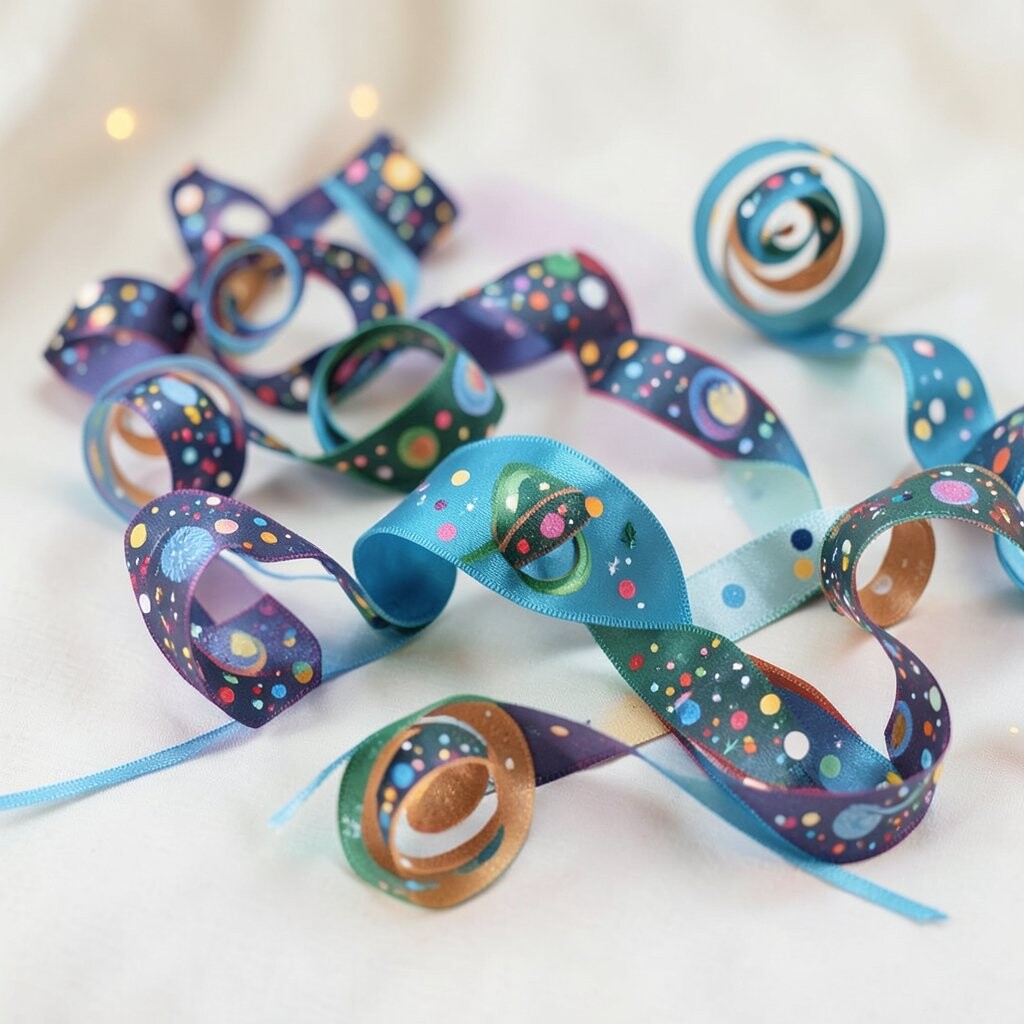
Create a space-themed holiday look by swirling ribbon like a planet. Wrap ribbon in a flowing spiral, then add tiny dot accents to mimic stars or moons.
Use small pieces of contrasting ribbon or mini faux gems placed around the swirl. Keep the dots clustered near the top for a magical effect.
This idea is unique because it mixes holiday and a fun sci-fi twist. It’s also a great conversation starter when guests see your tree.
Personalize it using colors you love: icy blue and silver, or purple and gold. For cost considerations, use bargain craft gems instead of expensive jewels, and place only a few so it still looks intentional.
Trend note: themed décor has become popular, and space-inspired winter looks are showing up in many holiday ideas. If you want a cozy alternative, swap space colors for winter sky colors.
16) Ribbon “Frames” with a Center Accent Patch
) Ribbon “Frames” with a Center Accent Patch
Use ribbon to frame the ball like a picture. Create two vertical ribbon strips and two horizontal strips so they form a simple rectangle around the center.
Leave the middle open or decorate it with a small accent patch, like a mini fabric square, a felt snowflake, or a tiny bow.
This style feels unique because it looks designed, not just wrapped. It also makes it easy to personalize since the center patch can change for each ornament.
For personalization, match the center patch to your family’s likes—sport icons, gingerbread shapes, or holiday initials. Budget tip: you can cut center shapes from leftover felt or craft foam, which saves money.
Current trend: “gallery style” décor—where items look curated—has been popular in home decorating. Ribbon frames give that curated feel on every ball. For a polished finish, secure the ribbon intersections firmly and keep the frame straight before the glue dries.