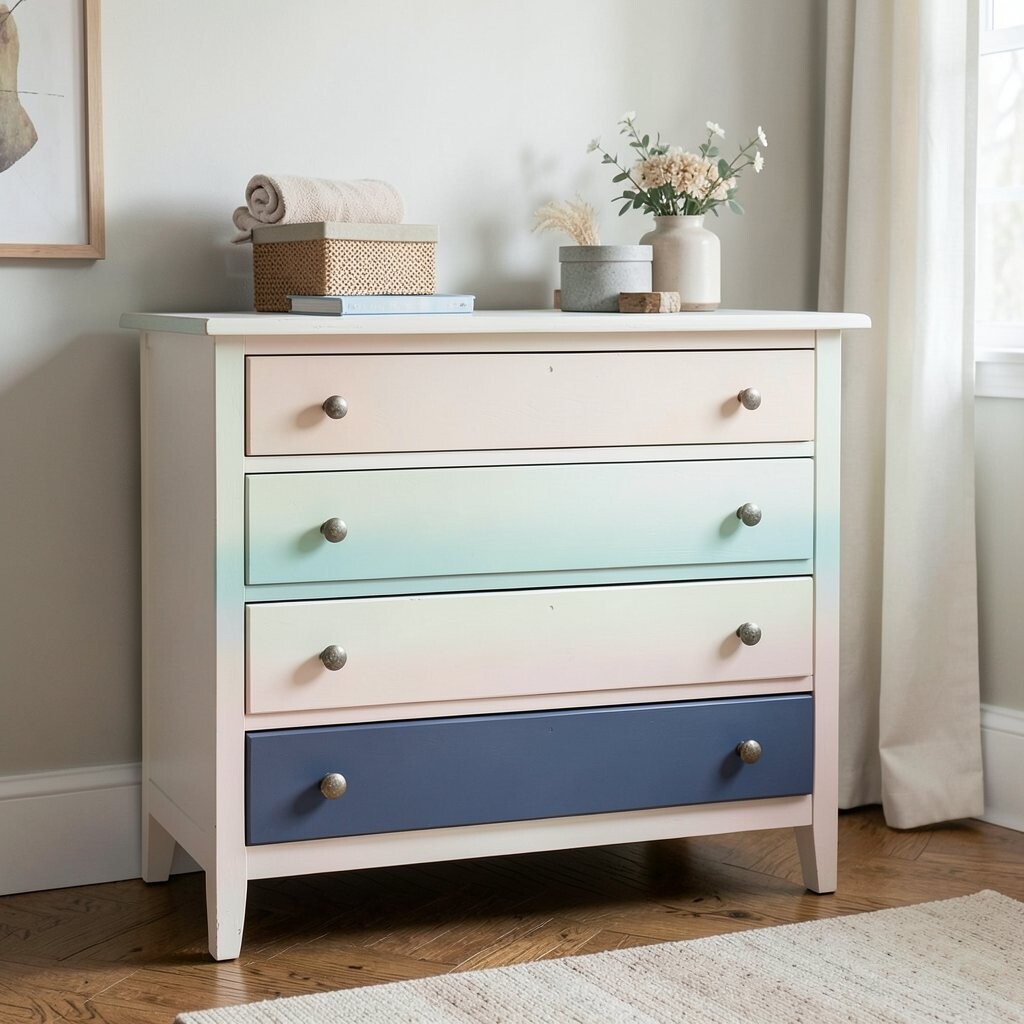
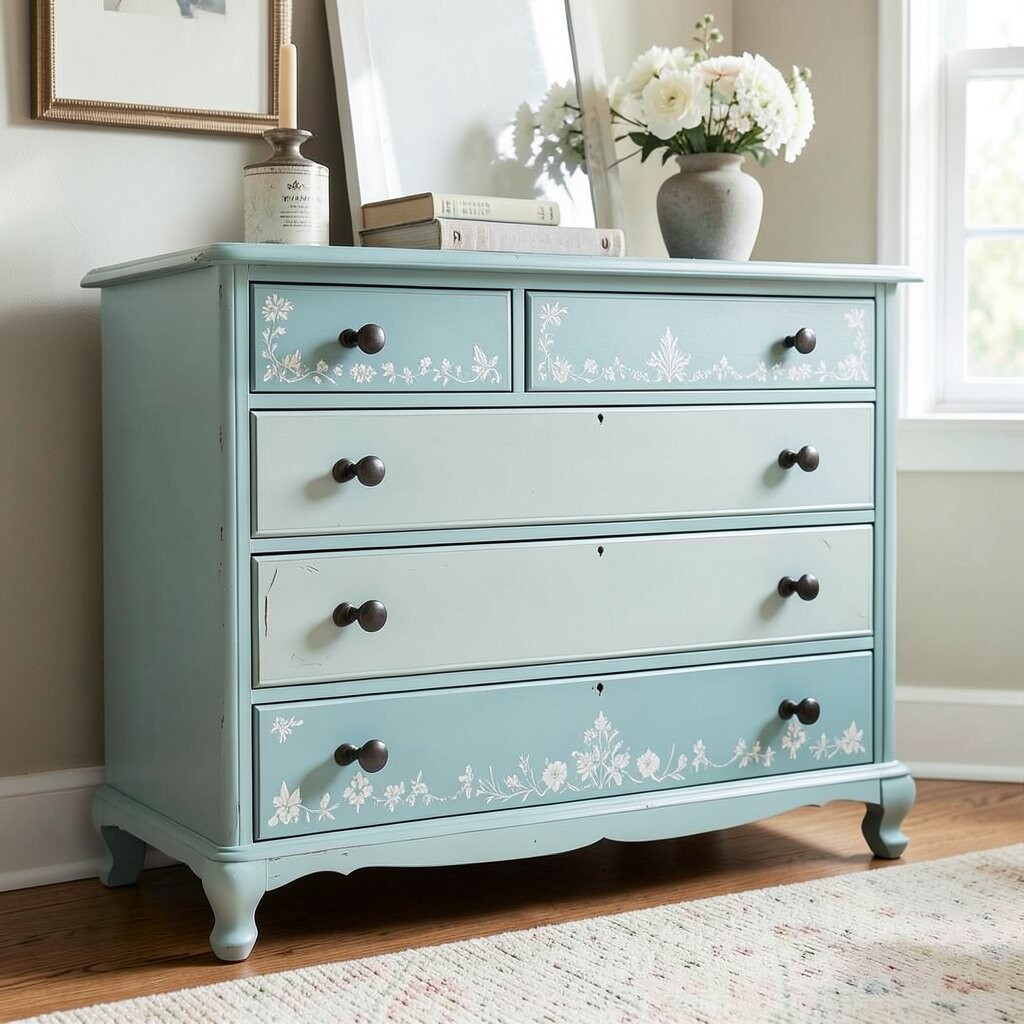
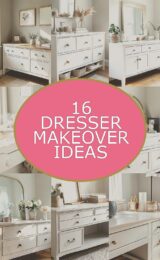
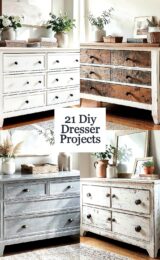
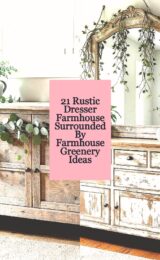
Picture the dresser wearing a gentle gradient, like morning clouds. The top looks calm and light, while the bottom sinks into a warmer shade.
To pull this off, use painter’s tape and sponge blending, then finish with a clear topcoat for protection. This makeover helps hide scratches and old marks fast.
Pick colors that match your room mood: dusty blue and cream for cozy, or sage and white for fresh. If you want it to feel unique, add a thin line of contrast along the drawer edges.
For cost, look for small sample paints and mix them to get the exact tone you like. Popular now are “quiet color” palettes, especially muted greens and soft neutrals.
Personalize by stenciling tiny shapes only on the top drawers, so the details show when you open them.
2. Swap the Knobs for Big, Sparkly Hardware
Swap the Knobs for Big, Sparkly Hardware
Imagine your dresser with chunky handles that catch the light every time you walk by. It feels fancy, but it can still be budget-friendly.
Start by removing old knobs and filling any holes if needed, then sand lightly and wipe clean. New hardware instantly updates the look without heavy painting.
For uniqueness, mix finishes on purpose: brass pulls on the top drawers and matte black on the bottom. This gives a styled, layered feel instead of a flat look.
Cost stays low if you search garage sales, thrift stores, and online lots for hardware. A trend you’ll see often is “statement hardware,” where one big detail becomes the main character.
Personalize by choosing shapes that match your life, like star knobs for a playful space or simple round pulls for a calm vibe.
3. Add Peel-and-Stick Wallpaper Inside the Drawers
Add Peel-and-Stick Wallpaper Inside the Drawers
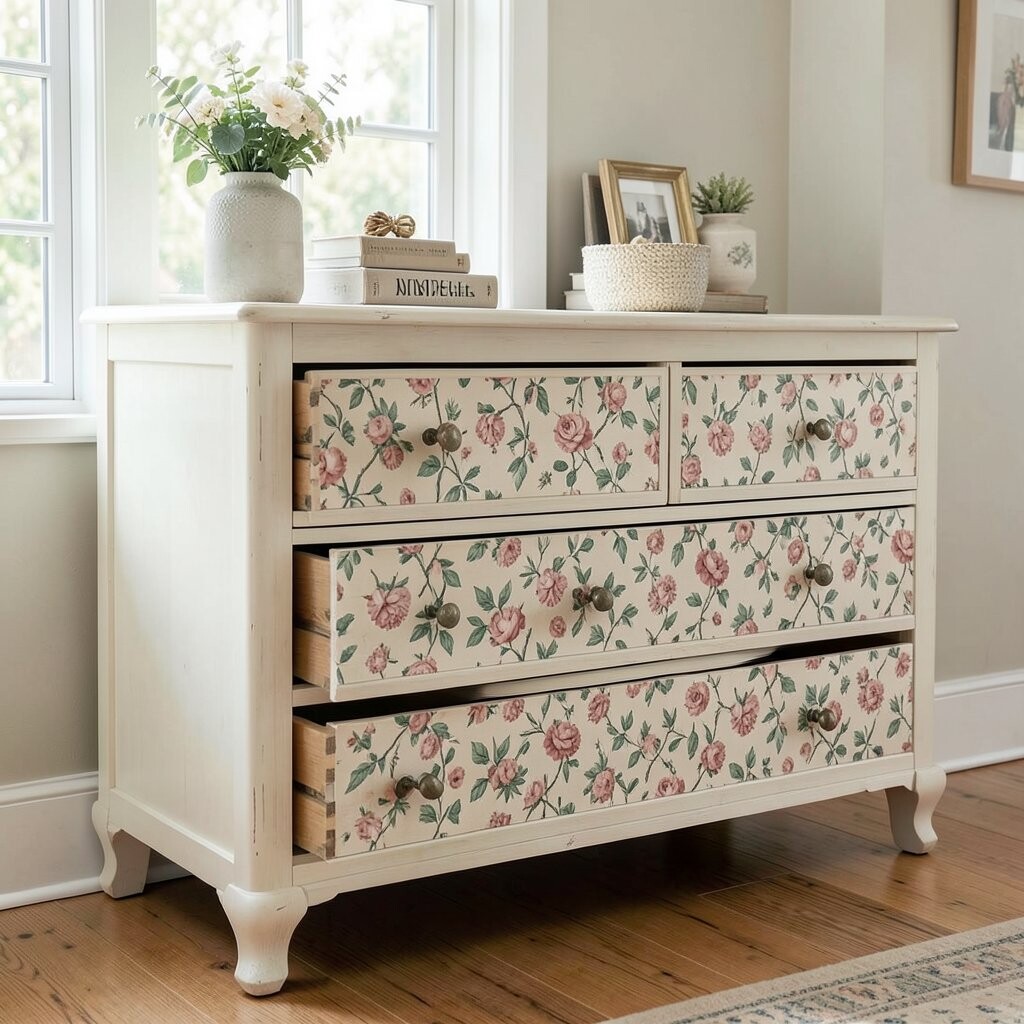
Open a drawer and it greets you with a bold pattern like little confetti. Floral, geometric, or tiny stripes can make the inside feel like a gift.
Peel-and-stick wallpaper is great because it’s easy and doesn’t require long drying times. You also protect the wood surface from everyday wear.
Measure the drawer bottoms, cut carefully, and smooth each piece with a credit card. For tips, seal the edges with a thin coat of clear varnish if the surface catches moisture.
Uniqueness comes from where you place the pattern: center one bold motif on each drawer for a clean look. This also helps you personalize, since you can match the design to your bedding or curtains.
In terms of cost, wallpaper sheets are often cheaper than full dresser paint jobs. Current trends include vintage-style florals and modern line drawings that look classy with minimal effort.
4. Create a Chalkboard Top for Notes and Daily Reminders
Create a Chalkboard Top for Notes and Daily Reminders
Think of a dresser that turns into a mini command center. The top becomes a dark chalkboard where you can write quick notes in bright chalk.
Start by sanding the top, then apply chalkboard paint in thin coats. Let it cure fully so it stays smooth and easy to clean.
This makeover is helpful because you can jot down grocery lists, reminders, or even cute morning messages. It also adds function, not just beauty.
To personalize, use colored chalk for different categories like school, chores, or appointments. If you want a unique twist, tape a simple border before painting for a neat frame.
5. Decoupage the Front With Vintage Maps or Book Pages
Decoupage the Front With Vintage Maps or Book Pages
Picture the drawer fronts covered in old map lines or aged book text, like a page pulled from the past. The dresser looks rich and thoughtful without feeling heavy.
Decoupage works by layering paper onto the surface, then sealing it with a protective finish. That gives you durability for everyday use.
For tips, use a matte decoupage medium and apply thin layers to avoid bubbles. Trim edges neatly so the design looks crisp.
Uniqueness is easy here: choose a map region you love, or use pages from a favorite story. It’s also a simple personalization idea for travel lovers, students, or readers.
Cost is usually low because you can buy craft paper or print images at home. A trend right now is “heritage” décor, which pairs well with this kind of aged, charming finish.
6. Paint Only the Drawer Faces, Leave the Sides Natural
Paint Only the Drawer Faces, Leave the Sides Natural
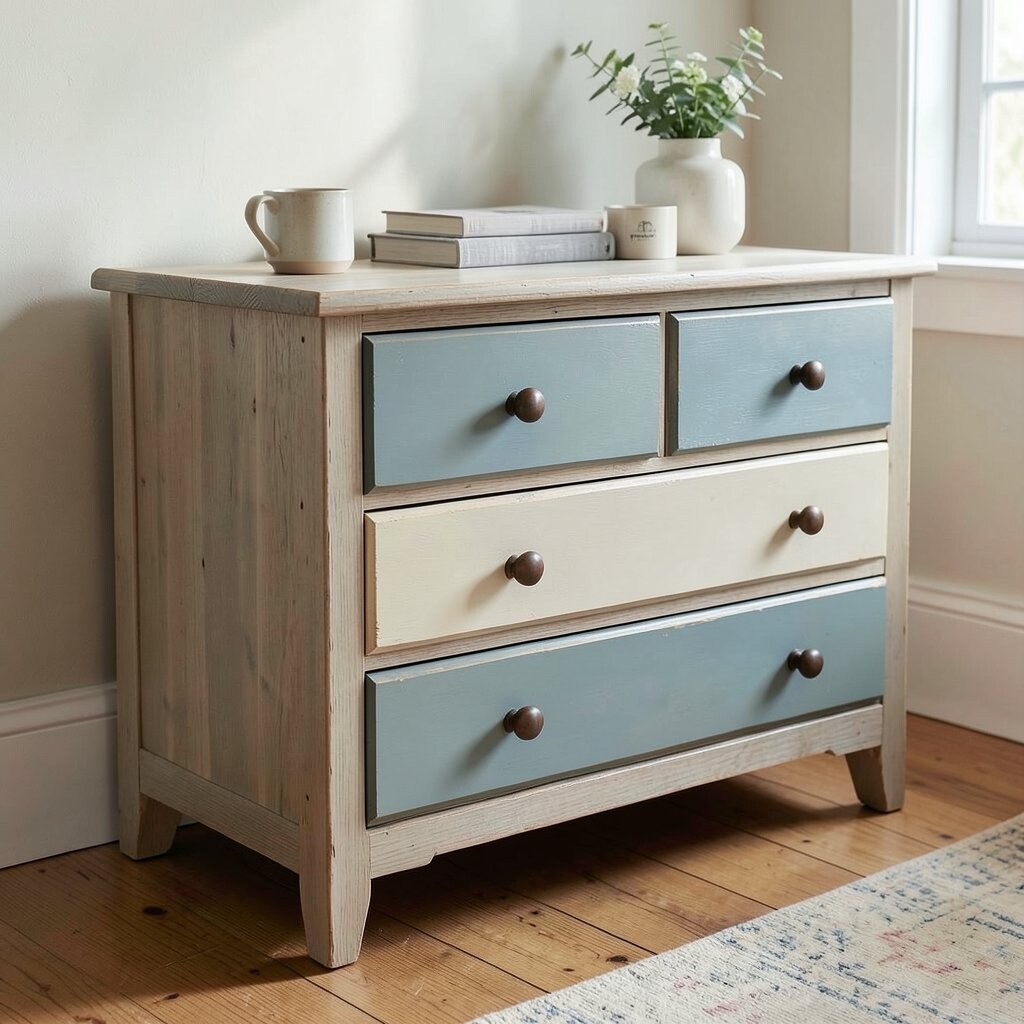
Visualize the dresser with natural wood sides and colorful drawer fronts like art panels. The contrast feels modern and warm at the same time.
This approach uses less paint and keeps some original character. It’s also great if your dresser has pretty grain you want to show off.
Sand the drawer fronts, then prime and paint. When you’re done, add a clear coat only on the painted surfaces to keep them safe.
Uniqueness comes from how you choose colors: try matching the drawer faces in a soft rainbow or use two complementary tones. Personalize it by using your room’s fabric color as your guide.
For cost, you save money because fewer parts need coating. Current trends love “partially painted” furniture, especially when paired with clean lines and simple styling.
7. Add Fabric Panels to the Back of Each Drawer
Add Fabric Panels to the Back of Each Drawer
Imagine each drawer opening to reveal a soft fabric lining that looks cozy and calm. Even the smallest details feel more inviting.
You can staple or glue fabric to the drawer backs, then trim neatly for a clean edge. This upgrade also protects items from scratches and keeps things tidy.
Choose fabric that matches your vibe: linen for a relaxed look, or patterned cotton for a pop of personality. Use a coordinating fabric for a “designer” feel.
Tips: use thin batting under fabric for extra softness, but keep it flat so drawers still slide smoothly. Personalize by using different prints for each drawer and labeling them with tiny tags.
Cost considerations are friendly here since scrap fabric works well. A current trend is “soft texture layering,” and this is an easy way to join in.
8. Turn the Dresser Into a Standing Media Credenza
Turn the Dresser Into a Standing Media Credenza
Picture the dresser holding a TV or media pieces with neat cable routes and clean open spaces. It becomes the center of the room without buying a new unit.
This makeover helps because it gives you storage and a strong base in one piece. It also reduces waste, which is a win for both your wallet and the planet.
For tips, measure your electronics first, then remove drawers that get in the way. You can add a back panel with a hole for cords so everything stays tidy.
Uniqueness comes from how you finish the interior: add felt for a soft backdrop or paint the back panel a bold color. Personalize by adding a small shelf for game controllers or remote storage.
Cost depends on how much you remove and what new materials you add, but you can keep it low with spare wood and basic paint. A trend you’ll see often is using older furniture for modern tech setups.
9. Use Stencils to Make a Clean Geometric Pattern
Use Stencils to Make a Clean Geometric Pattern
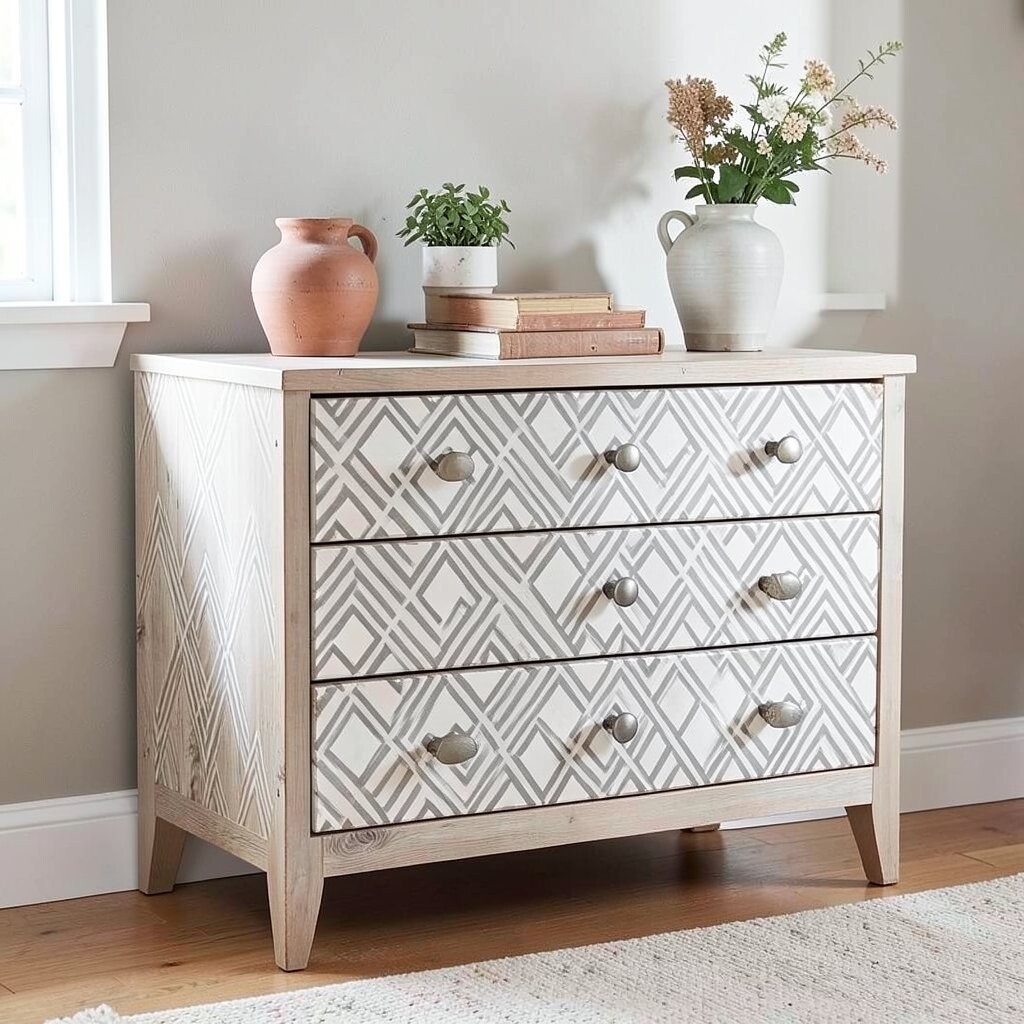
Think of drawer fronts with sharp shapes that look crisp and organized. The lines make your dresser feel modern, like a designed piece from a store.
Choose a stencil with simple shapes, then tape it down and paint with a small foam roller. This keeps edges clean and reduces mess.
For tips, practice on scrap cardboard first so you know how many coats you need. Let each layer dry before you peel the stencil to avoid smudges.
Uniqueness is all about your pattern choice: try triangles for energy, circles for calm, or zigzags for playful style. Personalize by matching the pattern size to your room—small motifs for subtle charm, bigger ones for bold impact.
Cost is usually low because stencils can be reused. Current trends favor geometry, especially on dresser fronts paired with neutral paint.
10. Replace Drawer Slats With Slim Glass for a Peekaboo Look
Replace Drawer Slats With Slim Glass for a Peekaboo Look
Imagine open drawers with glass fronts that show what’s inside while still looking neat. The dresser feels airy and a little dramatic.
This is a fun uniqueness move because it turns storage into visual display. It also helps you find items quickly without pulling everything out.
To do this, measure drawer openings carefully, then cut or fit glass panels. Use a frame material like wood strips or thin metal edging so the glass sits safely.
For tips, wear protective gear and use the right sealant so the glass stays secure. If you don’t want real glass, use acrylic for an easier setup.
Cost can rise with custom cutting, but you can lower it by using affordable window pieces or thrifted glass panels. A current trend is “open storage styling,” and glass fronts fit perfectly with that look.
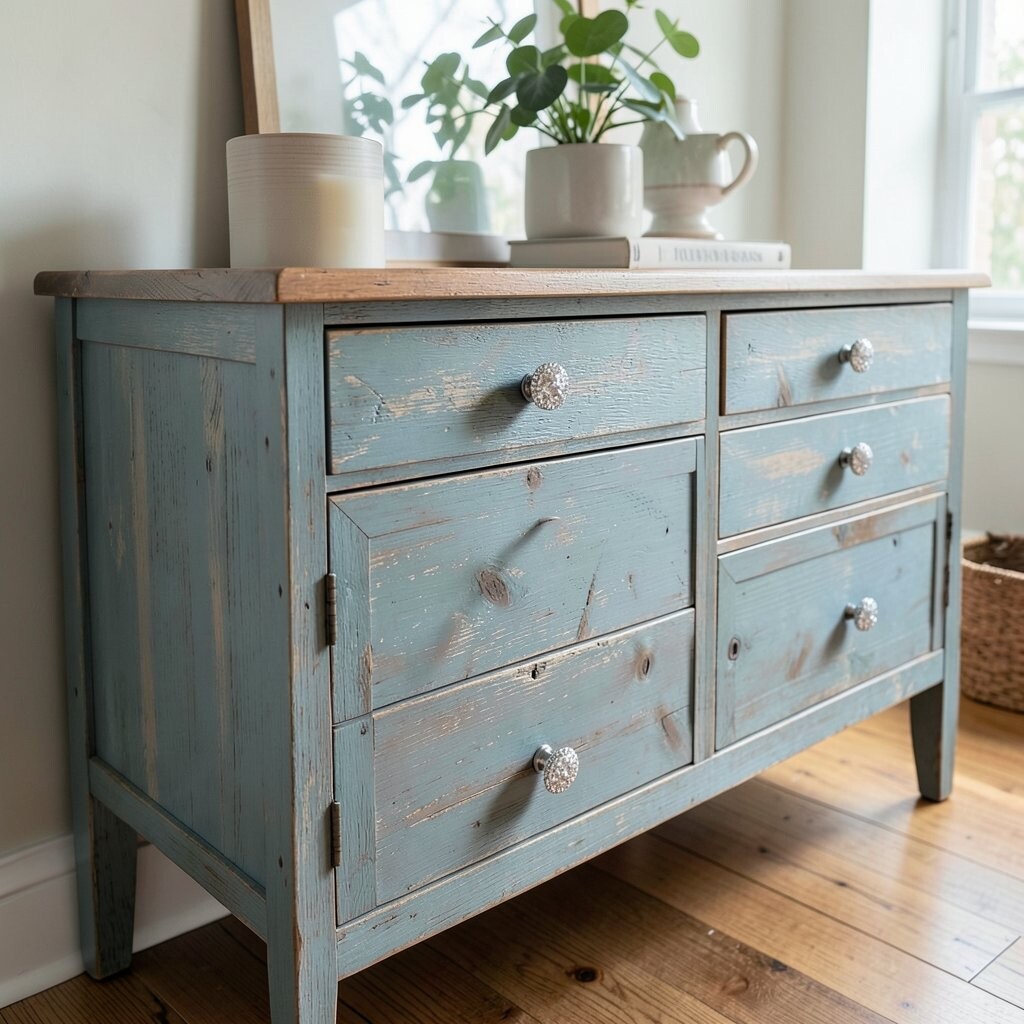
11. Create a Distressed Finish With a Layered Paint Approach
Create a Distressed Finish With a Layered Paint Approach
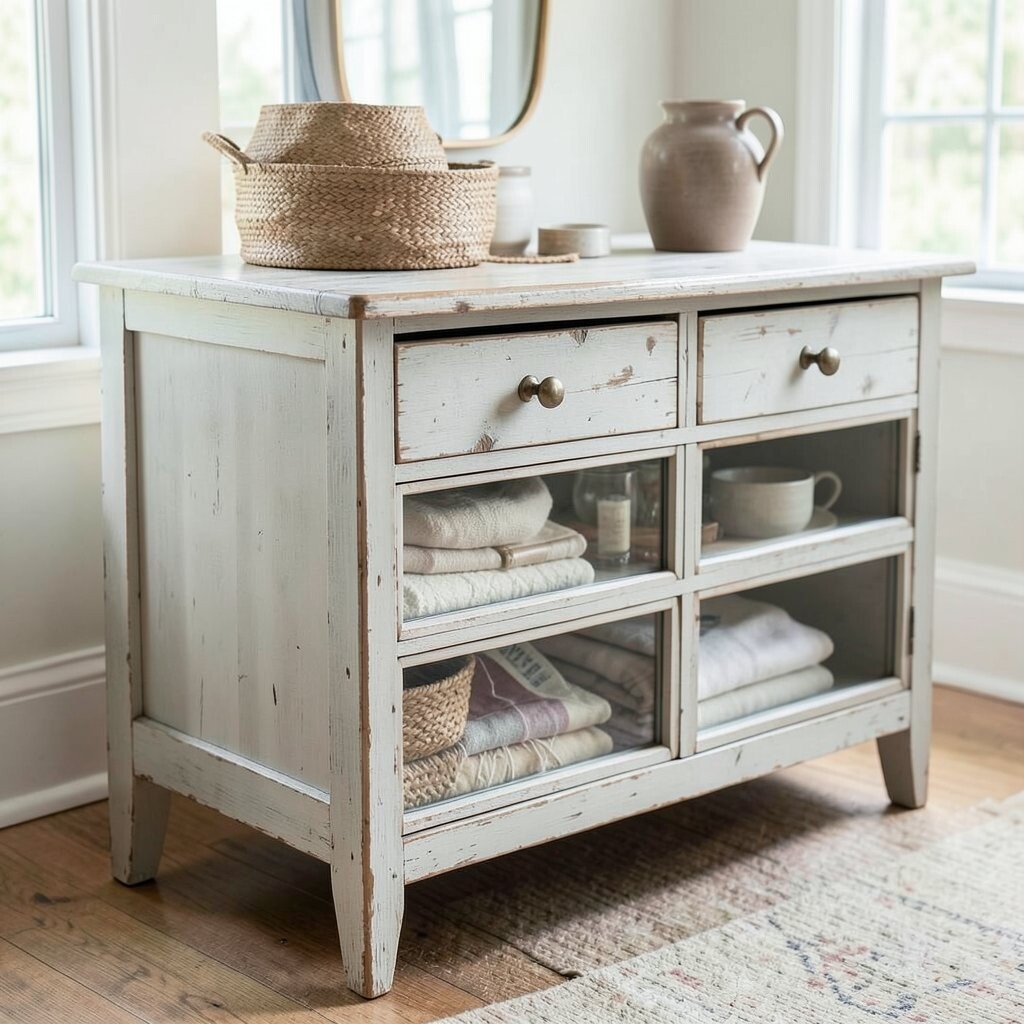
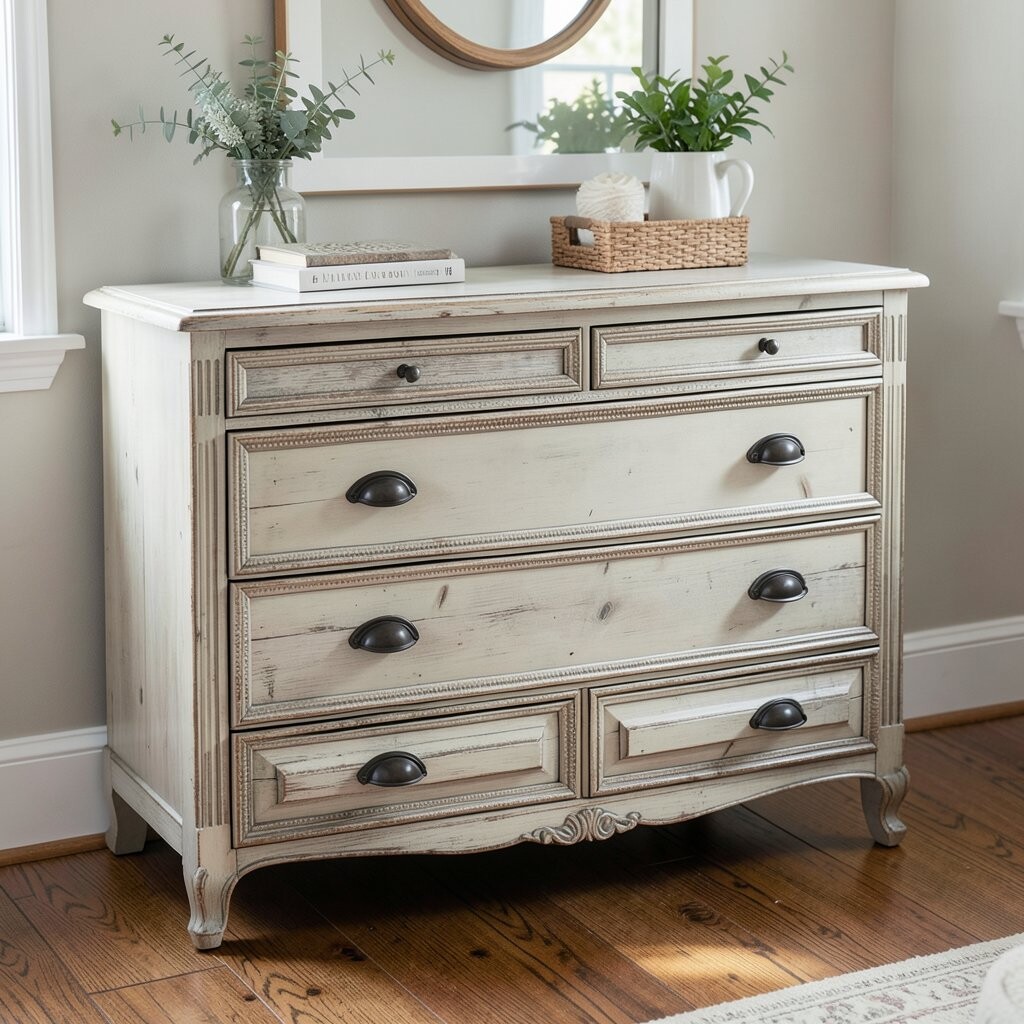
Picture your dresser with charming worn edges that look lived-in, not broken. The peeling-style effect can feel vintage and full of character.
To get this look, paint in layers and sand the corners lightly after each coat. The result shows glimpses of older colors like a soft story.
For tips, use a clear wax or protective topcoat after distressing so the finish holds up. Keep your distressing focused on corners, handles, and high-touch areas.
Uniqueness comes from the color plan: try cream on top of muted blue, or gray over warm white. Personalize it by choosing the “hidden” color that matches your room’s main theme.
Cost stays reasonable because distressing uses regular paint and sandpaper. Current trends love farmhouse vibes, and this technique nails that cozy feel.
12. Add a Wood Slat Front for a Modern Spa Look
Add a Wood Slat Front for a Modern Spa Look
Imagine horizontal wood slats on your dresser fronts, like a calm spa entrance. The texture adds depth without making the dresser feel cluttered.
You can build slats using thin boards or even leftover wood strips. Then paint the slats or leave them natural for a warm look.
This makeover benefits you because slat texture hides imperfections and gives a fresh style. It also makes the dresser feel more architectural.
For tips, measure spacing carefully and use a level while installing so lines stay even. Personalize with a curved spacing pattern on the top drawers for a gentle, custom touch.
Cost depends on the wood you choose, but scrap boards from a hardware store can be cheap. A current trend is “wood-on-wood texture,” especially in light, neutral rooms.
13. Wrap the Dresser in Rattan or Wicker Accents
Wrap the Dresser in Rattan or Wicker Accents
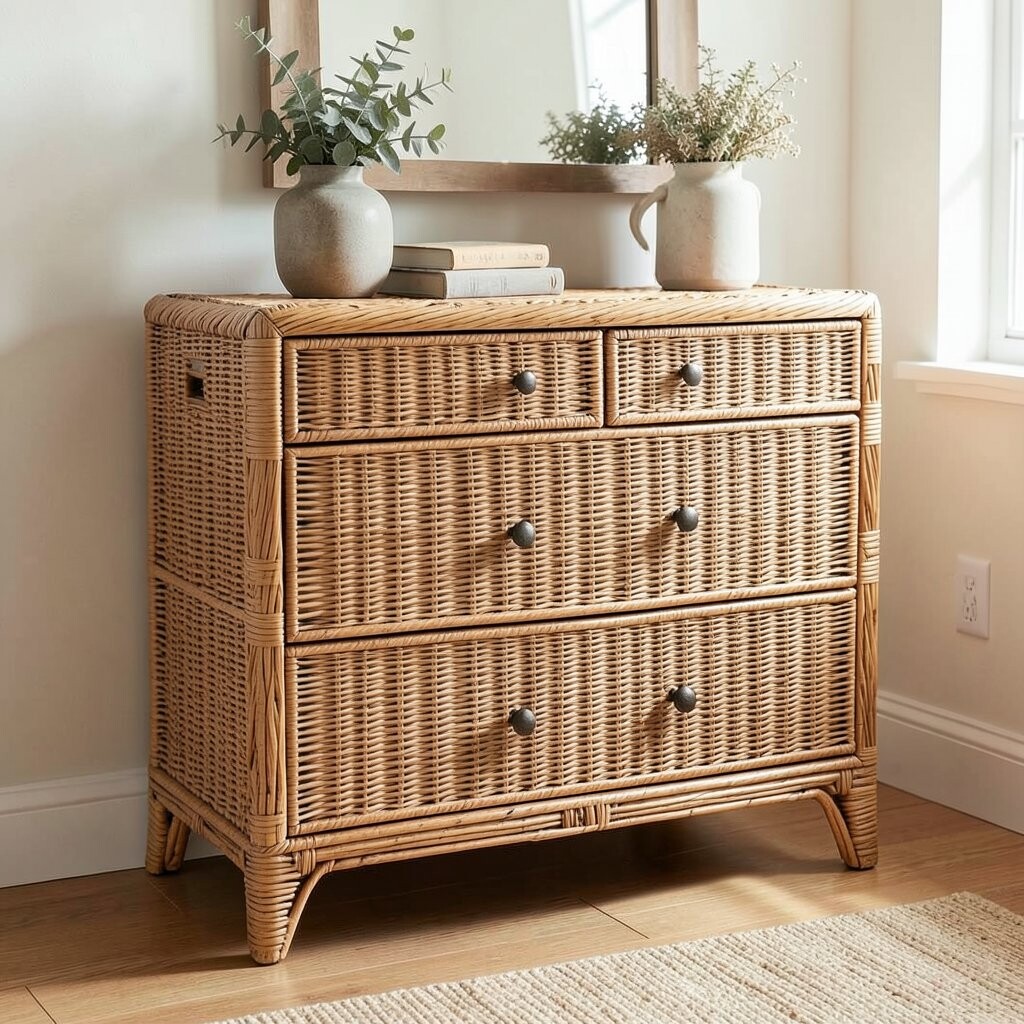
Picture a dresser with rattan texture that looks warm and breezy. It brings a natural vibe that feels great in bedrooms and living rooms.
You can attach rattan sheets or wicker panels to drawer fronts using glue and small nails or staples. Then seal it with a clear finish for protection.
Uniqueness shows up fast because rattan is one-of-a-kind in texture and pattern. It also adds a tactile element that feels special.
For tips, test placement on one drawer first, then adjust before you commit. Personalize by blending rattan with painted edges in a soft color that matches your décor.
Cost is often moderate because rattan supplies can vary, but thrift stores sometimes carry rattan panels you can reuse. Current trends favor natural materials, especially rattan and woven fibers.
14. Create a Colorful Gallery Wall Using Dresser Side Frames
Create a Colorful Gallery Wall Using Dresser Side Frames
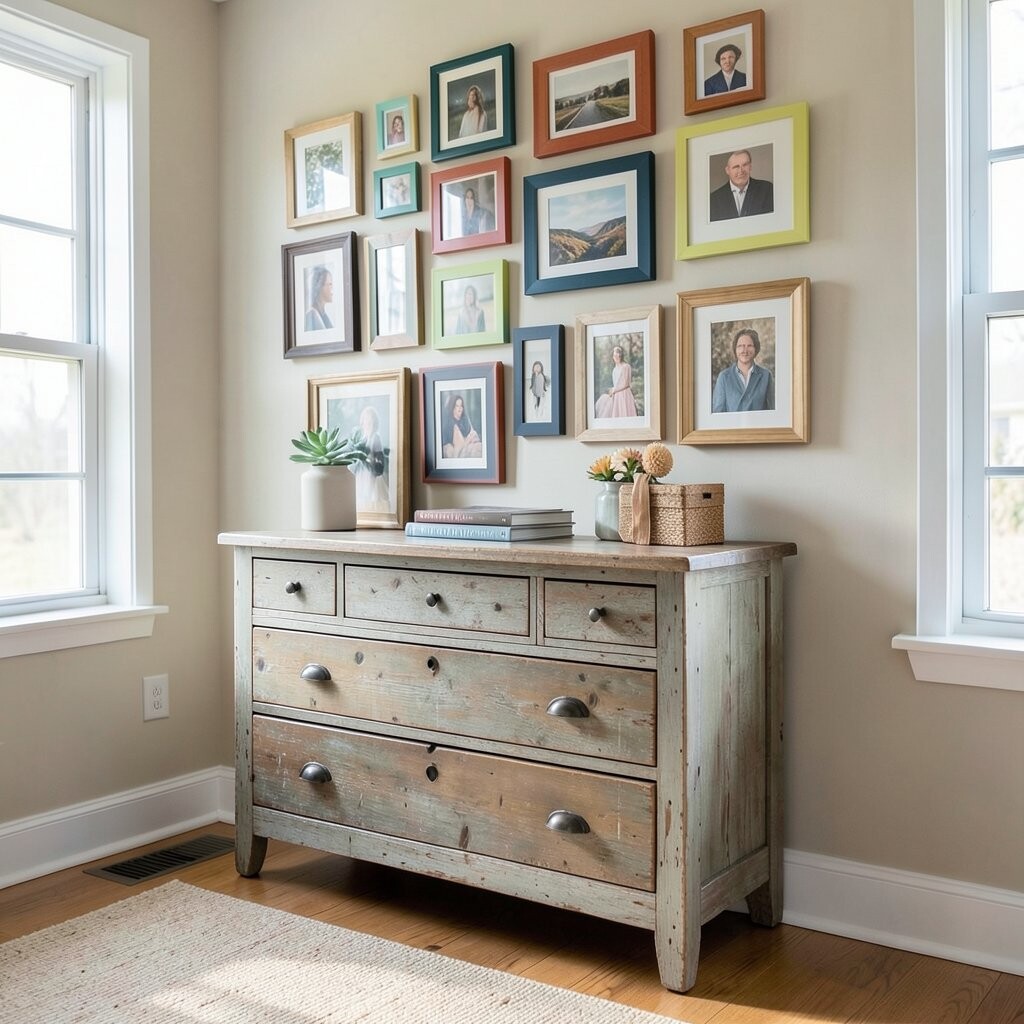
Imagine using the dresser sides as frames for small art, photos, or fabric pieces. The dresser becomes a creative backdrop, not just a storage unit.
To do this, attach thin picture-frame trim or mirrored panels to the side sections. Then add art you love inside each frame.
This makeover benefits you because it makes the dresser feel like décor. It also keeps your style in one consistent place.
For tips, use the same frame color across all sections so it looks intentional. Personalize by choosing a theme like family memories, beach photos, or tiny sketches.
Cost can stay low if you use thrifted frames and leftover trim. A current trend is “gallery styling,” where furniture doubles as a display.
15. Turn Drawer Handles Into Hooks for Bags and Scarves
Turn Drawer Handles Into Hooks for Bags and Scarves
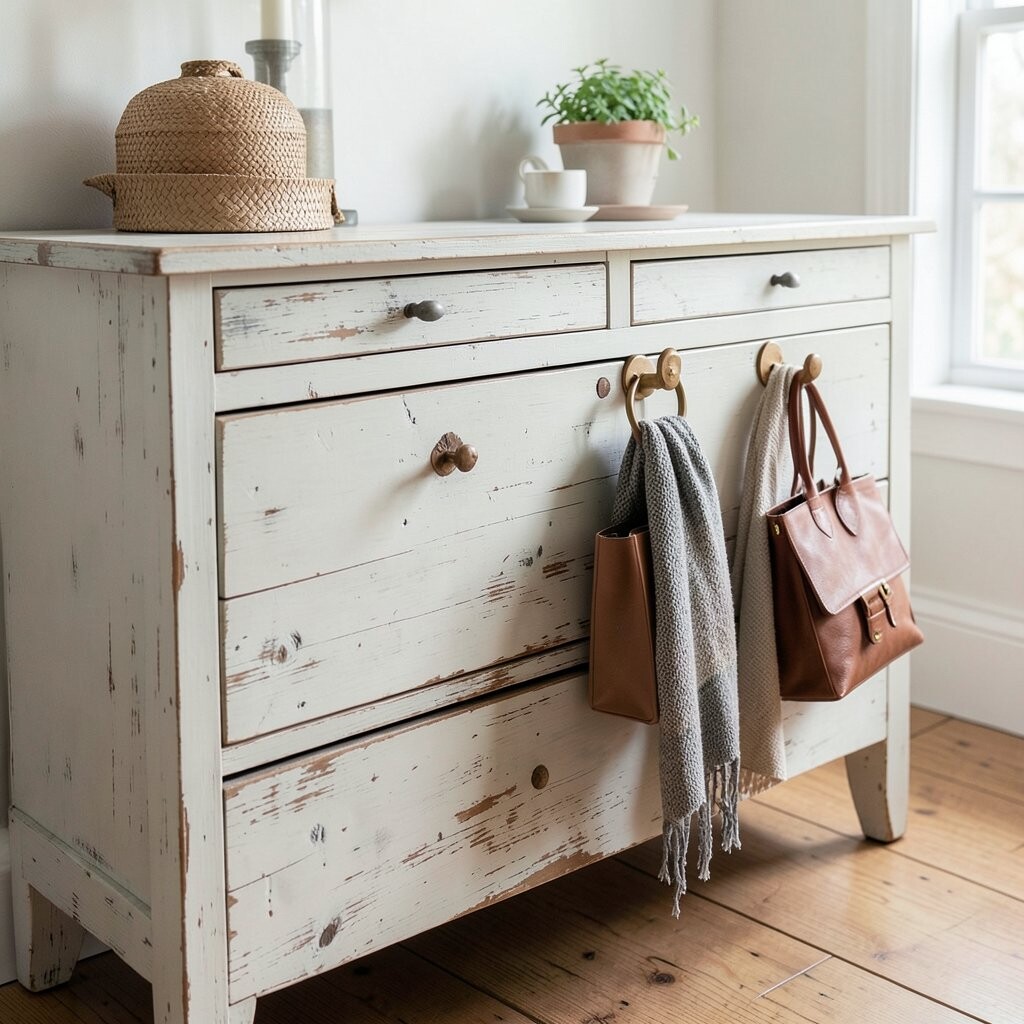
Picture your dresser with functional hooks where you can hang scarves, small bags, or keys. It feels both organized and stylish at the door.
Swap the drawer pulls for coat hooks or install hooks where handles used to be. You can also add a hook rail across the top for extra hanging space.
This makeover helps you keep daily items off counters and chairs. It also saves time when you’re getting ready quickly.
For tips, choose hooks that match the weight of the items you’ll hang. Personalize by using hooks shaped like hearts, stars, or simple circles.
Cost considerations are friendly because hooks are usually cheaper than major furniture parts. Current trends include “entryway catch-all” furniture, and this idea fits perfectly.
16. Paint a “Marble” Look With a Faux Finishing Technique
Paint a “Marble” Look With a Faux Finishing Technique
Imagine the dresser with a marble-style finish that looks elegant and expensive. Light swirls move across each drawer front like stone veining.
Faux marble is done by layering paint and then adding thin lines with a brush or comb. Finish with a clear coat so it looks smooth and polished.
For tips, practice on a small board first so you get the swirl style right. Keep your pattern different across drawers so it feels natural, not copied.
Uniqueness comes from the way marble patterns never match perfectly. Personalize by choosing a marble vibe you love, like white with gray veining or cream with soft brown lines.
Cost can be moderate, but you can control spending by using a small number of paint colors and simple tools. A current trend is luxe-looking finishes that still feel approachable.
17. Add a Lining Drawer System With Labels and Dividers
Add a Lining Drawer System With Labels and Dividers
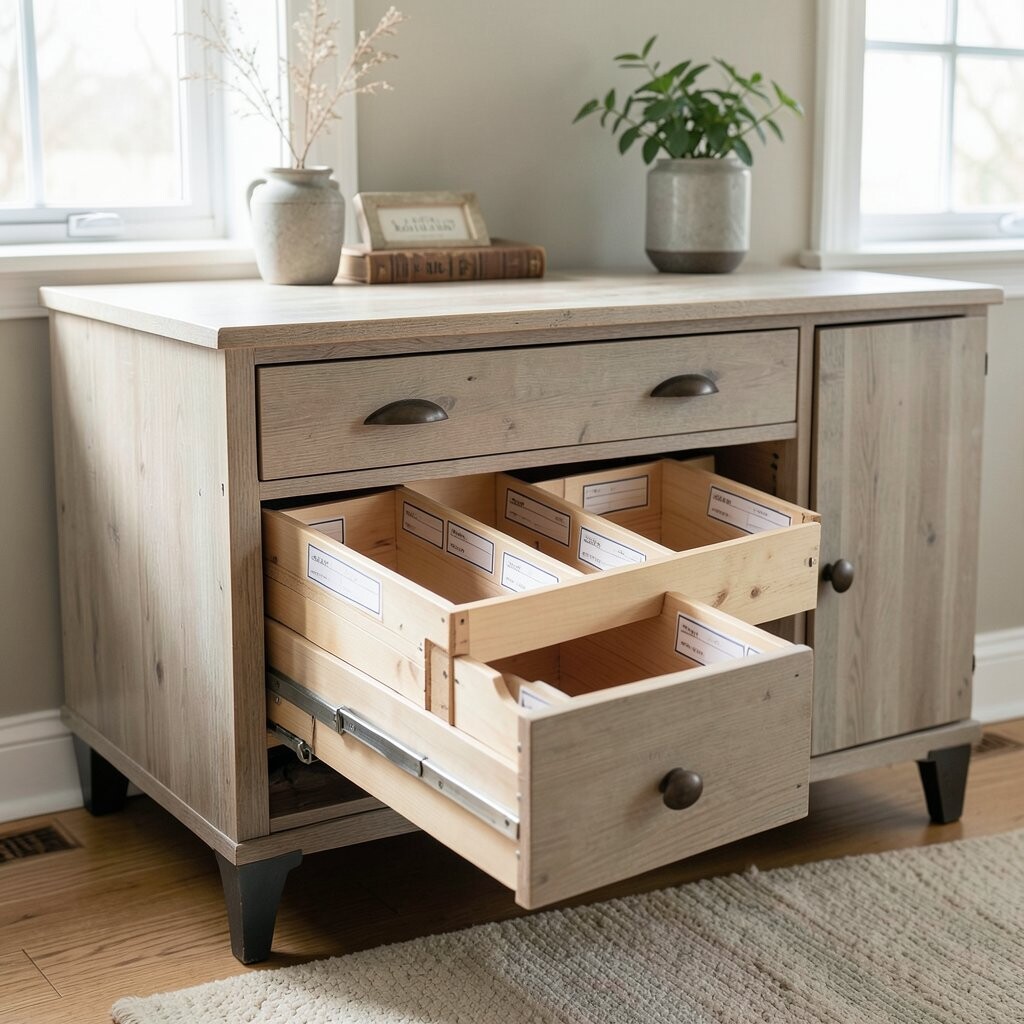
Picture drawers that open like tidy little organizers, with dividers that keep everything in place. The dresser becomes easier to use every single day.
Use wood slats, cardboard inserts, or drawer organizers to create compartments. Then add labels with a label maker or hand-written tags on thin cardstock.
This makeover benefits you because it reduces mess and saves time when you’re searching. It also helps kids and adults remember where items go.
For tips, measure the inside dimensions and build dividers so they slide smoothly without scraping. Personalize by labeling by color or by category like “art,” “cables,” or “hair care.”
Cost is low if you reuse cardboard or thrift organizer trays. Current trends include “functional beauty,” where storage looks good and works well.
18. Create a “Shadow Box” Effect Using Layered Trim
Create a “Shadow Box” Effect Using Layered Trim
Imagine each drawer front with raised layers, like a shadow box carved into wood. The dresser looks dimensional and artsy, even in simple lighting.
To do this, attach trim pieces around drawer openings, then add a second inner layer. Paint or stain the layers so you get contrast and depth.
Uniqueness shows up because you can adjust sizes and spacing to match your style. Personalize by using one bold color for the outer trim and a softer tone for the inner frame.
For tips, sand lightly before attaching trim so everything bonds well. If you want extra sturdiness, use wood glue plus small finishing nails.
Cost considerations are usually moderate because trim adds up, but you can save money by using thin off-cuts. A current trend is “trim detailing,” which makes furniture feel custom without heavy labor.
19. Stain the Whole Piece and Add a Glossy Top Accent
Stain the Whole Piece and Add a Glossy Top Accent
Picture a dresser stained in rich tones, then finished with a glossy top panel that shines. It’s warm, classy, and very “crafted.”
Start by sanding thoroughly, then apply stain evenly and wipe away excess. After that, add a clear gloss coat on the top only if you want the accent to pop.
This makeover benefits you because stain highlights natural grain and covers minor flaws gently. It also keeps a clean, timeless look that works in many rooms.
For tips, test the stain on a hidden area first since wood absorbs color differently. Personalize by pairing the stain color with hardware that matches your room tone.
20. Use a Fresh Coat of Paint and Add a Peel-and-Place Decal Border
Use a Fresh Coat of Paint and Add a Peel-and-Place Decal Border
Imagine a crisp border along the top edge or drawer seams, like a neat frame around your furniture. Decals look sharp, and they make the dresser feel styled without complicated painting.
Choose vinyl decals or removable tape borders, then apply them after the base paint fully dries. This helps you get clean lines quickly.
This makeover is unique because you can swap the border whenever your style changes. It also helps protect the dresser edge if the border sits where chips usually happen.
For tips, press the decal firmly and work slowly to avoid bubbles. Personalize by selecting symbols you love, such as simple florals, tiny stars, or modern line icons.
Cost stays manageable since decals are often cheaper than custom work. Current trends include crisp minimal accents, so this idea gives a modern look with easy flexibility.